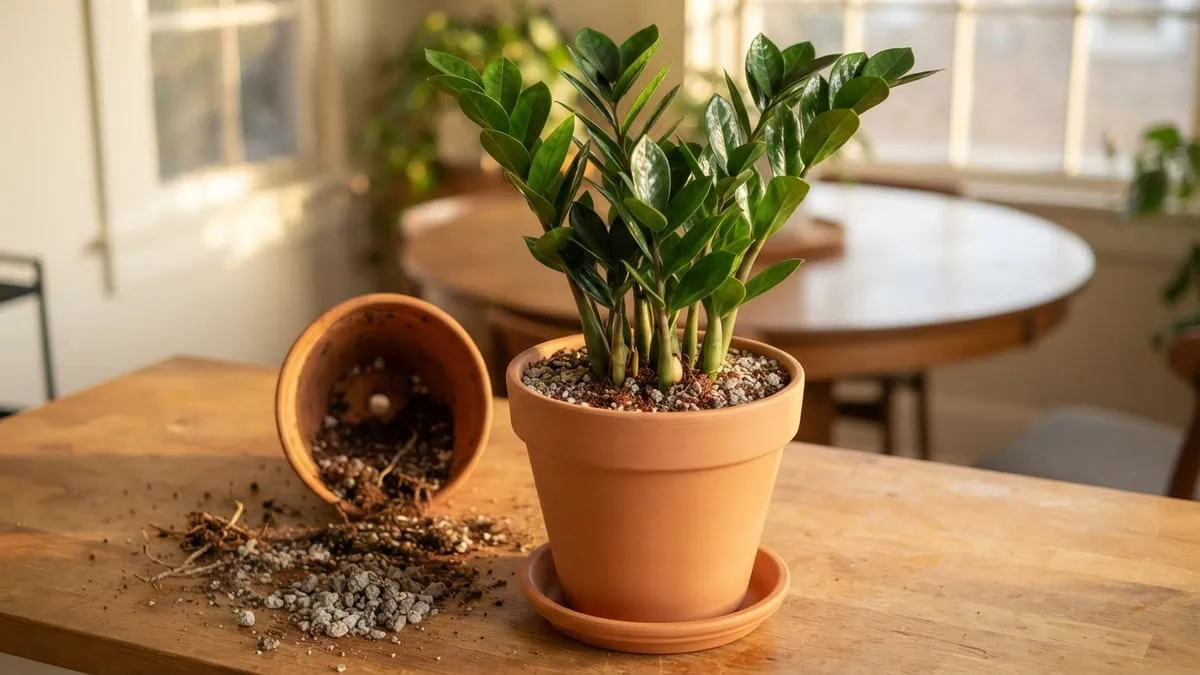
🛠️ Quick Prep Summary: repotting a ZZ plant without the shock
Learning how to repot a ZZ plant without transplant shock comes down to restraint: a snug terracotta pot only slightly larger, a fast-draining gritty mix, and a light hand with water afterward. Gather these three, keep water light, and the move barely registers.
- Dry it out: let the pot go bone-dry for 7-10 days first
- Sterilize your blade: wipe the shears with 70% isopropyl alcohol
- Ready the mix and a dowel: grit blend plus a moisture stick
Look — the fastest way to lose a tough plant is to be too kind to it. I lost Zamioculcas zamiifolia to one well-meant habit: repot, then water it in like a thirsty fern (yeah, learned this the hard way). Each time the stalks stayed glossy for weeks, then the base went soft and squished under my thumb.
Watering a freshly repotted plant sounds right. It isn’t. Here is what this plant’s biology does instead: it banks water in a woody, potato-like rhizome and runs a water-thrifty metabolism, so a disturbed rhizome sitting in soggy mix drowns long before it ever goes thirsty.
So the whole job is a quiet one — a snug pot, a gritty mix, and less water, not more. Nail that and the move passes almost unnoticed. For the wider picture, start with the fundamentals of growing a healthy ZZ plant.
Take a breath — none of this is fiddly. The table below lays out the specs at a glance before you walk through each step.
How to repot a ZZ plant without transplant shock: quick specs
| ZZ plant specs | Recommendation |
|---|---|
| Best time to repot | When warm and actively growing |
| How often to repot | About every 2-3 years, when root-bound |
| Pot step-up size | 1-2 inches wider in diameter |
| Best pot material | Unglazed terracotta |
| Difficulty and time | Low (beginner); about 20-40 minutes |
| Drainage hole required? | Yes |
| Gloves recommended? | Yes – the sap irritates skin and eyes |
Tap the button below to get more plant fixes in your Google Search results

Table of Contents
Before you repot: timing, the right pot, and your kit
Good repotting starts before you touch the pot. The sections below cover timing, the container itself, and the small kit that keeps the job clean.
Most guides tell you to repot on a yearly schedule. I’d like to retract that on a ZZ’s behalf — this is a slow grower that resents disturbance, so you move it on the plant’s signals, not the calendar.
When to repot a ZZ plant (and how often)
You repot a ZZ plant about every 2-3 years, and a snug pot genuinely suits it in the meantime. The “when should you repot a ZZ plant” question comes down to reading the roots, not the calendar. Do it while the plant is warm and pushing out new growth, when a disturbed rhizome settles back in fastest.
Snug beats spacious for this plant.
Signs your ZZ is root-bound
The clearest signs a ZZ plant is root bound are easy to spot once you know the tells:
- Water races through and the mix dries out unusually fast
- Roots poking out of the drainage hole
- Growth has stalled even with decent light and warmth
- Thick, potato-like rhizomes crowding the surface or bowing a thin pot
University of Maryland Extension explains how to tell when a houseplant is pot-bound, and the same cues carry over to this species.
Choosing the pot: size, material, and drainage
When you ask what size pot does a ZZ plant need, the honest answer is barely bigger. Step up only 1-2 inches in diameter, because an oversized pot holds a large reservoir of wet soil against a rot-prone rhizome.
Reach for unglazed terracotta with a drainage hole. The porous clay wicks excess moisture out of the mix and pulls air to the roots — exactly the correction a plant that rots when wet needs.
Skip the old trick of a rock or gravel layer in the bottom of the pot. It does the opposite of draining.
A coarse layer under fine mix creates a perched water table, so the soil above it stays saturated right where the rhizome sits. Fill the pot with one uniform gritty mix over open drainage holes instead.
The mix and tools to get ready
For the medium, use a fast-draining gritty mix of roughly 2 parts coco coir to 1 part pumice, top-dressed with a thin layer of coarse pumice grit.
Pumice beats plain perlite here — it is heavier, so it does not float out during watering, and its pores keep durable air channels open around the swelling rhizome. For the blend in depth, here is the right potting mix for a ZZ plant.
Then lay out a short kit so nothing interrupts the job:
- Unglazed terracotta pot, 1-2 inches larger, with a drainage hole
- Your gritty mix plus a scoop or hand trowel
- Bypass shears or scissors, wiped with 70% isopropyl alcohol
- Gardening gloves, since the raphide-bearing sap irritates skin and eyes
Tap the button below to get more plant fixes in your Google Search results

Repotting your ZZ plant, step by step
With everything staged, the repot is three unhurried moves. You will safely remove the plant from its pot, check the rhizome, then settle it into fresh mix. Work through the following steps in order, and keep every stalk attached.
Step 1: Dry it out, then ease it free of the pot
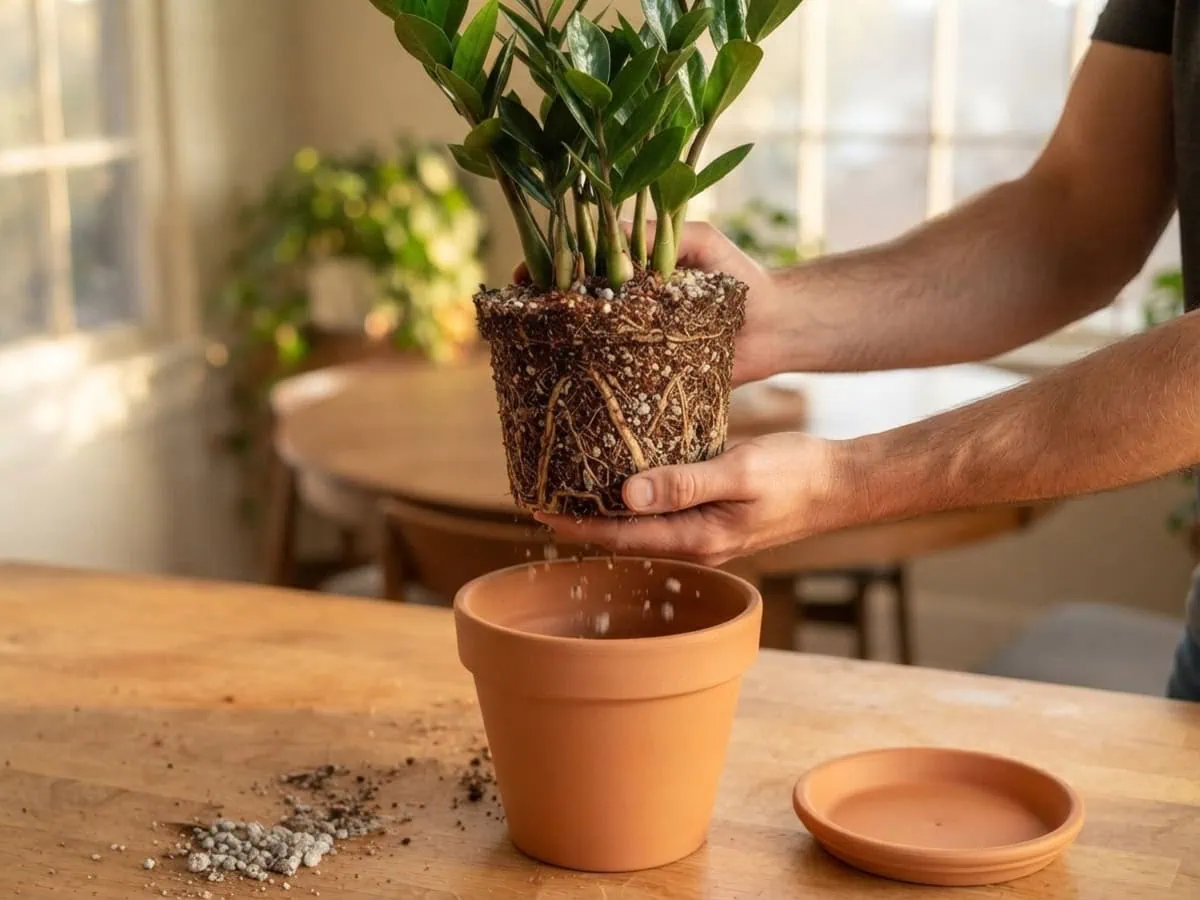
The “how to safely remove a ZZ plant from its pot” answer starts a week ahead: let the mix run bone-dry for 7-10 days first. A dry rhizome firms up and shrinks back from the pot wall, so it slides out clean. Tap the side first. A bone-dry pot rings hollow; a waterlogged one only thuds. When it is ready, tip the pot onto its side, press gently around the rim, and ease the whole rhizome mass out by cradling its base rather than tugging the top. Never pull on the stalks. Each glossy stalk is a single whole leaf, and a snapped-off stalk will not grow back.
Wear gloves whenever you handle a cut or exposed rhizome. The sap carries needle-like calcium oxalate crystals that irritate skin and eyes, so if any contacts your skin, rinse it under cold running water for at least 60 seconds. If a strong skin or eye reaction develops, seek medical attention; in the US, Poison Control is available at 1-800-222-1222.
Step 2: Inspect the rhizome and set it in the new pot
With the plant free, look the rhizome over before it goes back in. You are sorting two things:
- Firm, pale, potato-smooth: healthy tissue, keep it
- Brown-to-black, soft, sour-smelling: rot, trim it away
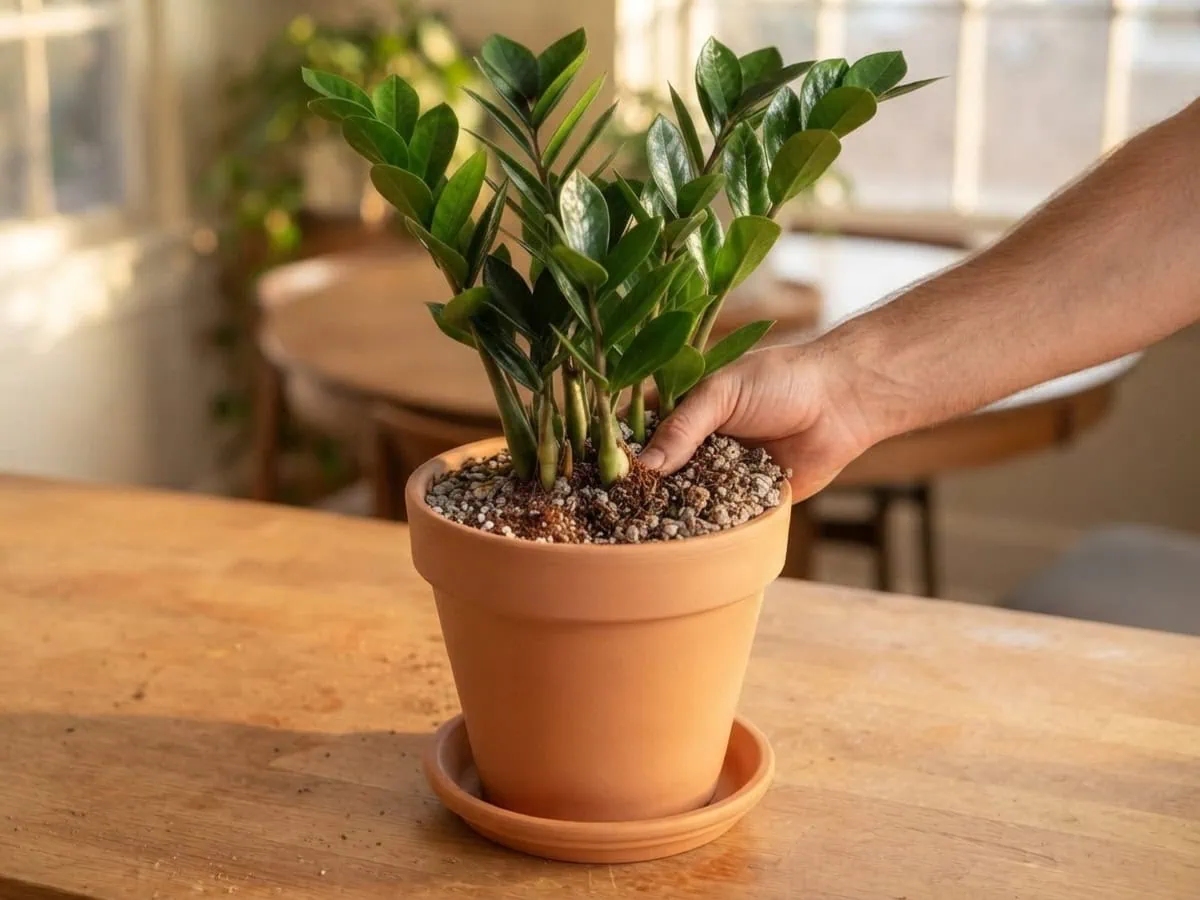
Trim the bad, keep the firm. Cut any mushy section back to firm pale tissue with shears wiped in 70% isopropyl alcohol, and leave the healthy rhizome whole. If the clump has split into separate offsets, repotting is the natural moment to divide them — that is really a form of propagating new ZZ plants from cuttings. Add a base layer of your gritty mix, set the rhizome so its crown sits at the same depth as before, and fill around it while the dry grit hisses and ticks into the gaps. No gravel, no drainage layer — one even, airy mix.
Step 3: Water sparingly and let it settle
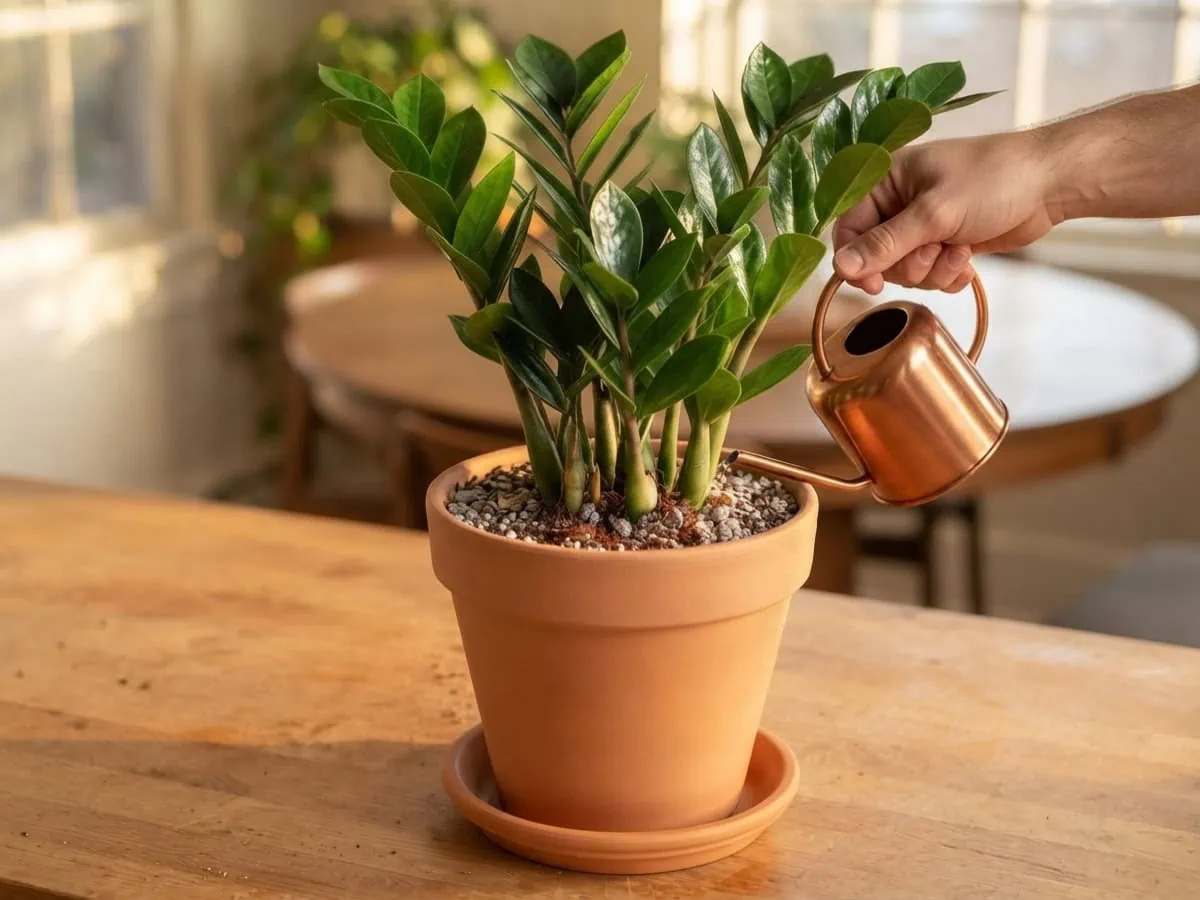
Here is the step that saves the plant: water sparingly, not thoroughly. Give just enough to moisten the fresh mix and close the air pockets around the rhizome — a slow trickle from a small spout, never a full can tipped over the crown. Then stop. Because the rhizome already banks its own water and the roots are barely working right after the move, a soaked pot stays wet for days the plant cannot use, and that standing wet is exactly the airless, anaerobic zone it rots in.
Once that first sip soaks in, three habits carry the rhizome through recovery:
- Empty the saucer so the pot never sits in runoff
- Wait until a wooden dowel pushed to the bottom comes out dry before watering again
- Set it somewhere warm with bright, indirect light while it re-roots
You will hear the pot turn quiet and light as it dries down, and that silence is the target.
After the repot: recovery, transplant shock, and mistakes
The move is done, and the next couple of weeks decide how well it took. The sections below cover what shock really means here, how to help recovery, and the mistakes to skip.
What transplant shock really means for a ZZ
For a ZZ, transplant shock is not what it is for most plants. The water-storing rhizome and a water-thrifty metabolism keep the foliage turgid through the move, so wilting is uncommon and rarely the thing to watch.
Wet, not dry, is the danger here.
The real risk inverts: a freshly disturbed rhizome, sitting in mix that stays too wet, slides toward anaerobic rot instead. The early warning is not scorched or drooping leaves — it is a stalk base that turns soft or darkens. If that rhizome is already going soft, you are past repotting and into rescuing a ZZ plant from root rot.
Helping your ZZ settle back in
The short version of how to help a ZZ plant recover from repotting is to do almost nothing. In practice, that means three things:
- A warm spot with bright, indirect light — no direct sun on the leaves
- No fertilizer until it is clearly growing again
- Water only when a dowel pushed to the bottom comes out dry
From here, the goal is a steady, unhurried rhythm — really just watering a ZZ plant correctly and leaving it be. How long full recovery takes is honestly hard to pin down.
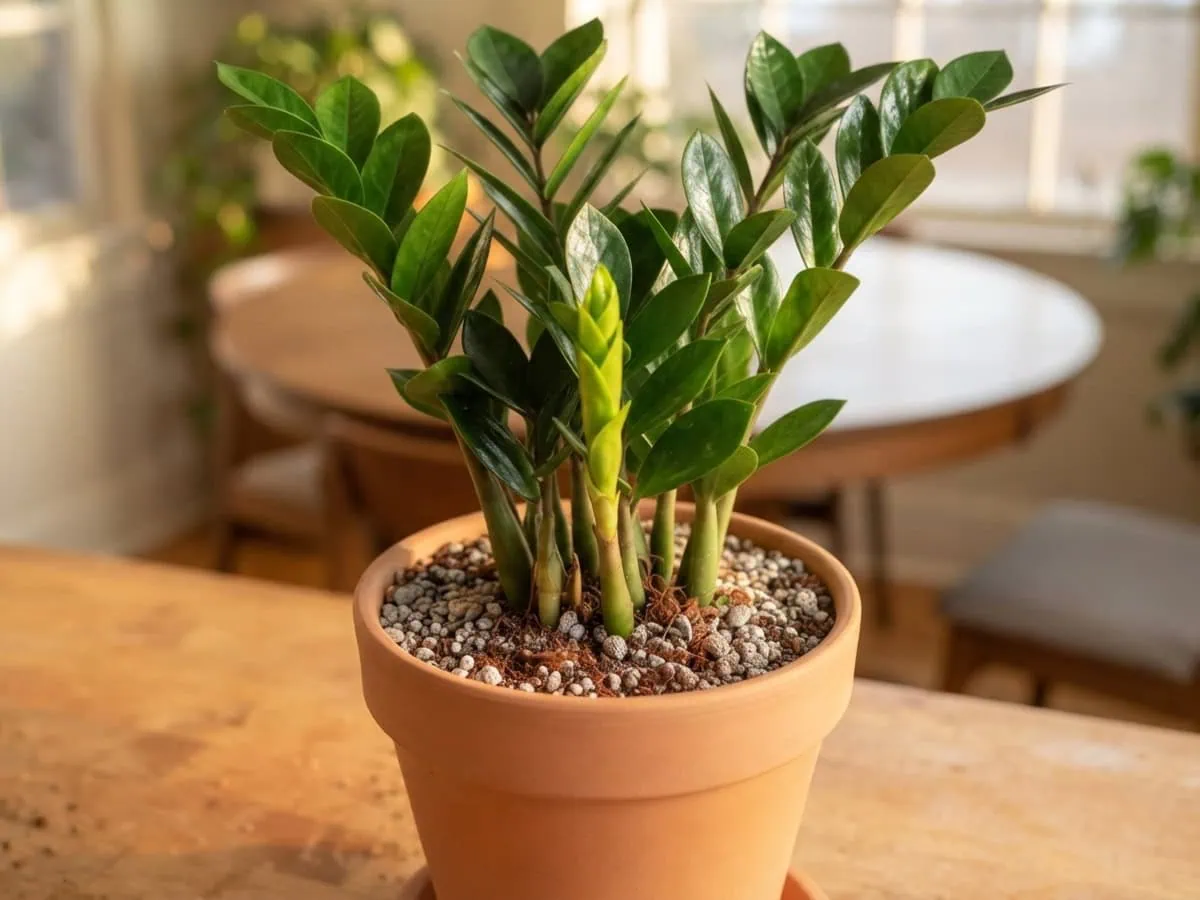
A ZZ grows in slow spurts, so I judge settle-in by behavior: the pot dries normally again, and weeks later a new green spear pushes up from the rhizome.
The biggest repotting mistakes (and the Epsom myth)
Most repotting failures trace to a handful of habits worth naming:
- Jumping to a much bigger pot, which leaves wet soil the rhizome cannot use
- Laying rocks or gravel in the bottom “for drainage,” which traps water instead
- Watering it in thoroughly — the single most common way to rot a fresh repot
- Pulling on the stalks, or repotting yearly out of pure habit
As for Epsom salt: no repotting authority I found backs it as a fix for transplant shock. A ZZ has only a slight tolerance for salts, so dosing a soaked, freshly disturbed rhizome adds water and salt at the worst possible moment. Skip it — the real levers are a snug pot and a light hand with water.
Frequently asked questions about repotting a ZZ plant
Do ZZ plants like small or big pots?
Small. A ZZ plant does best a little snug, in a pot only 1-2 inches larger than its rhizome mass, because the woody, water-storing rhizome banks its own moisture and any extra soil volume just stays wet against it. That standing wet is the exact condition that rots the base, so step up by only an inch or two rather than reaching for a roomy pot.
Does Epsom salt help transplant shock?
No. No repotting authority supports Epsom salt as a fix for transplant shock, and because a ZZ tolerates salts poorly, adding magnesium sulfate to a freshly disturbed, damp rhizome only piles more salt onto the moisture that already threatens the plant. The real levers stay the same: a snug pot with a working drainage hole, and a light hand with water once the mix runs dry.
Do ZZ plants like to be repotted?
Not especially. This is a slow-growing plant that resents root disturbance and stays content a bit root-bound, and because new growth comes slowly from the underground rhizome, it gains little from a bigger pot while losing time recovering from the move. Repot only about every 2-3 years, and only when the rhizome genuinely crowds the pot or roots push through the drainage hole, not on a yearly habit.
What are the biggest mistakes when repotting?
Overpotting and overwatering. The most damaging errors are a much-too-large pot, a bottom gravel “drainage” layer, and watering the plant in thoroughly afterward, since a gravel layer actually lifts a perched water table into the root zone and a heavy first watering leaves the disturbed rhizome sitting in moisture it cannot yet draw on. Each of these keeps the rhizome wet, the fastest route to post-repot rot.
What is the most common mistake with container plants?
A pot with no drainage hole, or a decorative sleeve that traps runoff. Water then pools at the bottom with nowhere to go, and for a drought-adapted plant like the ZZ, standing water at the rhizome is the fastest path to root rot. An open drainage hole is non-negotiable, so empty any cover pot after every watering.
Master the repot, skip the shock
Repotting a ZZ is less about technique than restraint. The whole trick, really. You are not nursing a delicate fern — you are moving a drought-built plant that would rather be too dry than too wet.
Get the three levers right — a snug terracotta pot, a gritty fast-draining mix, and a light first watering — and the plant barely notices the move (note to self: dry, don’t drench).
And once you have this — how to repot a ZZ plant without transplant shock — down to those three calm levers, you will never fuss over a root-bound pot again. May every rhizome you lift come through the move unbroken, settle into a snug terracotta pot, and push a fresh green spear once the mix runs dry.
Tap the button below to get more plant fixes in your Google Search results