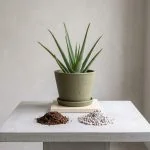
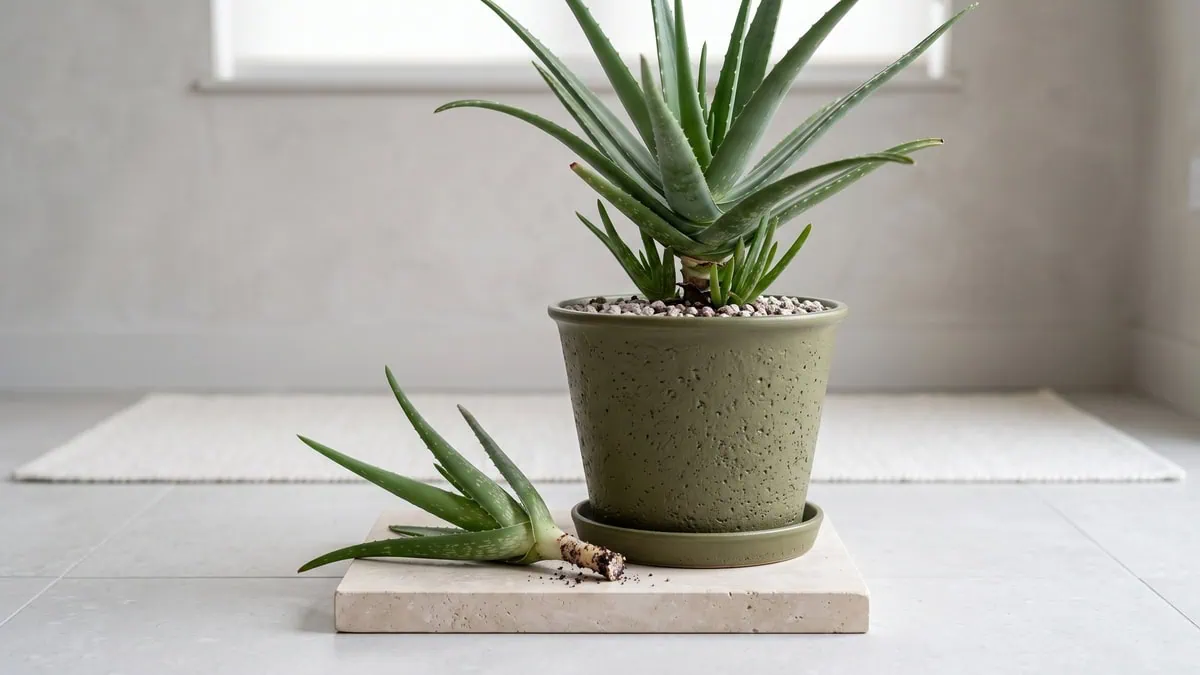
🛠️ Quick Prep Summary: separating and potting an Aloe pup
How to propagate aloe vera pups after separating them begins before the blade touches anything. An Aloe vera offset travels best when it already carries roots. Gather three items, confirm the pup is ready, and keep its new pot off a cold window.
- Tools: a sharp blade or scissors, wiped with rubbing alcohol
- Readiness: the pup carries its own roots and a formed rosette
- Timing: a few days of drying before the cut face meets mix
Get the one-page care card for this guide, plus a printable A4 copy
We condense this guide into one card for your phone and a print version for the pot shelf. Enter your email and we send both to your inbox. Subscribe once, then request the card of any guide you read.
By subscribing you agree to get emails from Plant Care Basics about plant care guides, about once a week at most. Unsubscribe in one click. Privacy policy
The pup came away from the parent light as a cork in the hand, its leaf bases still gritty where the mix had packed against them. Seven of those offsets over two years went into pots on my desk, and four thinned, turned papery, then browned at the tip within a month. The pups were not the problem.
I assumed a pup was just a small plant that needed watering like one, until one detached offset sat dry on a shelf for a week, produced two new root threads with no water at all, and taught me otherwise (I’ll explain in a sec). Correction — what I meant was that its fat leaves are a filled canteen.
The gel inside each leaf is a water bank, and a separated pup spends it slowly while it grows roots, so the pot matters more than the watering can. The first twelve weeks are about roots. The wider habits behind that, light, dry-down and cold limits, sit in my guide to raising Aloe vera under household conditions.
Nothing about this job goes wrong in the first minute, and the specs underneath give what it needs, how long it takes and what the pup must already have.
Quick specs: how to propagate Aloe vera pups after separating them
| Aloe specs | What the job needs |
|---|---|
| Difficulty level | Low (Beginner) |
| Time needed | 20-40 minutes for the separation and potting |
| Sterile blade required? | Yes – a sharp blade or scissors, wiped with rubbing alcohol between plants |
| Pup is ready when | It carries roots of its own and a recognizable rosette |
| Medium at potting | A fast-draining gritty succulent mix, roughly 1 part peat-free organic base to 2 parts coarse pumice, top-dressed with a thin layer of coarse pumice grit |
| Establishment window | 6-12 weeks; new leaf growth is the signal it has taken |
You are subscribed
Press the button and we prepare this guide's one-page care card and its A4 print copy and email both to you within a few minutes.
Tap the button below to get more plant fixes in your Google Search results

Table of Contents
Before you separate: three checks that decide the outcome
Three checks decide whether a pup survives separation: its roots, whether it has opened into a rosette, and what the parent is doing. Root check first; then leaf versus pup.
Does the pup have roots of its own yet?
A pup is ready when it carries roots of its own and has opened into a recognizable rosette. The “when are aloe vera pups big enough to separate” question comes down to what you find under the mix, not to height. Tilt the parent and scrape.
Across my own pots the ready ones showed two or three white thread-fine roots against the dark grit, thick as sewing thread and already tipped with pale growing points. The ones I lost had none.

- Roots of its own, visible when you scrape the mix back
- Leaves opened into a rosette rather than a single spike
- Three leaves at minimum on a pup taken from a big parent
- Parent in active growth and not in flower
Take the pup while the parent is in active growth and not in flower, which is what the seasonal advice is really standing in for. According to Penn State’s PlantVillage, growers traditionally propagate this species from suckers the mother plant produces.
- Parent pushing new leaves from the center
- No flower spike standing over the rosette
- Mix dry enough to crumble off the roots
Leaf or pup: why a detached leaf never roots
A detached leaf will not root. The question “can you grow a new aloe vera from a single leaf” turns up both answers, but the piece has to carry stem tissue to form roots. The blade alone softens and collapses instead.
| Piece taken | What the piece does |
|---|---|
| Detached leaf blade | [CONS] Softens and collapses; no roots form |
| Pup with its own roots | [PROS] Re-establishes in its own pot within weeks |
| Stem section carrying stem tissue | [PROS] Can root, but only after the cut face seals |
Verdict: Take a pup that already carries roots, because stem tissue, not leaf tissue, is what forms new roots.
Get the one-page care card for this guide, plus a printable A4 copy
We condense this guide into one card for your phone and a print version for the pot shelf. Enter your email and we send both to your inbox. Subscribe once, then request the card of any guide you read.
By subscribing you agree to get emails from Plant Care Basics about plant care guides, about once a week at most. Unsubscribe in one click. Privacy policy
Tap the button below to get more plant fixes in your Google Search results

Separating and potting the pup, step by step
The separation itself takes four steps and about half an hour once the tools are laid out. The following four steps run from a wiped blade to a potted pup. Tools first.
Step 1: Sanitize the blade and lift the plant
Wipe a sharp blade or scissors with rubbing alcohol, then lift the whole plant out of its pot instead of digging at the base. Dry mix crumbles away from the roots; wet mix tears them. Held to the light, the root mass shows pale tips against dark pumice.
Step 2: Ease the pup away, or cut it free
A pup with roots of its own is eased away by hand, while a rootless one is cut free with as much stem attached as possible. The “how to separate aloe vera pups without breaking the roots” answer is to support the parent with your other hand as the pup travels. Keep the firm, pale roots and cut away anything brown and soft.
- Roots present: ease the pup away by hand
- No roots: cut close to the parent stem
- Brown, soft tissue: trim it back to firm, pale root

Any pup that comes away with nothing underneath is a different job, and I have written that one up separately as starting a rootless offset from a sealed cut face. It waits longer.
A cut leaf or stem weeps a bitter yellow latex that can irritate skin in susceptible people. Wear nitrile or thick gardening gloves for any handling that contacts sap, and rinse skin with cold running water for at least 60 seconds if sap touches it.
If a severe skin reaction develops (blistering or intense burning), seek medical attention immediately. For chemical exposure, you can also contact Poison Control (1-800-222-1222 in the US).
Step 3: Decide whether the cut face must dry
The answer to “should i let aloe vera pups callus before potting them” depends on the base. A pup lifted with its own roots and no open wound goes straight into mix. A cut face waits one to three days in a cool, dark, dry spot, until the wound no longer looks wet and glossy.
The mix itself is the same one the parent lives in, chosen because a gritty, mostly mineral blend drains before the roots can sit wet, and the full reasoning sits in how a succulent mix differs from a bagged cactus mix.
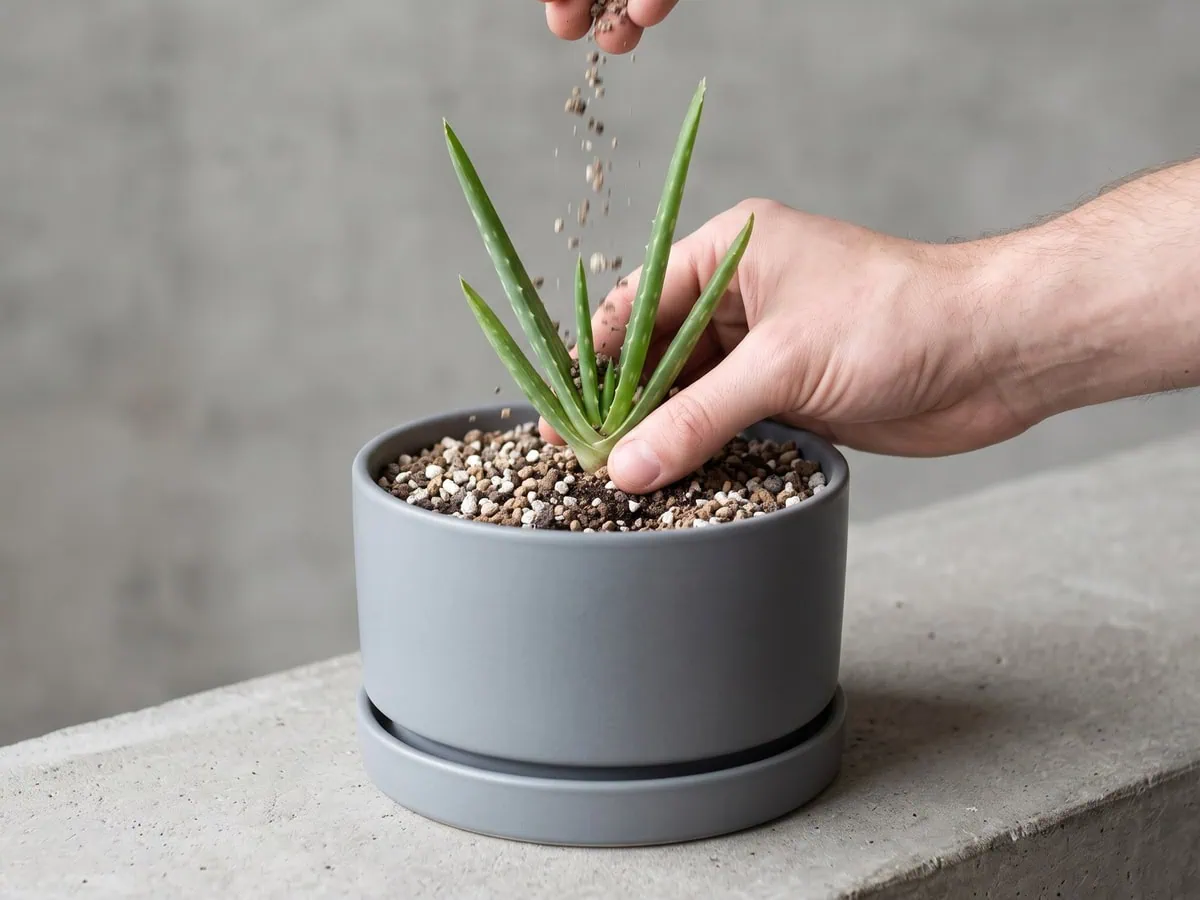
Step 4: Pot the pup at the right depth
Set the pup so its roots are buried and its lowest leaves sit clear of the surface, in a 4-inch pot with a drainage hole. Fill to about half an inch below the rim so a watering cannot wash the pup out. The mix goes in barely moist: squeezed in the hand it should hold a ball and drip nothing.
- Pot: 4 inches across, drainage hole, no sealed decorative sleeve
- Collar: 1 to 1.5 inches of fresh mix around the roots
- Medium: a fast-draining gritty succulent mix, roughly 1 part peat-free organic base to 2 parts coarse pumice
The first 6-12 weeks after potting
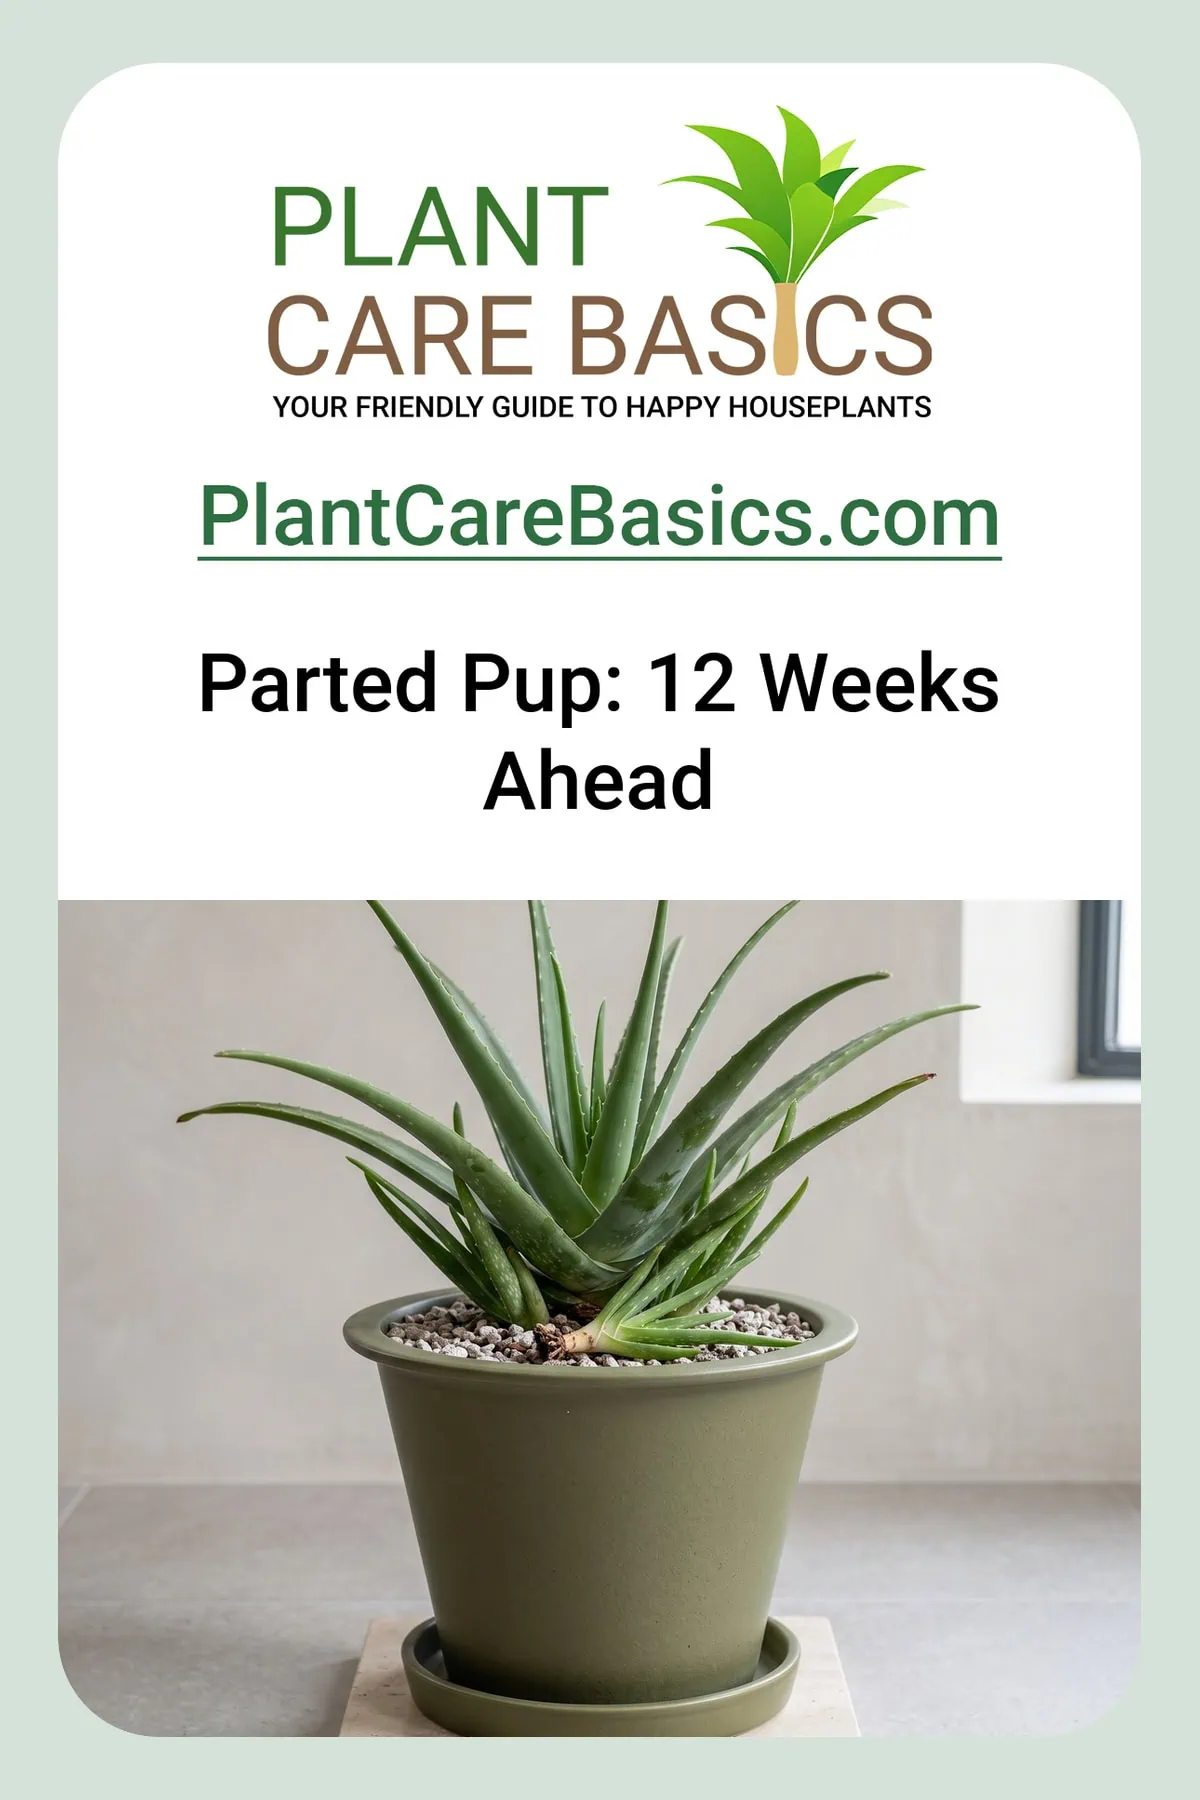
The first six to twelve weeks are quiet ones: the pup is building roots, and new leaf growth is the signal it has taken. Ahead: the first watering, the failing pup and the five mistakes.
When to give the first watering
Hold off seven to ten days before any water goes in. Tentatively, that is the figure I hold to, because the published spread runs from watering immediately to holding off ten days. After that, water only when the mix has dried through to the bottom.
- Days 1 to 10: no water at all
- After that: water only when the mix is dry to the bottom
- Empty the saucer as soon as it drains
The cadence afterwards is the parent’s cadence, which means waiting until the medium has dried right through rather than watering on a day of the week. Bright shade first. Keep the pot in a warm room between 55 and 85F, off a cold windowsill, and out of direct sun until new growth appears.
What a thinning, browning pup is telling you
Ask “why did my separated aloe vera pups go thin and brown” and the honest answer starts with what the pup looks like. A blade that has gone flat and soft along its whole length is one state; a base or lower leaves gone brown and soft is another. Neither is a watering cue.
For the flat, soft blade, leave the pot alone and let the roots catch up. For brown, soft tissue at the base, lift the pup, cut back to firm pale tissue and let the face dry again before it goes back.

The pale, papery leaf tips I photographed never recovered, and the plants that did recover pushed one small new leaf from the center.
Five mistakes that end a separation
Five mistakes end most separations.
- Potting a leaf blade instead of a pup with stem tissue
- Standing the piece in water to root it
- Watering it in on the day it is potted
- Dropping a small pup into a large pot of wet mix
- Leaving it on a cold windowsill while it roots
Frequently asked questions about separating Aloe pups
Can you propagate Aloe vera pups in water?
No. A pup rots before it roots in water, so it goes into a gritty mix instead.
Four of the ten guides compared here refuse the water route outright, and the one that teaches it states no outcome at all. The plant holds its own water in the leaf, so a pup gains nothing from standing in a glass and loses the air its cut face needs.
How to transfer Aloe vera pups?
Pot the pup at the depth it grew, in a 4-inch pot with a drainage hole.
Bury the roots, keep the lowest leaves clear of the surface, and fill to about half an inch below the rim. Use a barely moist mix rather than a wet one, and stand the pot somewhere bright but out of direct sun for the first weeks.
Can Aloe pups be propagated without roots?
Yes, but it is a slower job, and the cut face has to seal first.
A rootless piece waits one to three days in a cool, dark, dry spot until the wound stops looking wet, then goes shallowly into barely moist mix. Roots can take weeks or months, which is why that case has a guide of its own rather than a paragraph here.
How do you keep Aloe pups alive?
Give it light, warmth and no water at all for the first seven to ten days.
Bright shade to start, a room between 55 and 85F, and a pot off any cold windowsill. After the first watering, let the mix dry right through before the next one, and empty the saucer straight away so the pup never stands in water.
What are common mistakes propagating Aloe?
The five that end most separations are a leaf instead of a pup, water rooting, watering on day one, an oversized pot and a cold sill.
Each one adds moisture or removes light at the moment the pup can use neither. The pup is holding a fixed amount of water and has no working root contact yet, so every early mistake is the same mistake made in a different way.
Can I break off a piece of Aloe and replant it?
Yes, if the piece carries stem tissue rather than being a bare leaf blade.
Cut into the stalk rather than through a leaf, leave about two inches of stem below the lowest leaf, and let the cut face seal before potting. Rooting hormone is optional for this species. A blade taken on its own softens and collapses instead of rooting.
How much water do Aloe pups need?
None for the first seven to ten days, then a thorough soak once the mix is dry.
After that the pup is watered like the parent: soak until water leaves the drainage hole, empty the saucer, and wait until the mix has dried to the bottom. In low light and cool rooms that interval stretches, so the mix decides rather than the calendar.
Does Aloe propagate easily?
Yes for the separation, which is quick; the six-to-twelve-week wait is the hard part.
Every guide calls the job easy and none of them puts a number on it, which is why a reader whose pup failed assumes they are the exception. The offset route is the most reliable of the three routes, and the waiting is where most pups are lost.
Your next step: from a separated pup to a settled rosette
Truth is — the separation is the easy half, and the twelve weeks after it are where the plant is actually won or lost. A pup with its own roots, a gritty mix and a bright shaded corner (yes, this sounds passive — bear with me) needs nothing else from you.
Watch the center. One small new leaf pushing from the middle of the rosette is the signal that roots have taken, and that is the moment the waiting ends. So that is the whole signal.
Once it is growing, the next step is settling an established rosette after a move. That is all there is to how to propagate aloe vera pups after separating them.
A pup that carries roots of its own asks for light, a gritty mix and your patience, and it will tell you it took by pushing one new leaf.
Get the one-page care card for this guide, plus a printable A4 copy
We condense this guide into one card for your phone and a print version for the pot shelf. Enter your email and we send both to your inbox. Subscribe once, then request the card of any guide you read.
By subscribing you agree to get emails from Plant Care Basics about plant care guides, about once a week at most. Unsubscribe in one click. Privacy policy
Tap the button below to get more plant fixes in your Google Search results