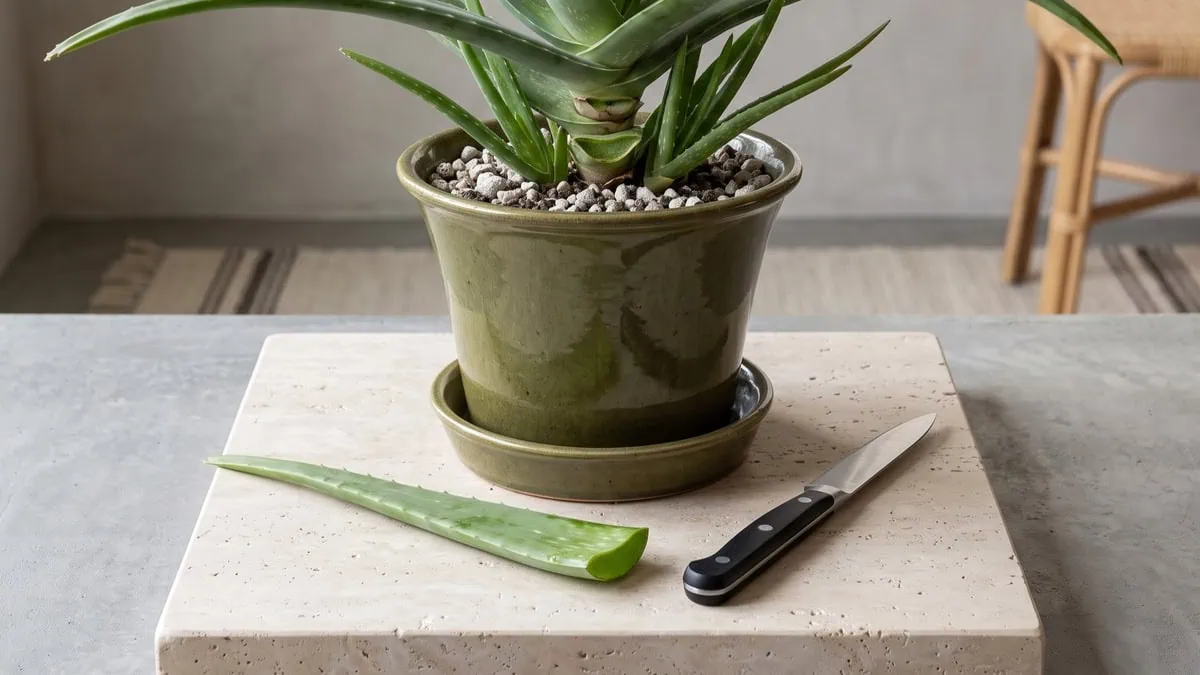
🛠️ Quick Prep Summary: cutting a leaf cleanly
This is how to cut Aloe vera leaves without hurting the plant or yourself. You need one sterile blade, about twenty minutes, and a container to catch the drips. The cut is quick — the drain that follows is the part people rush.
- A sharp, sterile blade or scissors: dull edges crush the leaf base instead of parting it
- A rosette with leaves to spare: take only the oldest outer leaves, never the center
- Twenty to thirty minutes, mostly waiting: the leaf drains upright before it goes anywhere
Get the one-page care card for this guide, plus a printable A4 copy
We condense this guide into one card for your phone and a print version for the pot shelf. Enter your email and we send both to your inbox. Subscribe once, then request the card of any guide you read.
By subscribing you agree to get emails from Plant Care Basics about plant care guides, about once a week at most. Unsubscribe in one click. Privacy policy
Twelve leaves have come off one rosette on my bench over seven years — always the oldest outer ones — and the first four came off wrong. The plant paid for it, and so did the floor.
A ragged stump where the leaf sat is the visible problem. Hmm, on reflection — that stump is only what you notice first.
The actual problem is the cut face. Aloe vera seals a wound by drying it into a corky scar — suberization (the term matters here) — because the waxy cuticle stops at the cut, and a crushed edge that keeps weeping yellow leaf exudate never dries enough to start.
You can watch it go wrong in color. A damp cut turns pale green to wet tan at the rim within a day, then to a sunken brown-black margin the next week.
Work the leaf off in the order below and that sequence never starts, which is part of keeping the parent rosette in good order.
Before you pick up anything sharp: the whole job is smaller than it looks. The version I check first is printed just under this line.
How to cut Aloe vera leaves without hurting the plant or yourself: quick specs
| Aloe specs | What to expect |
|---|---|
| Difficulty | Low (Beginner) |
| Time needed | 20-30 minutes, including the drain |
| Sterile blade required? | Yes – wipe the blade with rubbing alcohol before the first cut and between plants |
| Does the cut leaf grow back? | No – the plant adds new leaves from the center instead |
| Leaves left standing after a session | 5-7 healthy leaves |
You are subscribed
Press the button and we prepare this guide's one-page care card and its A4 print copy and email both to you within a few minutes.
Tap the button below to get more plant fixes in your Google Search results

Table of Contents
Before the blade: leaf choice, tools, and hand protection
Plant age, leaf choice, the implement — settle those three and the blade can move. They are taken in that order below.
Is this plant old enough to lose a leaf?
Wait until the plant is two to three years old before taking anything. That is the one readiness figure the published guides agree on; their leaf-count thresholds do not, running from five leaves at one end to seven or eight at the other — so on a six-leaf plant, one guide says cut and another says wait.
Count what stays, not what goes. Leave five to seven healthy leaves standing after any session and that argument stops mattering. I cut into a five-leaf plant once and watched it sit still for a year afterward.
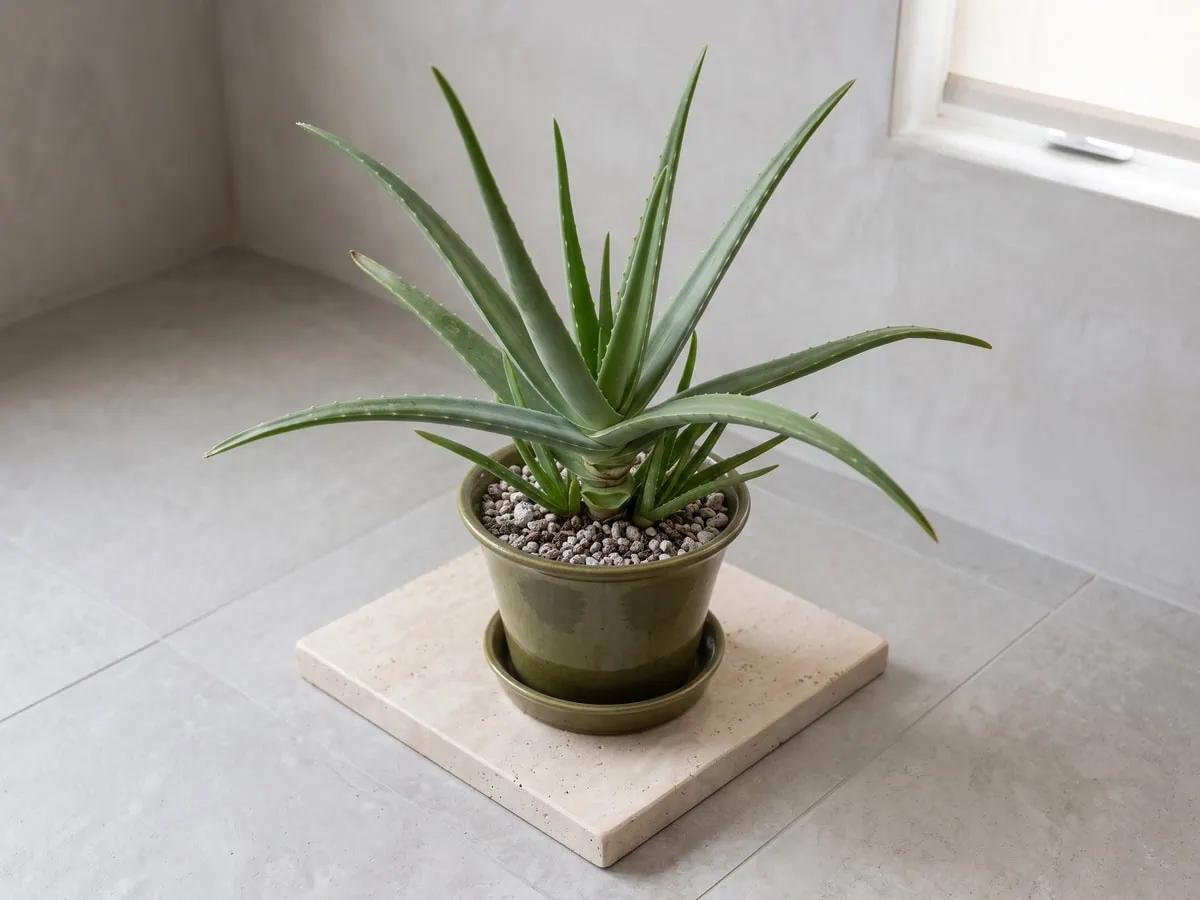
If you are asking “when should i harvest gel from my aloe vera”, the remainder is the answer — a rosette still carrying seven firm leaves can spare one whenever you want it.
Which leaf to take in a crowded rosette
Take from the outside, always. New leaves rise from the center of the rosette, so the oldest outer leaves are the only ones you can remove without deforming what comes next.
In a pot that has grown crowded, look before you choose. The pale triangular teeth along one leaf margin rest against the face of the leaf beside it, and they leave a line or a shallow puncture where they sit.
That is the answer to “why do my aloe vera leaves stab each other in the pot” — a spacing problem, not a pest. Take the leaf doing the pressing, and put gloves on first, because the margin that scores its neighbor reaches your hand at the same angle.
Knife or scissors for an Aloe vera leaf?
Use a knife. Two of the guides that name a mechanism say scissors squeeze the juice out of the leaf as they close, while three others recommend scissors without addressing that at all — so the disagreement is about blade geometry, not hygiene.
| Implement | What it does to the leaf |
|---|---|
| Sharp knife or garden shears | [PROS] Parts the leaf in one pass and leaves a flat face |
| Kitchen scissors | [CONS] Compresses the leaf while closing, squeezing juice out |
| Any dull edge | [CONS] Rips a ragged face that stays open longer |
Verdict: Choose the knife for any leaf thick enough to resist a single pass of the scissors, because a compressed face dries slower. Wipe the edge with rubbing alcohol before the first cut and again between plants.

The two cuts do not look alike a day later. A sliced face dries to a flat, dull pale-green skin you can press without it giving; a crushed one stays glossy and darkens to tan along the edge.
Get the one-page care card for this guide, plus a printable A4 copy
We condense this guide into one card for your phone and a print version for the pot shelf. Enter your email and we send both to your inbox. Subscribe once, then request the card of any guide you read.
By subscribing you agree to get emails from Plant Care Basics about plant care guides, about once a week at most. Unsubscribe in one click. Privacy policy
Tap the button below to get more plant fixes in your Google Search results

Cutting an Aloe vera leaf, step by step
The whole job is five steps, one blade, and about half an hour. The following steps run in order, and the order is what protects both of you.
Step 1: Sanitize the blade
Sterilize first. Wipe the blade edge with 70% isopropyl alcohol, a non-chlorine bleach, or chlorine bleach diluted nine parts water to one part bleach, because any of those three reaches a bacterium and a blade that has just been through a sick plant does not.
Alcohol dries fast — bleach wants a rinse. And sharpen before you sterilize, because a clean blunt edge still crushes more tissue than a sharp one parts.
Step 2: Pick the outermost leaf
Work from the outside of the rosette only. New leaves arrive at the center, so a leaf taken from the middle is one the plant cannot replace where it stood, and the rosette carries that gap for good. Skip any tip that has gone brown and papery-dry along its last inch.
Necrotic tissue is an open door for infection, and the leaf that looks worst is often the one that has to stay. Under about 10 inches is not worth the wound. Let it grow.
Step 3: Cut at the leaf base on a slight angle
Bring the blade in where the leaf meets the stem and cut as close to that junction as you can reach. One pass is enough. Tilt the blade slightly so the face sits at an angle rather than flat — the angled face sheds the exudate instead of holding a pool of it against the wound.
The angle matters. That is all there is to “how do i cut a leaf off my aloe vera properly”: one pass, at the base, on the slant.
Step 4: Stand the leaf upright to drain
Hold the cut end down over a container for 10 to 15 minutes. A bead forms almost at once. Bitter yellow-to-orange fluid gathers along the freshly cut edge, right beside the pale whitish teeth of that same leaf, and it keeps coming until the pressure inside the leaf drops.
A wider leaf drains longer, so the clock is a floor rather than a finish. Stop when the dripping and the color change stop together.

- Wear nitrile or thick gardening gloves whenever your hands will meet cut-leaf latex.
- If the latex reaches bare skin, rinse it under cold running water for at least 60 seconds.
If a severe skin reaction develops (blistering or intense burning), seek medical attention immediately. For chemical exposure, you can also contact Poison Control (1-800-222-1222 in the US).
Step 5: Wash your hands and wipe the drips
Rinse any skin the exudate reached under cold running water for at least 60 seconds. Gloves go on first — the rinse comes after.
So is “is the yellow liquid from a cut aloe vera leaf harmful to handle” a real worry? It irritates skin in some people and it marks surfaces, because the pigment in that fluid leaves a yellowish-green stain on whatever the cut end rests against, so wipe the counter before it dries.
After the cut: the wound, the water, and what grows back
The leaf you cut is gone for good, and the plant answers somewhere else. Then the wound, the watering, and the two rules to ignore.
So do aloe vera leaves grow back after you cut them? Not the one you took — that leaf is finished, and the socket it left stays empty.
What the plant does instead is push a new leaf out of the center. That is why an old, heavily harvested rosette eventually ends up on a bare, elongated stalk with its crown riding at the top, which is the shape behind resetting a stretched plant that leans over its pot.
The replacement timetable is the one figure you have to read off your own plant. I have a hunch about this but no peer-reviewed source: the rate seems to track light more than anything else, and a plant on a dim sill can sit unchanged for a season. Watch the center, not the calendar.

The cut leaf keeps about two weeks in the refrigerator, and so does the extracted gel, though published post-harvest figures for the gel run from two days to two weeks with nothing explaining the spread. Judge the material, not the date. A leaf past its span turns from firm pale green to slack translucent tan at the cut end.
According to the Journal of Functional Biomaterials, how soon cut leaves are refrigerated and filleted decides how fast that window closes.
Sealing the cut and holding the watering can
Dust the exposed epidermis at the cut face with powdered cinnamon and leave it alone. Then hold the watering can for a couple of days so the face can dry and close.
Hydrogen peroxide is for empty pots and blades, never for living tissue — that is my own rule rather than a research finding, and it is the substitution worth making by habit.
Watch the face itself. It should dry to a firm, dull surface within one to three days; if it stays wet, softens, or darkens inward from the edge, the suberized seal has not taken. That same seal governs starting a cut stem piece from scratch.
From there the plant goes back to its ordinary cycle — a full dry-down of the mix, then a thorough soak that wets the whole pot rather than the top inch.
Water went on the morning after a cut once, and that face never did seal.
Two cutting rules that are repeated and wrong
Rule one: cut in the dark months. That advice appears in guides that also state, two paragraphs earlier, that the plant grows fastest in warmth and long days — and a plant growing slowly is a plant that refills a lost leaf slowly. Limit yourself to one leaf in that stretch, not the two or three a bright spell would carry.
Rule two: take a third of the plant. On a fifteen-leaf rosette that permits five leaves in one session, which is more than any absolute-count guide allows, and the two instructions cannot both be followed. Count what remains instead.

Frequently asked questions about cutting Aloe leaves
Can you cut an Aloe leaf and plant it?
Not that one. A detached Aloe vera leaf will not root, however long you leave it. The species parts company here with the succulents whose leaves do strike.
What does work is an offset — a pup carrying its own roots, separated from the base once it has formed a recognizable rosette — or a stem section with about two inches of stalk below the lowest leaf. Either piece is left to seal before it goes into medium, and separating a rooted offset from the parent is the step that comes first.
Will my Aloe vera plant grow back if I cut its leaves?
It does, though not where you cut. The plant replaces leaves from the center of the rosette, never at the socket the old leaf left, so the gap at the bottom stays a gap.
A rosette that keeps five to seven healthy leaves carries on producing. Read the center for new growth rather than counting weeks, because the replacement rate tracks light more than it tracks time.
How to use an Aloe vera plant without losing it?
Take the oldest outer leaves only, and never more than the rosette can spare. Five to seven healthy leaves left standing is the working floor; below that the plant is running on reserves it needs.
Give the plant two to three years of growth before the first harvest. Cut at the base with a sterilized blade, dust the wound with powdered cinnamon, and hold water for a couple of days. Then let it refill from the center before you go back.
Does the yellow sap that runs out of a cut Aloe leaf stain surfaces or irritate skin?
Both, and the marking is the part most guides skip. The bitter yellow-to-orange latex sits in the leaf rind, and its pigment leaves a yellowish-green stain on whatever the cut end rests against.
On skin it causes occasional sensitivity rather than a reliable reaction, so gloves before and a cold running-water rinse after is the routine, and the pet-safety side of the same yellow exudate settles the other half. Wipe drips off a counter while they are still wet. Keep the cut end pointed into a container from the moment the blade comes away and neither problem starts.
From anxious to confident in one cutting session
Cutting a leaf feels irreversible the first time. It really is — that leaf will not come back — but the rosette carries that loss easily, and every step above keeps it to one leaf.
Confession time: I still count before I cut. Five to seven standing, the oldest one out, one clean pass at the base, cinnamon on the face.
Watch the center. The replacement rises a paler, brighter green than the leaves around it, then deepens to match them over the following weeks — that color shift tells you the wound closed.
Take one leaf, then watch that change. Following that order is all there is to how to cut Aloe vera leaves without hurting the plant or yourself (no caveat needed).
One leaf gone from the bottom stays gone, and the new one rising at the center is the only reply this rosette owes you.
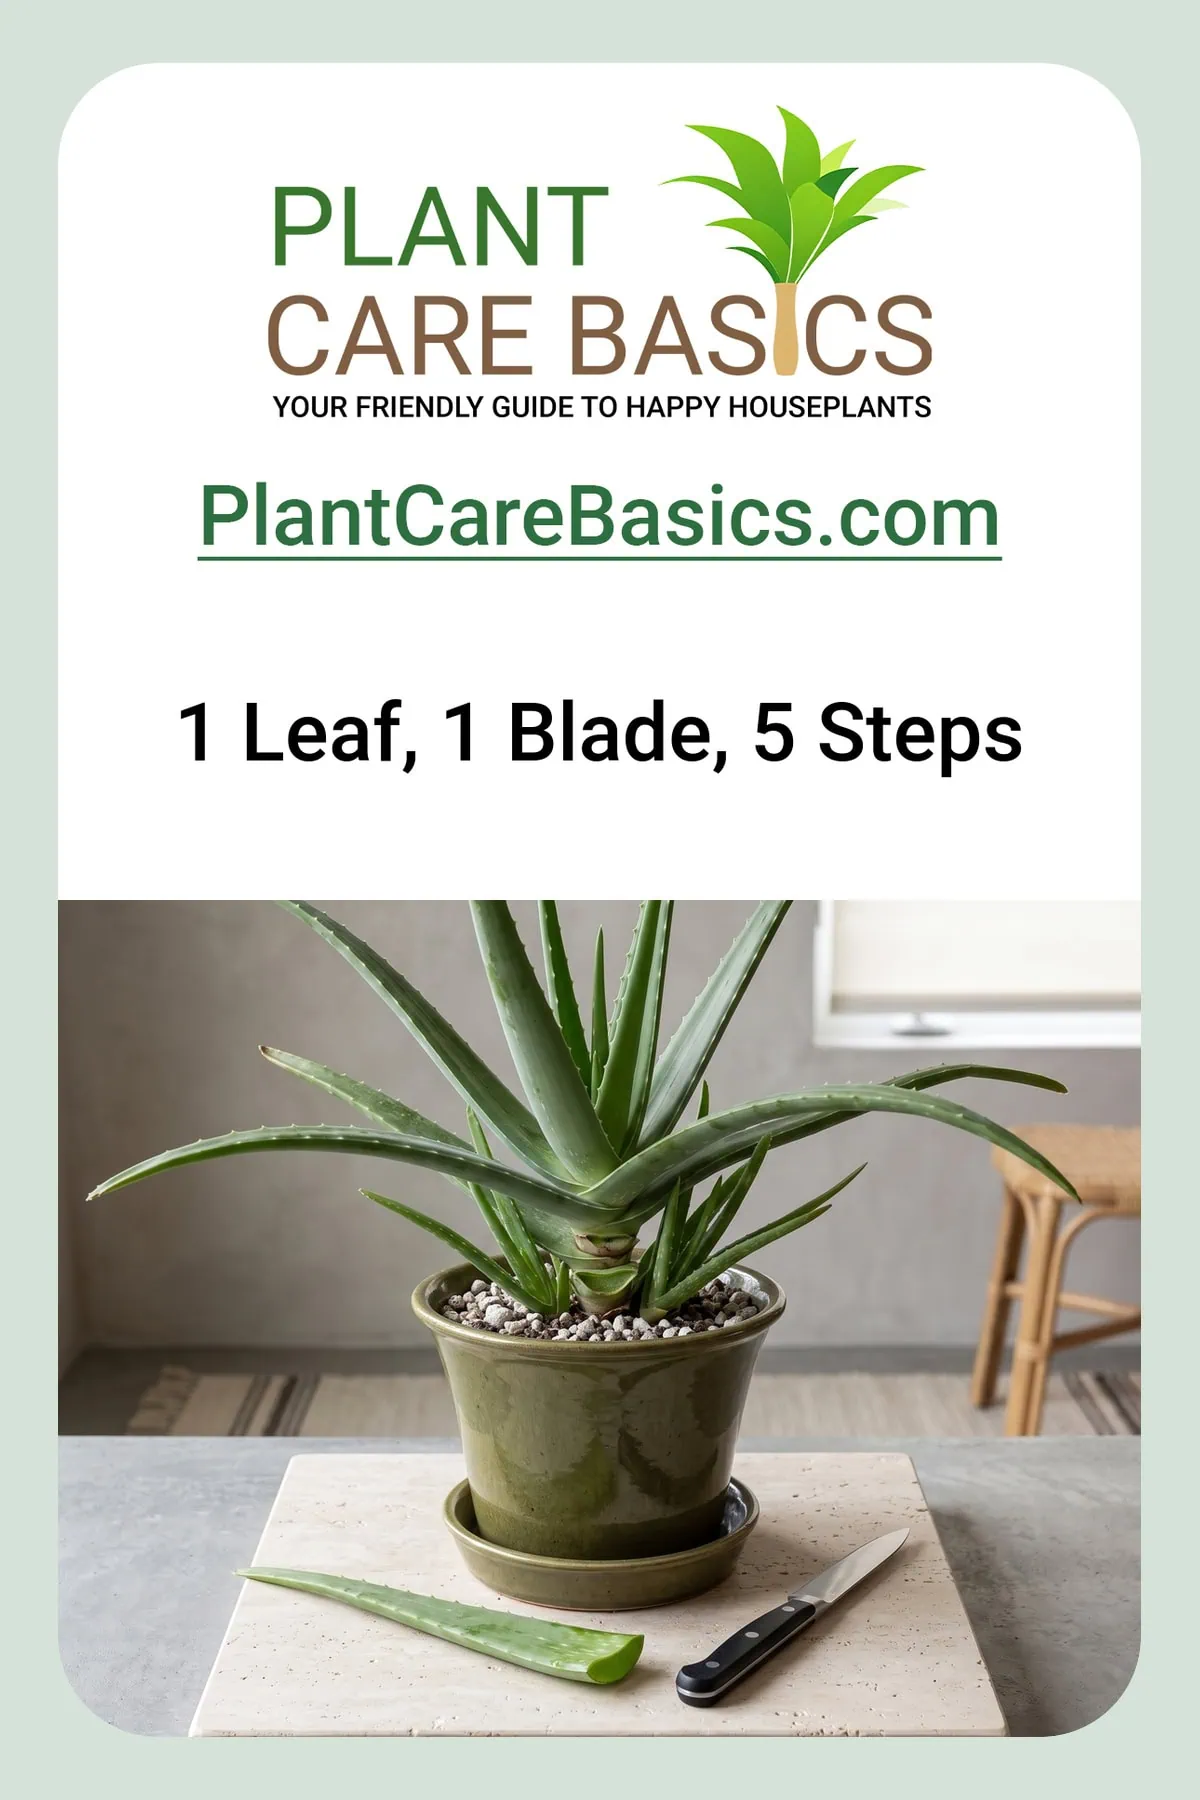
Get the one-page care card for this guide, plus a printable A4 copy
We condense this guide into one card for your phone and a print version for the pot shelf. Enter your email and we send both to your inbox. Subscribe once, then request the card of any guide you read.
By subscribing you agree to get emails from Plant Care Basics about plant care guides, about once a week at most. Unsubscribe in one click. Privacy policy
Tap the button below to get more plant fixes in your Google Search results