🛠️ Quick Prep Summary: getting a Monstera ready for its pole
How to train a Monstera deliciosa up a moss pole is decided before the pole goes in. Gather the support and the ties first, then check the plant is ready. Everything below assumes a plant already growing in its own container.
- A moisture-holding surface: sphagnum or coir, never a smooth bare stake
- Soft ties and clean shears: wipe blades with rubbing alcohol before any cut
- Timing: start once the stem shows its first knobby aerial roots
Honestly? A finger’s width of air between stem and pole is all it takes. I counted ten ties in one year, each one slipping a little lower, because I kept assuming the plant would grab the pole on its own.
Let me reframe that… Instead of tying the stem tighter, I realized it would never hold on until its knobby aerial roots met a host surface they could root into.
The roots do the gripping. Those cord-like aerial roots are the climbing organ, and a smooth stake gives them nothing to hold.
Swiss cheese plant (Monstera deliciosa, formerly Philodendron pertusum), a member of the Araceae family, is a vining plant that will need support. So the steps below are about contact, not tension (and I say this confidently).
They cover the job’s three stages, siting the support, getting the plant onto it and keeping it climbing, not a stem already gone bare. For everything else, start with the settled routine a healthy specimen runs on.
Nothing gets tied yet. Six lines cover the whole job, and reading them first lets you size the pole before you touch the plant.
How to train a Monstera deliciosa up a moss pole: quick specs and requirements
| Monstera specs | What the job needs |
|---|---|
| Difficulty level | Low-medium (Beginner) |
| Support type required | A moisture-holding surface the aerial roots can root into, not a smooth stake |
| Shaft height target | To about 6-7 ft for a mature indoor specimen |
| Repot required to install? | No – the shaft goes into the existing container |
| Must the pole surface be kept damp? | Yes – dry surfaces are the ones roots refuse |
Tap the button below to get more plant fixes in your Google Search results

Table of Contents
Choosing and siting the support before you touch the plant
Choose a support your plant’s aerial roots can root into, and site it before the first tie goes on. Three questions decide it: which support, when, and how thick.
A pole is not survival equipment. An unsupported plant lives and sprawls sideways; a supported one takes up less floor and pushes larger leaves, provided the light is there too.
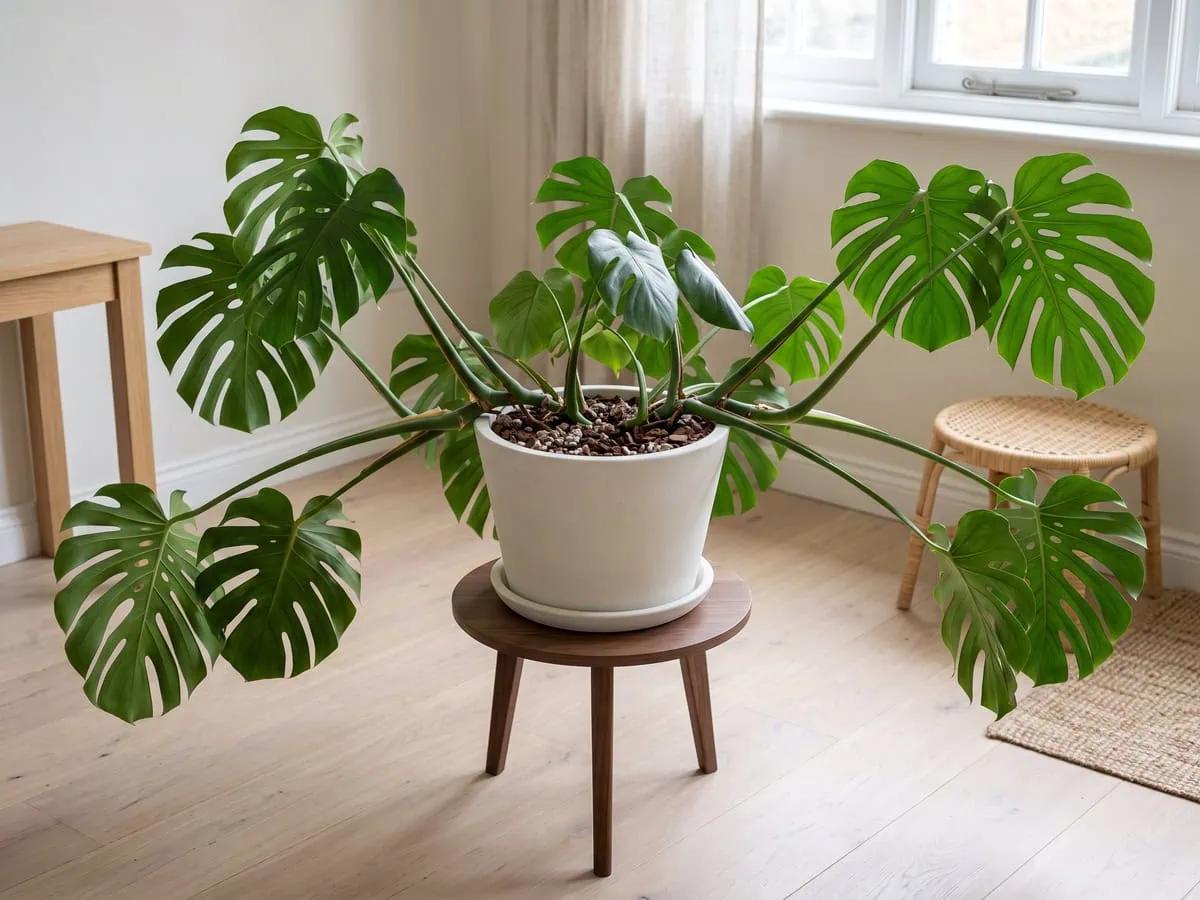
Roots-into or lean-against: which support type?
Supports divide on one axis: the ones aerial roots can enter, and the ones the plant can only lean against. According to the University of Connecticut, moss poles and the porous surfaces this vine climbs are a matched pair.
Type “best moss pole for a Monstera deliciosa” into a search bar and you get product photos, when the property that decides it is whether the surface holds water long enough for a root to enter. A soaked sphagnum face darkens to near-black and stays that way for hours; a dry one reads pale tan and sheds water in beads.
- [PROS] Roots enter the surface, the stem starts holding itself. (Best For: a plant you want taller rather than wider)
- [CONS] Needs re-wetting, the surface degrades and eventually gets replaced.
Verdict: Choose a moisture-holding surface when you want growth, because only a surface a root can enter produces the attachment.
Bigger leaves are the payoff most guides promise, and they are conditional on light as much as on support. If yours are staying whole, read why a young blade opens with no splits at all.
When your plant is ready for a pole
Install it once the stem starts producing aerial roots. Care guides say any time, earlier is better and never too late, which tells you nothing about the plant in front of you.
- The first cord-like roots leaving a node
- The first stem that no longer holds its leaf up without leaning
Either one is the moment.
Sizing the shaft to the stem it must carry
Match the shaft to the stem, not to the pot. Guides describe thickness as thicker or thinner and never in inches, so use the plant instead.
Press the thickest stem against the shaft where the weight will bear; if the shaft flexes under hand pressure, or is narrower than the stem it is being asked to carry, it is undersized and more ties will not fix it. In my testing, the shafts that failed were always the ones narrower than the stem they were carrying.
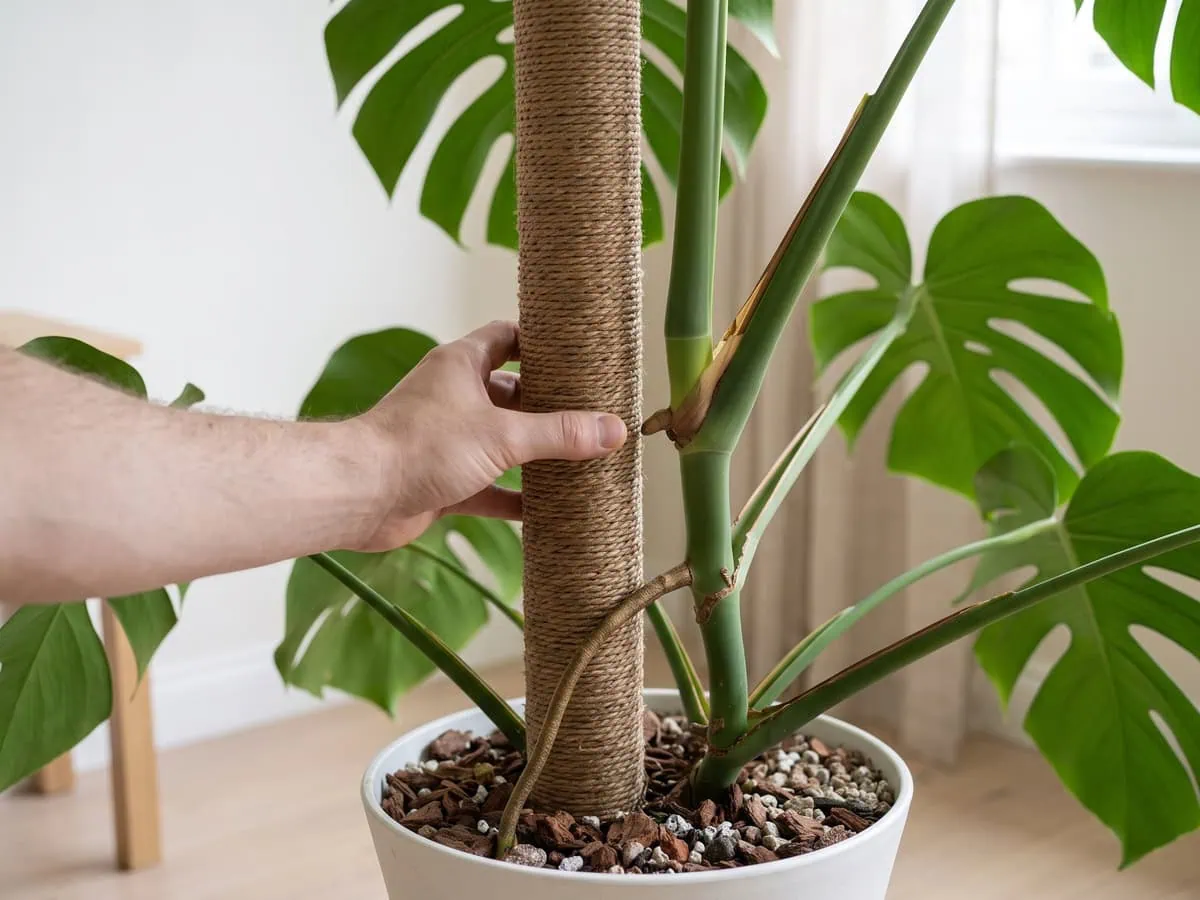
Height is easier. Indoors this species tops out around 7-8 ft, so a shaft finishing near 6-7 ft gives the crown its last foot of room.
One caveat before you start: a pole in a dim corner changes very little, because the leaf-size payoff is gated by light. Check how much light this plant actually needs indoors.
Tap the button below to get more plant fixes in your Google Search results

Step-by-step: getting the plant onto the pole
Work through the five steps in order, because each one sets up the next. One assumption governs all five: the plant is already sitting in its own pot.
Step 1: Find the aerial-root side
Turn the pot until the side of the stem carrying aerial roots faces you. Those roots are knobby stubs, paler than the stem and often crooked, and they are the side the pole has to meet. Put the pole there rather than at a fixed compass point, so the stem is not asked to twist.
If some of those roots are heading for the floor or the wall instead, steering the roots that leave the stem is covered separately. Leave them where they are for now.
Step 2: Sink the shaft without spearing roots
Push the shaft down slowly and stop the moment it meets resistance. If the mix humps into a small dome as you push, you are lifting the root ball rather than entering it. Withdraw, move over an inch, try again, and sink roughly the bottom third so the shaft stands on its own.
A root ball so dense that every spot resists is telling you something else, and reading the signs that the container is outgrown comes before forcing a shaft into it.
Step 3: Ballast the base before you tie
Weight the base until the whole assembly stays put when nudged. Tilt the pot until the leaves lean out and let go: if the container follows the leaves, the base is too light for the height you have installed. Add mass at the bottom, coarse grit packed over the mix around the shaft base until the pot feels bottom-heavy in the hand, or shorten the shaft.
- Stones or coarse grit packed around the shaft base
- A heavier container
- A shorter shaft
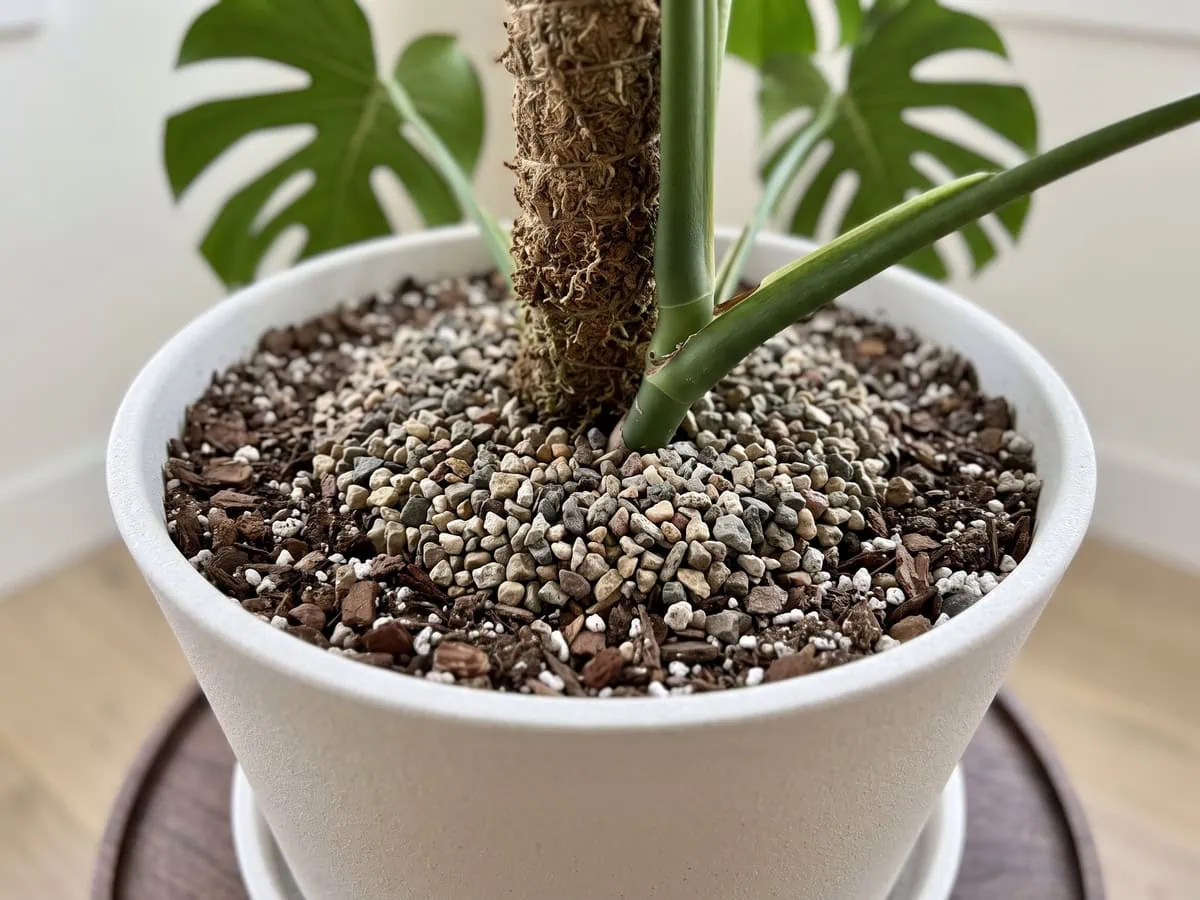
Step 4: Tie thick stems, never leaf stalks
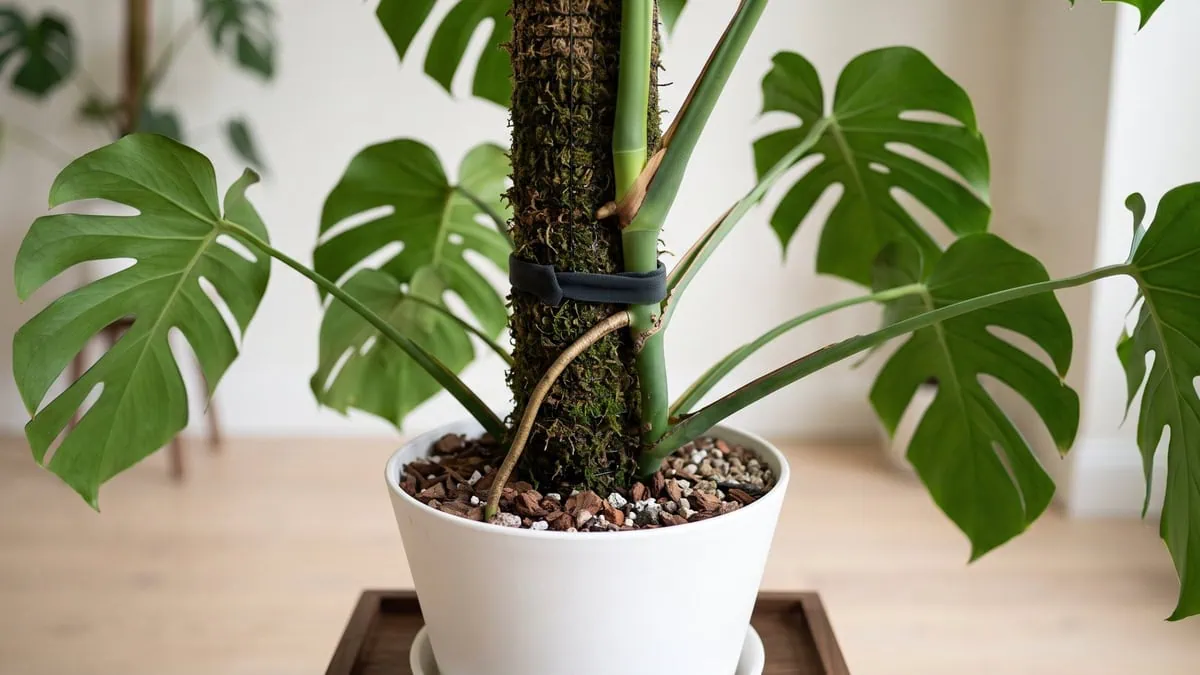
Tie only the thick stems that carry the big leaves and show aerial roots. Leaf stalks are the slender arms running out to a single blade; a tie on one of those dents it and throws the leaf off angle. Pass a soft tie around the stem and the shaft together, snug enough to hold and loose enough that a finger slides under it without catching when you check it later.
Search “how to attach a Monstera deliciosa to a moss pole” and most answers stop at the knot. The tie is temporary scaffolding, and what you are really doing is holding the stem still long enough for the roots to take over.
That is the whole trick. In my own pots, the ties I kept having to redo were always the ones holding a stem that never met the surface.
Pressing nodes flat and re-seating ties both put your hands on tissue that can weep. Wear nitrile or thick gardening gloves whenever you handle damaged tissue, and if sap reaches your skin, rinse it under cold running water for at least 60 seconds. If a severe skin reaction develops (blistering or intense burning), seek medical attention immediately. For chemical exposure, you can also contact Poison Control (1-800-222-1222 in the US).
Step 5: Press nodes and roots into the surface
Press each node and aerial root flat against the damp face until the gap closes to nothing. Crouch to stem level and look along the shaft: a root standing off the moss by the thickness of a pencil is held, not attached, and it will still be held next season. Wet the surface first, because a dry face is the one roots refuse.
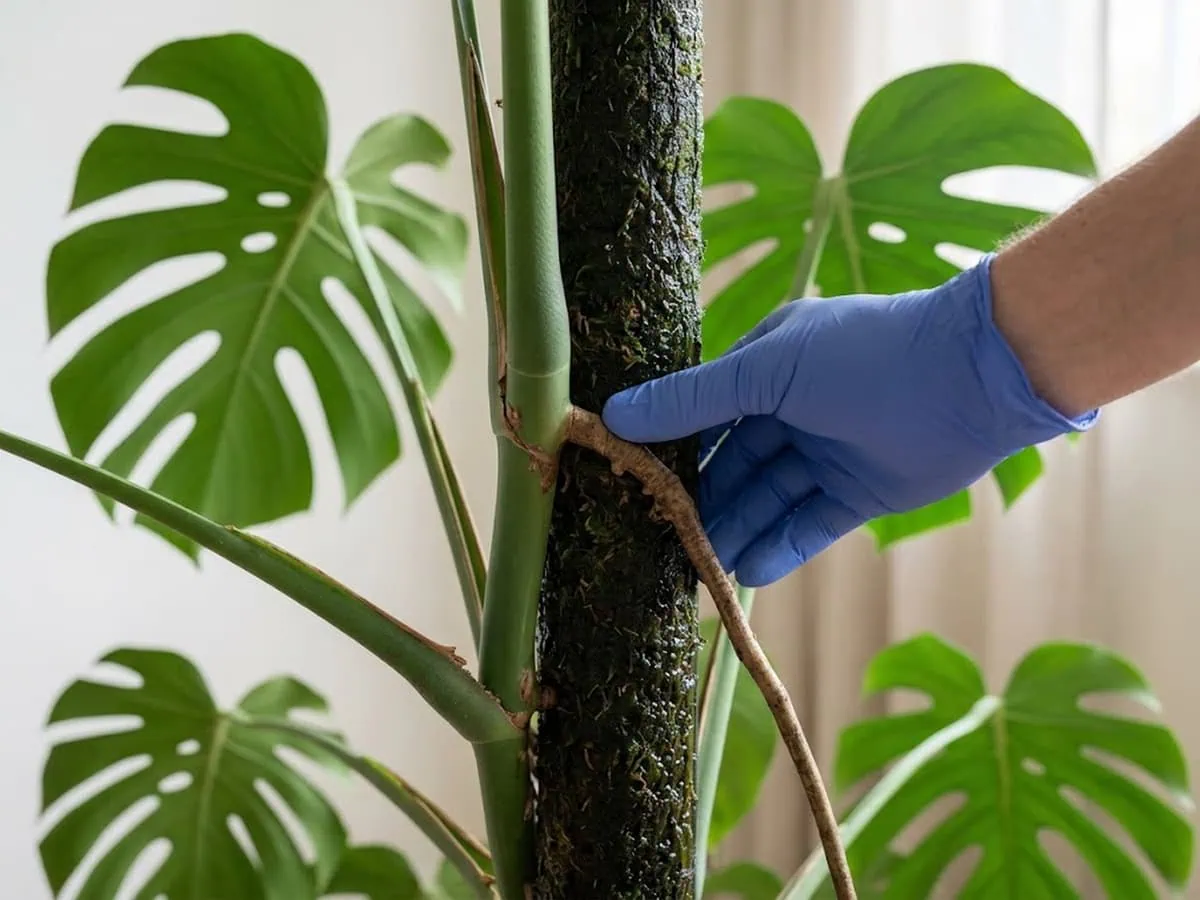
The phrase “how to get a Monstera deliciosa to climb up a pole” hides the actual mechanism, which is contact. Roots that touch a damp, porous face grow into it and thicken there, while roots held a short distance away do nothing at all, however neatly they are tied. Contact, not tension.
- Every tie sits on a thick stem, none on a leaf stalk
- Nodes and roots touch the surface with no gap left
- The assembly stays upright when the leaves are nudged
After the first week: keeping it climbing
Keep it climbing with one repeating pass: check the ties, turn the pot, watch the growing tip. Three things come out of that pass: the wetting, and two recovery cases.
The maintenance pass: ties, rotation, height
Run the same three checks every time you wet the pole, because all three fail slowly and none of them announces itself. Type “how to keep a Monstera deliciosa growing upright” into a search bar and you get installation photos, when the answer is a habit rather than a purchase.
- Ties: run a finger under each one, because a tie that dents the stem is already too tight
- Rotation: turn the pot a quarter turn every 2 weeks, since the crown leans toward its light source
- Height: extend or replace the shaft once the newest growth reaches the top
That rotation interval comes from one guide rather than from any published species figure, so let the lean of the crown set your real cadence. Read the lean, not the date. The reason behind it is solid: stems stretch toward the light and the crown follows.
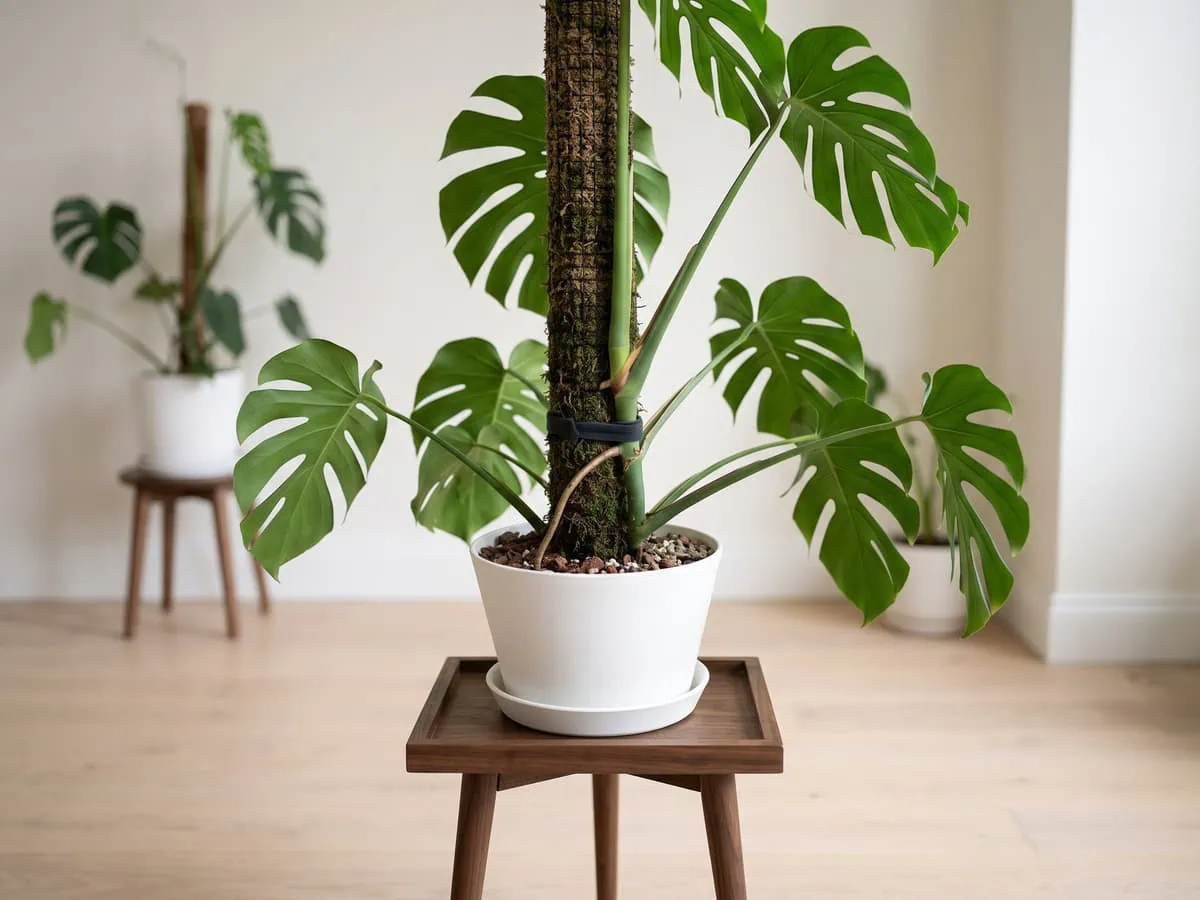
Wetting the pole by feel, and where rot starts
Wet the pole when the working face no longer feels damp, rather than on a schedule. Guides in this niche give four different cadences for the same job and tie none of them to a condition you can check, so a reader following two of them is doing opposite things.
Stop once water runs off the base of the shaft instead of soaking in. Then look at the place nobody photographs: the contact point under each tie, where damp material sits against living stem and never gets to dry.
At the tie line the moss reads a shade darker than the face above it, and it stays that way long after the open surface has gone pale tan. If the stem under a tie is softer or wetter than the stem above and below it, slacken the tie, let that spot dry, and move the fastener.
Damp is the target. Sodden is not.
The same dry-surface logic applies down in the pot. Fungus gnats breed in moist potting mix, so letting the top inch dry between waterings takes away the favorable egg-laying surface.
Lifting a floppy or already-collapsed stem
Bring a collapsed stem up in stages, fastening it where it already reaches without strain. Search “how to support a floppy top-heavy Monstera deliciosa” and almost every result assumes a plant that has not gone over yet.
An older stem is rigid and will not be talked into bending, so its limit is the point where it resists a gentle lift. Fasten it there, then raise that fastening point one step at each maintenance pass.
- Lift by hand only as far as the stem moves freely
- Fasten at the height it reaches, not the height you want
- Raise the fastening point one step per pass
A stem that has gone bare along its length is a different job, and cutting back a stretched, bare-stemmed specimen is where that one is answered.
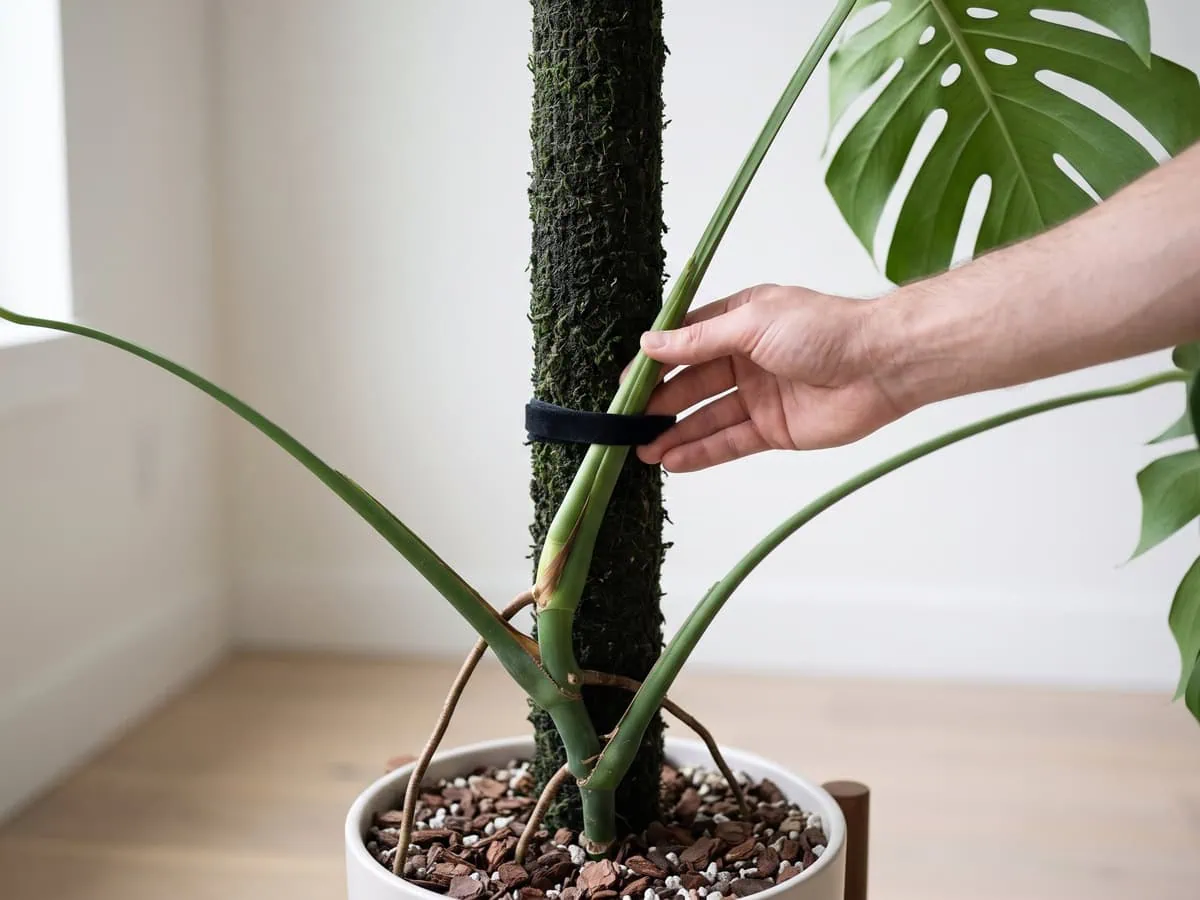
What most pole guides get wrong
Attachment timing is the thinnest evidence in this whole topic. One guide out of eleven states a range at all: a few weeks stretching into months before aerial roots latch on. Nothing else corroborates it.
In my experience — though n=1 — the slowest plants were the ones held near the surface rather than pressed onto it.
So watch the plant instead of the calendar. Attachment has begun once a root has entered the surface and resists a gentle pull.
Service life is thinner still, because no guide I compared says how long a pole lasts. Use the observables instead.
- The surface stops taking up water after a soak
- It crumbles or slumps under the weight it holds
- Surface growth returns after it has been wiped away
Replace the shaft before a repot, never after. That way the roots are disturbed once instead of twice.
The leaf promise carries a condition too: bigger leaves follow a pole only where the light is already there, which is why a pole in a dim corner changes very little. Light gates the payoff.
Frequently asked questions about pole training
Can you train Monstera with moss pole?
Yes. This species climbs by aerial roots, so a moss-covered pole is the support it is built for. University extension guidance describes moss poles as a stand-in for the porous natural surfaces the vine climbs in the wild.
The pole is not survival equipment, though. Left alone the plant still lives and sprawls sideways; on a support it stacks upward, holds itself as the roots take, and carries larger leaves where the light allows it.
How to train an unruly Monstera?
Bring an unruly plant onto a support in stages, never in one pull. Fasten each stem where it already reaches without strain, then move that fastening point up the shaft at every maintenance pass.
A plant grown for years without support has set in a sprawling shape, and a mature stem is rigid. Guide it rather than force it, and expect the tidy-up to run across a full growing season.
How to make your Monstera grow up a pole?
Press the nodes and aerial roots flat against the pole surface until the gap closes to nothing. Contact is what produces attachment; a tie holding the stem near the pole achieves nothing on its own.
Fasten only the thick stems that carry the large leaves, keep the surface damp so roots will enter it, and leave each fastening in place while the roots do the work. A root that meets a damp, porous face grows into it.
How long does it take for a plant to attach to a moss pole?
A few weeks, sometimes stretching into months, before aerial roots latch on and start climbing. That range is worth reading carefully, because it comes from a single guide and nothing else corroborates it.
Judge it on the plant instead of the calendar. Attachment has begun when a root has entered the surface and resists a gentle pull, and it matters when the stem holds position after a tie is loosened.
When should I add a moss pole to my Monstera?
Add the pole once the stem starts producing aerial roots, which is the first visible signal on the plant itself. The second signal is a stem that no longer holds its leaf up without leaning.
Both signals point at the same window. Setting the pole while the plant is still short is far easier than wrestling a seven-foot specimen onto one later, and a repot is the tidiest opportunity of all.
Are you supposed to wet a moss pole?
Yes, but by feel rather than on a schedule. Wet the working face whenever it no longer feels damp, and stop once water runs off the base of the shaft instead of soaking in.
Permanent sogginess carries its own penalty. Surface growth and gnats follow a support held wet with poor airflow, and the spot to inspect is under each tie, where damp material presses against living stem.
Is a moss pole better than a trellis for Monstera?
Better on one axis: aerial roots can root into a moisture-holding surface, and they cannot root into a bare smooth one. Both a trellis and a moss totem appear in extension guidance as workable supports.
The choice is therefore a trade rather than a ranking. A moisture-holding surface produces attachment and has to be kept damp; a rigid trellis needs no wetting and gives the plant something to lean against.
How long do moss poles last?
Read the pole rather than a replacement interval. Three observables mark the end: the surface stops taking up water after a soak, it crumbles or slumps under load, and surface growth returns after wiping.
Time the swap to land just before a repot, not after. Doing it in that order disturbs the root ball once instead of twice, since a fresh shaft goes into fresh substrate while the plant is already out.
Your next step: from a propped stem to a self-holding climber
Everything is in place now: a surface the roots can enter, seated on the aerial-root side, ballasted at the base, thick stems tied and nodes pressed flat. The ties are temporary. Scaffolding, nothing more.
The first maintenance pass is where that either holds or quietly comes undone, and almost nobody mentions it (low-key baffled about this), so run it at the next wetting and look for a root that has flattened where it meets the moss and gone a duller gray-green than the length still standing free.
The next question is the roots that never reach the pole at all, and that one has its own page. Master how to train a Monstera deliciosa up a moss pole and the plant starts doing the holding for you.
Give the aerial roots a damp surface to grip, and your Monstera climbs on its own from there.
Tap the button below to get more plant fixes in your Google Search results