
You can’t miss the smell. That sour, swampy, mildew-like odor emanating from your plant’s pot. When you gently touch one of the main stems, it feels weak, wobbly, or even completely mushy at the base. You might even observe a stem that has completely fallen over, revealing a black, rotted end.
This is the most serious emergency your ZZ plant might experience. If you need to know how to save an overwatered ZZ plant, you’re not just dealing with “too much water”; it’s an active, aggressive infection known as rhizome rot. As university extension programs confirm, overwatering is the primary factor that leads to rotting rhizomes.
If you’re dealing with this, I want you to understand one thing: this is not a routine fix. This is an emergency surgical procedure.
I’ve learned this the hard way. The “heart” of a ZZ plant—the thick, potato-like rhizomes beneath the soil—is the key to its existence. These are its water-storage batteries. And when they get sick, the plant’s life-support system fails.
You cannot simply “let it dry out.” You must act. This guide is not a simple checklist. This is my personal surgical guide for this exact problem. I’ll walk you through the entire process: the pre-operative diagnosis, the surgical procedure itself, and the critical post-operative recovery. Once you have saved your plant, I highly recommend reading my ZZ plant care guide to prevent this from ever happening again.
Table of Contents
The ‘Rhizome Check’: Your First Step on How to Save an Overwatered ZZ Plant Fix
Before you do anything else, you must perform a full diagnostic. You need to know what you’re up against.
First, carefully slide the entire plant and its soil ball out of the pot. Don’t pull on the stems, as this can break them off from the rhizomes. Squeeze the sides of the nursery pot to loosen it, or run a dull knife around the edge of a firmer pot.
Now, take the plant to a sink or tub and gently wash away all of the old, soggy soil. You need to see the rhizomes and roots clearly.

This is the triage phase. What do you see? What do you feel?
- Use your fingers to physically press on every single rhizome (the potato-like bulbs).
- Are they firm, white, and solid? That’s great news.
- Or are they brown, black, soft, and hollow? Do they squeeze like a rotten piece of fruit? Are there mushy ZZ plant stems falling off?
Your diagnosis will tell you what to do next. If the rhizomes are all firm and just the fine roots are rotted, the fix is simple. But if even one rhizome is soft, you are dealing with a severe case and need a ZZ plant rhizome rot treatment. If you want to know how to save an overwatered ZZ plant at this critical stage, you must proceed with surgery.
The Critical Task: Surgical Cleanup of Mushy ZZ Plant Stems
Welcome to the main cleanup. Your goal here is not to be gentle; your goal is to be decisive. This infection is aggressive, and you must remove all of it.
First, address the “stringy roots” (the roots). You are correct to use sterilized scissors for this part. Gently pull apart the root ball and trim away all the thin, black, and mushy roots, just as you would for other plants.
Next, you must inspect the “potato” (the rhizome). This is the most critical part. Identify any soft, brown, or black areas on the rhizome itself.
For this part, you will need a very sharp, clean knife or a craft knife. Do not use scissors on the rhizome. Scissors work by crushing tissue, which can squeeze the bacterial rot into healthy parts of the rhizome and spread the infection. A knife makes a clean, precise cut.
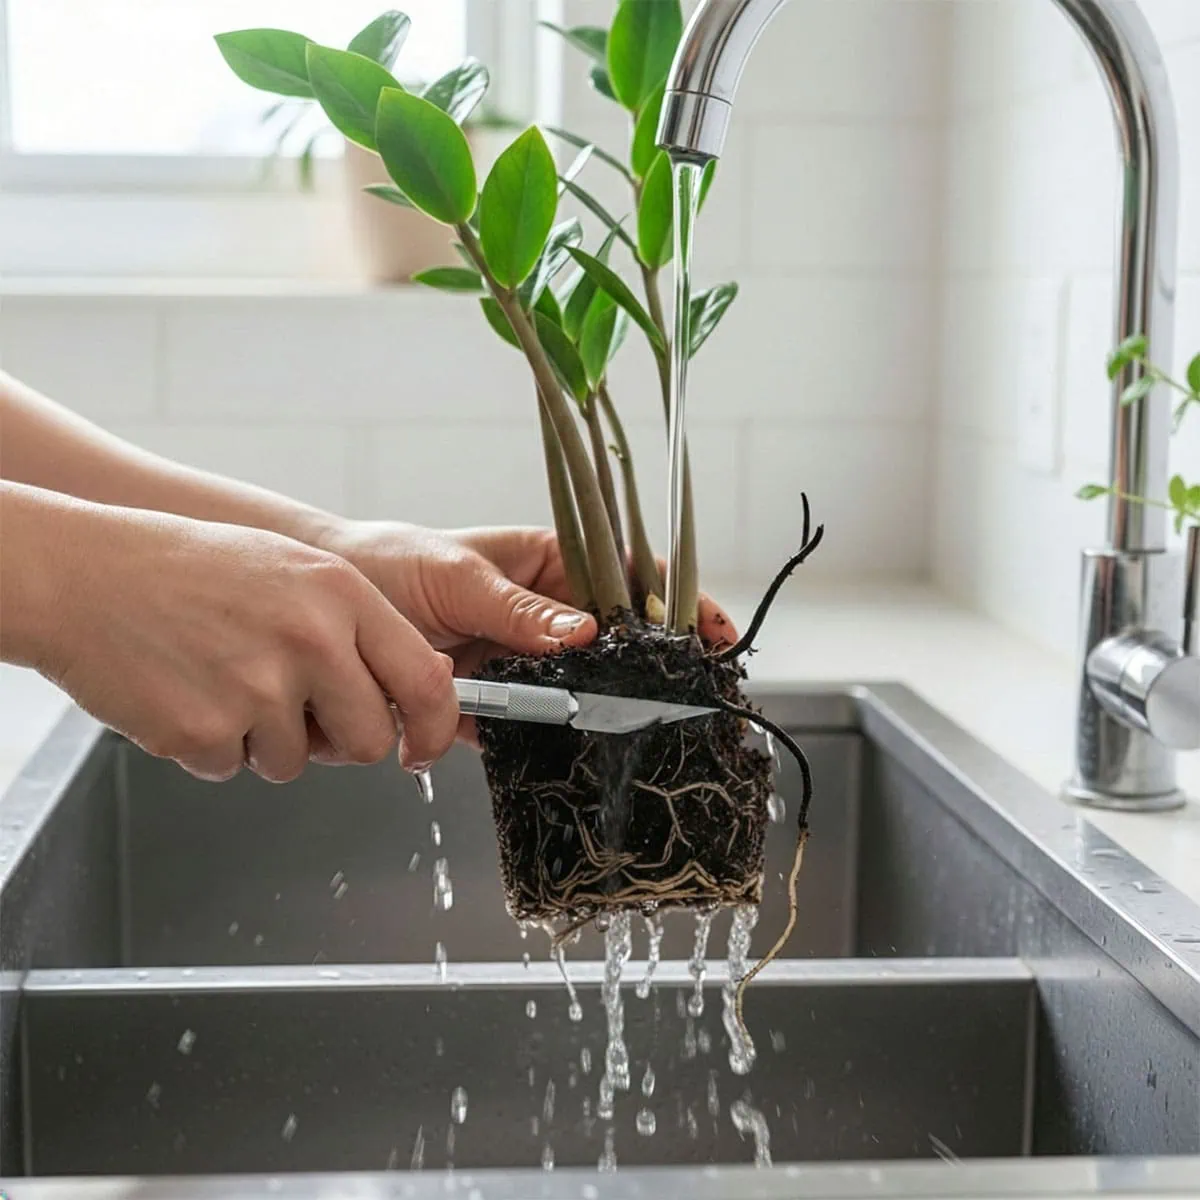
Sterilize your blade with rubbing alcohol or a bleach solution. This is the cutting rotten ZZ plant rhizome phase.
- Start by cutting off any stems that are clearly dead, yellow, or mushy at the base. Discard them.
- With your sterile knife, begin to carve out the rotted tissue from the rhizome, much like carving a bad spot out of a potato. You are not “trimming”; you are “excising” the diseased tissue.
Keep cutting until you see only clean, white, healthy tissue. If a rhizome is 50% rotted, you must cut that 50% away. If it is 90% rotted, you must cut 90% away. If the entire rhizome is mush, you must remove that entire rhizome and discard it.
I cannot stress this enough: your final cut must be on healthy, firm, white tissue. If you leave even a tiny speck of brown rot, the infection will return and all your work will be for nothing.
Once all the rotten material is removed, it’s time to sterilize the wounds. Take a bottle of 3% Hydrogen Peroxide. Pour it directly over all the cut surfaces of the rhizomes. You will see it fizz and bubble aggressively. This is good. It is killing any remaining fungal spores and bacteria on the surface, acting as a powerful ZZ plant rhizome rot treatment.
Post-Op: What to Do After Cutting Rotten ZZ Plant Rhizome
Your surgery is complete. The rhizomes are now clean but have large, open wounds.
Your instinct is going to be to repot it immediately into fresh, new soil.
DO NOT DO THIS.
This is the single most important, most unique, and most critical step for saving a ZZ plant. It is the one thing that makes this plant’s recovery different from almost any other.
You must now “cauterize” the wounds.
- Lay the clean, bare rhizomes and their attached stems out on a dry paper towel or newspaper.
- Place them in a room with good air circulation but out of direct sunlight.
And now, you wait.
You must leave the plant out of soil for one to three full days.
This “dry healing” period allows the air to completely dry out the large, wet wounds you created. The cuts will form a dry, hardened “scab.” This scab is the plant’s natural barrier, and it is the only thing that will prevent a new infection from starting the moment you put it back into soil.
If you repot it while the wounds are still wet, it’s like covering an open wound with wet mud. It will rot again, and this time, it will be fatal. Do not skip this healing period.
Repotting: The Final Step of ZZ Plant Rhizome Rot Treatment
After 1-3 days, inspect your rhizomes. Are the cut surfaces dry to the touch? Do they look calloused over? If yes, your plant is ready for the recovery area.
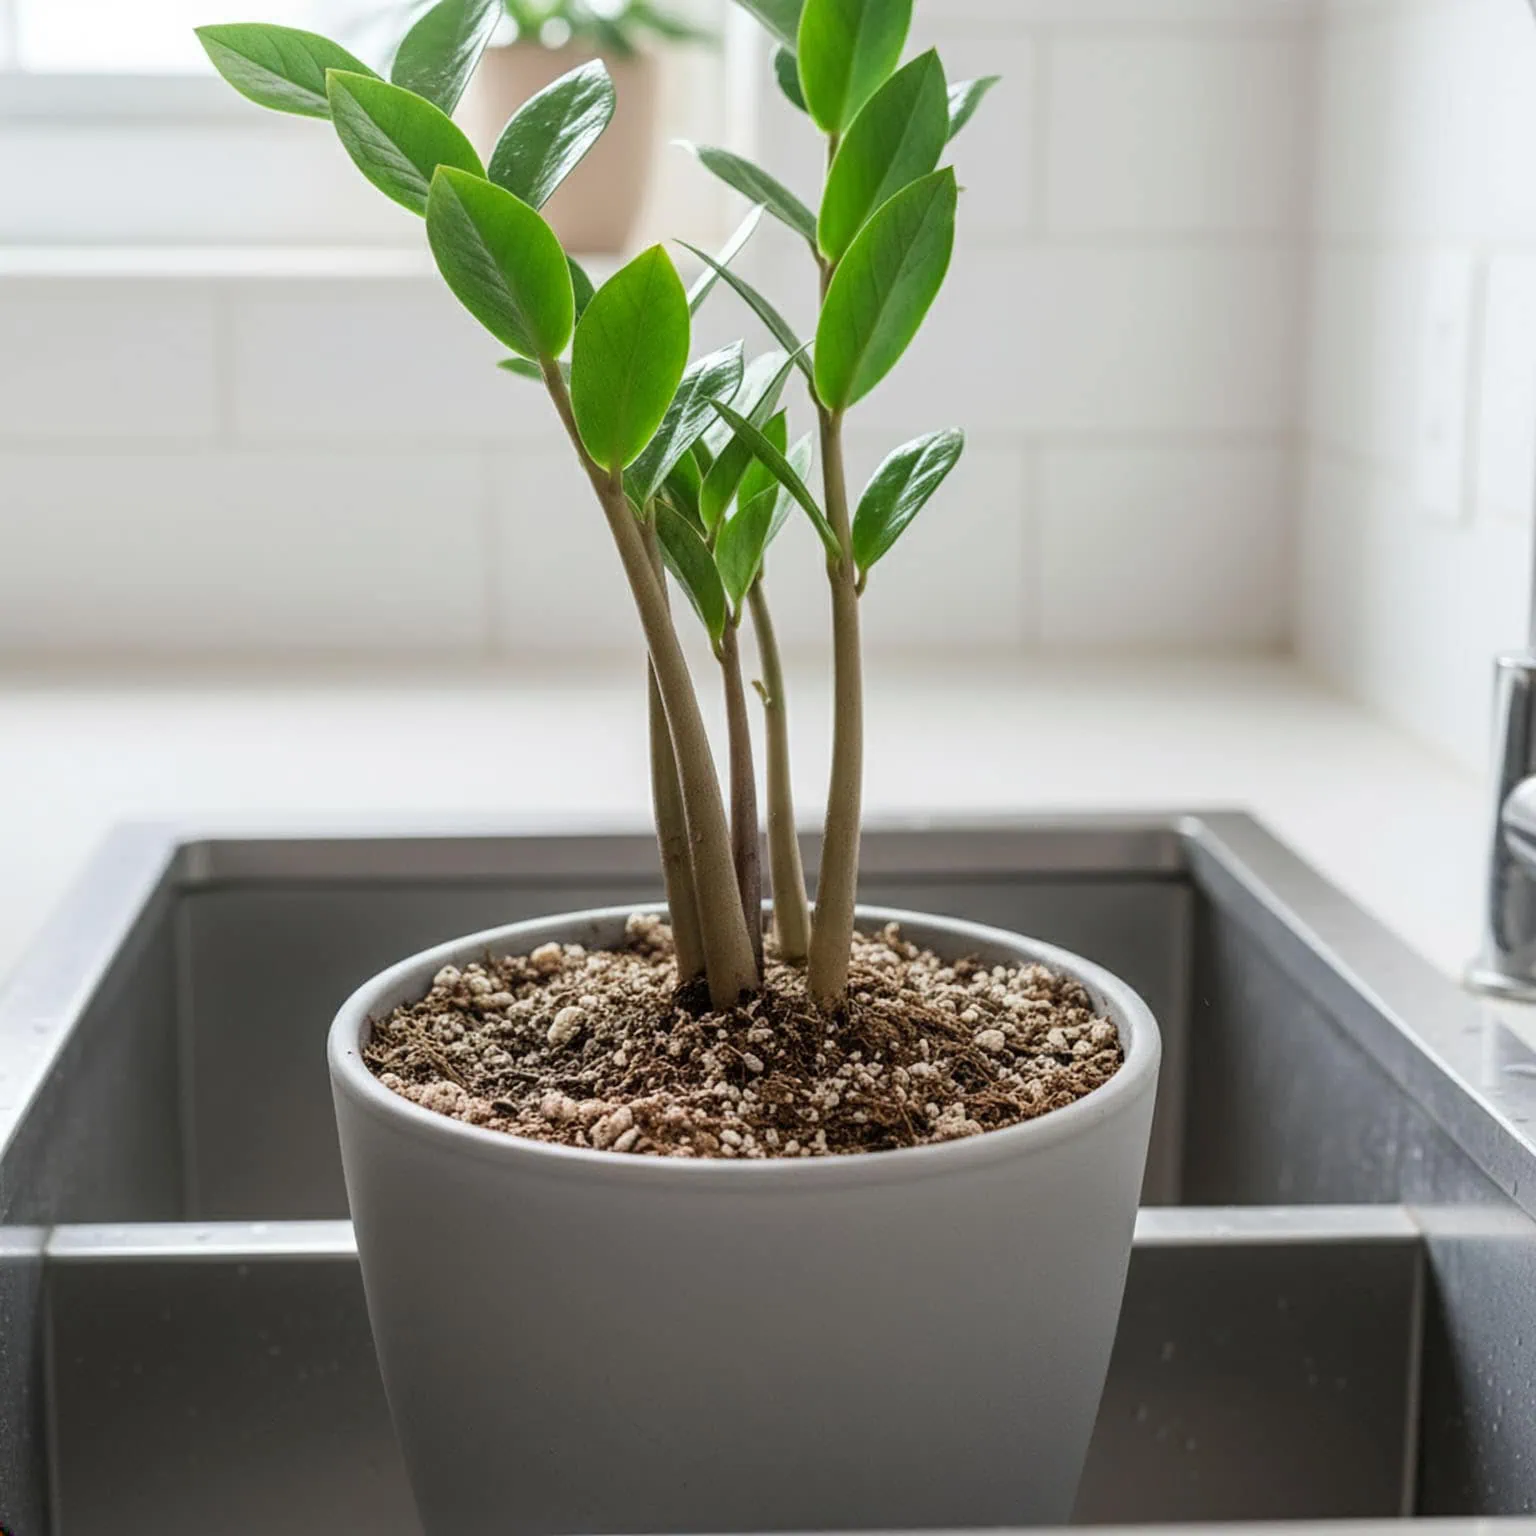
Choose a new pot that has excellent drainage holes and is only slightly larger than the remaining healthy rhizome mass.
Fill it with a brand new, sterile, and—this is critical—100% DRY soil mix. You must use a very airy, well-draining mix. (If you need a recipe, check out my guide to the best soil for ZZ plants). Do not re-use any of the old, infected soil.
Plant the dry, healed rhizomes into the dry soil.
Now, for the second hardest part of this entire process: DO NOT WATER IT.
I repeat: After you repot the plant, do not give it a single drop of water.
The plant has no fine roots left to absorb water anyway. The rhizomes are its stored “batteries.” Giving it water right now will saturate the new soil, soak the new scabs, and invite a new infection. This is the final overwatered ZZ plant fix. Understanding this restraint is the secret to how to save an overwatered ZZ plant successfully.
You must wait. Place the pot in a spot with bright, indirect light and leave it alone. Wait at least one full week. Many experts (including me) wait two or even three weeks before giving it its first tiny sip of water. (When you do, follow a proper watering guide).
Your plant will look a little sad. It might lean. That’s okay. It is in recovery. Your only job now is to provide a dry, stable environment and patience.
The prognosis is this: If you were successful, you will see no further decline. The remaining stems will stay firm. And in a few weeks, or perhaps even a few months, you will be rewarded with the sight of new growth poking up from the soil. That is the sign that your surgery was a success.
Frequently Asked Questions (FAQ)
Is this method on how to save an overwatered ZZ plant always effective?
While no surgery is 100% certain, this method gives you the highest probability of success. The absence of failure is your first good sign. If the remaining stems do not turn yellow or get mushy again after you learn how to save an overwatered ZZ plant using this dry-healing technique, you have successfully stopped the rot.
How do I know if the rhizome surgery was successful?
The absence of failure is the first sign of success. If the remaining stems do not turn yellow, do not get mushy, and do not fall over, you have stopped the rot. The ultimate sign of success is new growth, but this can take months. Be patient.
My entire rhizome was rotted. Can I still save the plant?
If the entire rhizome (the potato part) is mush, it cannot be saved. However, you may be able to “clone” the plant. If the stems (stalks) themselves are still green and firm, you can cut them off above the rot, let them dry for a few hours, and propagate them. This starts a new plant from scratch. (I have a full guide on how to propagate a ZZ plant).
What if I cut away all the roots but the rhizome is healthy?
This is fantastic news! The fine roots are disposable. The rhizome is the “heart.” If the rhizome is firm, white, and healthy, it will grow new roots. This is the ideal scenario for this overwatered ZZ plant fix. Just follow the “Dry Healing” and “Repotting” steps exactly. Let it heal, pot it in dry soil, and wait to water. It will recover beautifully.
My entire plant is mushy. Is saving ZZ plant from root rot even possible?
You must be honest in your triage. If every single rhizome is 100% soft and mushy, and all of the stems are rotted from the base, the plant is gone. The key to saving ZZ plant from root rot is catching it before the infection consumes 100% of the rhizome tissue. If you have even one firm, healthy rhizome left, you have a chance.
Conclusion
You’ve just been through one of the most intense rescue missions in houseplant care. You didn’t just repot a plant; you performed an invasive surgical procedure. You identified the disease, you decisively cut out the infection, and you provided the critical healing environment.
The fate of the plant is now in its own hands. Your job is to step back, resist the urge to “help” by watering, and simply give it time to recover. Now that you know how to save an overwatered ZZ plant, you have the skills to prevent this from ever happening again.
You’ve got this. Happy healing!