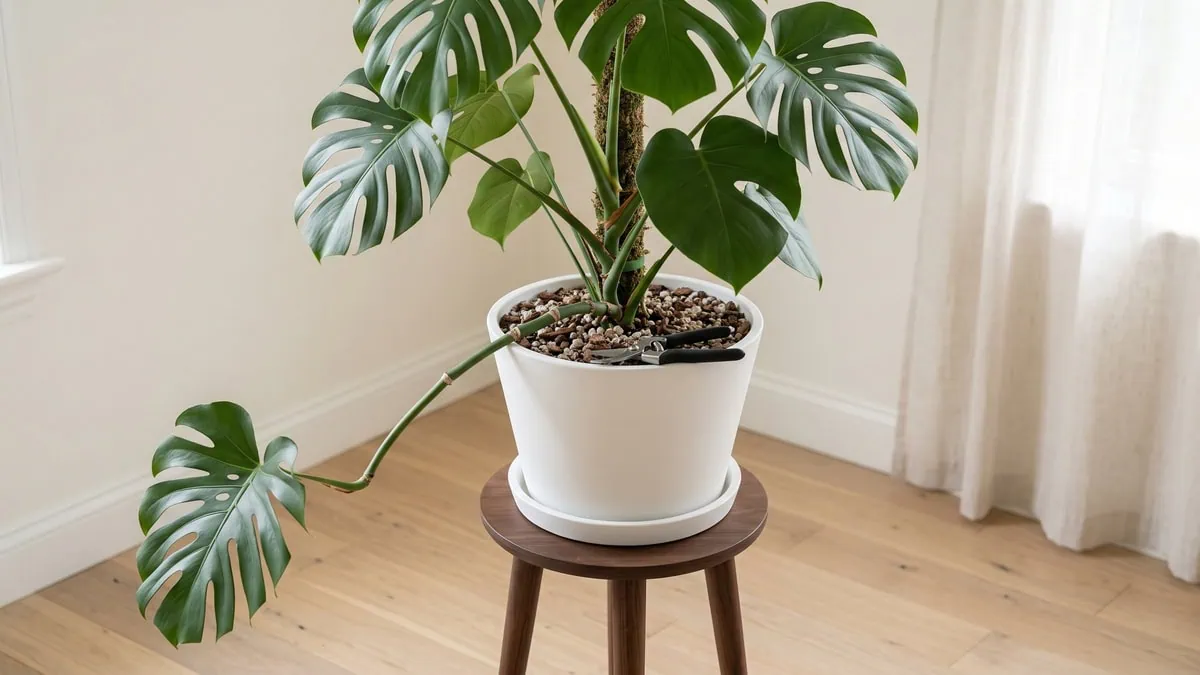
🛠️ Quick Prep Summary: pruning a stretched stem back
How to prune a leggy Monstera deliciosa comes down to three decisions, not a nervous snip. Gather the kit, confirm the plant is actively pushing new leaves, and then choose the height you want back. The cut itself takes only seconds.
- Blade: bypass shears wiped with 70 percent isopropyl alcohol between cuts
- Hands: nitrile gloves on before the first cut, because sap irritates skin
- Timing: only while new leaves are unfurling, never during a stall
Eleven stems over seven years, and the early ones failed the same way — I let the gap between one node and the next stretch past a hand’s width, then took the top off in a panic. What I remember is the sound: the dry, papery click of a long petiole folding under its own leaf.
Rather than reading that stretch as neglect, I discovered it is the plant doing what a forest climber does — spending stem to reach light, the terminal bud holding the growing point and suppressing the lateral buds below it. I’d like to retract that word panic. The stretch is information.
So three decisions carry the whole repair — where the cut falls (low-key obsessed about this), how much comes off, and when. Get them right and a bare stem stops being a loss. Everything else this plant asks of you sits in the day-to-day routine behind a well-grown specimen.
The shears can wait another minute. The whole operation fits on the card printed here, and it is worth reading before a single cut is made.
How to prune a leggy Monstera deliciosa at a glance
| Monstera specs | What this job needs |
|---|---|
| Difficulty level | Low (Beginner) |
| Sterile blade required? | Yes – wipe or dip the blade in 70 percent isopropyl alcohol, no soak needed |
| Gloves required? | Yes – the cut sap carries insoluble calcium oxalate raphides that irritate skin |
| Maximum removed in one session | No more than one third of the plant |
| Cut placement | Just above a node, leaving no stub |
| Best timing | While the plant is actively pushing new leaves |
Tap the button below to get more plant fixes in your Google Search results

Table of Contents
Prep: read the stem, then set the height you want back
A leggy Monstera deliciosa is a stretched plant, not a sick one, and the repair is a decision you make before the blade comes out. From here the page separates a stretched stem from a merely tall one, names the cause, and reaches the blade.
Set the finished height first. An indoor specimen on a support tops out around 7-8 feet, so measure the height you want back against that ceiling rather than against the tallest stem standing in the room.
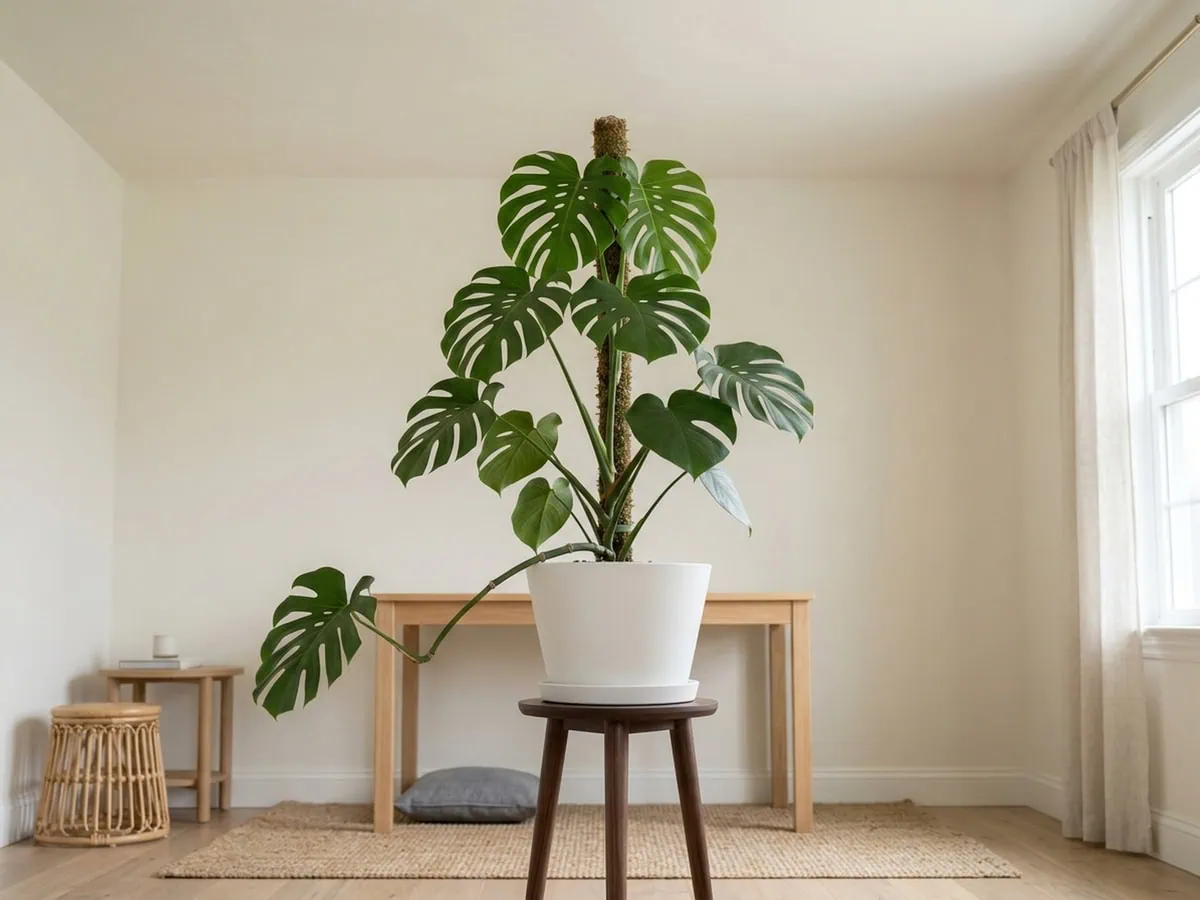
Timing is an observation, not a date. Cut while a new leaf is still unfurling at the top, because a plant in active growth rebounds fastest and published guidance routes you to that window rather than to a month. A stalled crown waits.
If you have ever typed “how to keep a Monstera deliciosa from getting too tall” into a search bar, this is the answer: pick the height, then cut to it. Shortening is not the only route, though. Training the stem onto a damp moss totem changes the shape without removing a thing.
Leggy or just tall? Check the spacing between nodes
You do not need a second plant to compare against — you need the same stem, read twice. A node is the raised band where a leaf joins the stem, and on a compact specimen those bands sit close together. Measure the gap between the two newest nodes, then between two of the oldest.
Widening gaps mean it stretched recently. Even gaps mean it is just big.
| What you look at | Stretched | Compact |
|---|---|---|
| Gap between nodes | Widening toward the newest growth | Even from base to tip |
| Bare stem on show | Long runs with no leaf | Leaves spaced along its length |
| Where the leaves sit | Bunched at the growing tip | Spread down the stem |
Verdict: Choose the cut when two of those three read stretched, because one alone can just mean an old plant that has climbed.
Why it stretched, and what one cut can fix
Low light is the cause every guide I compared names. This plant is a forest climber that hauls itself toward brighter light, so in thin light it spends energy on stem rather than leaf. Stunted new leaves with no perforations are the matching tell.
One claim you will meet is worth skipping: a single page blames excess feeding, and no other guide supports it. Change the light, not the feeding, and read how much light the foliage actually needs indoors as a decision of its own.
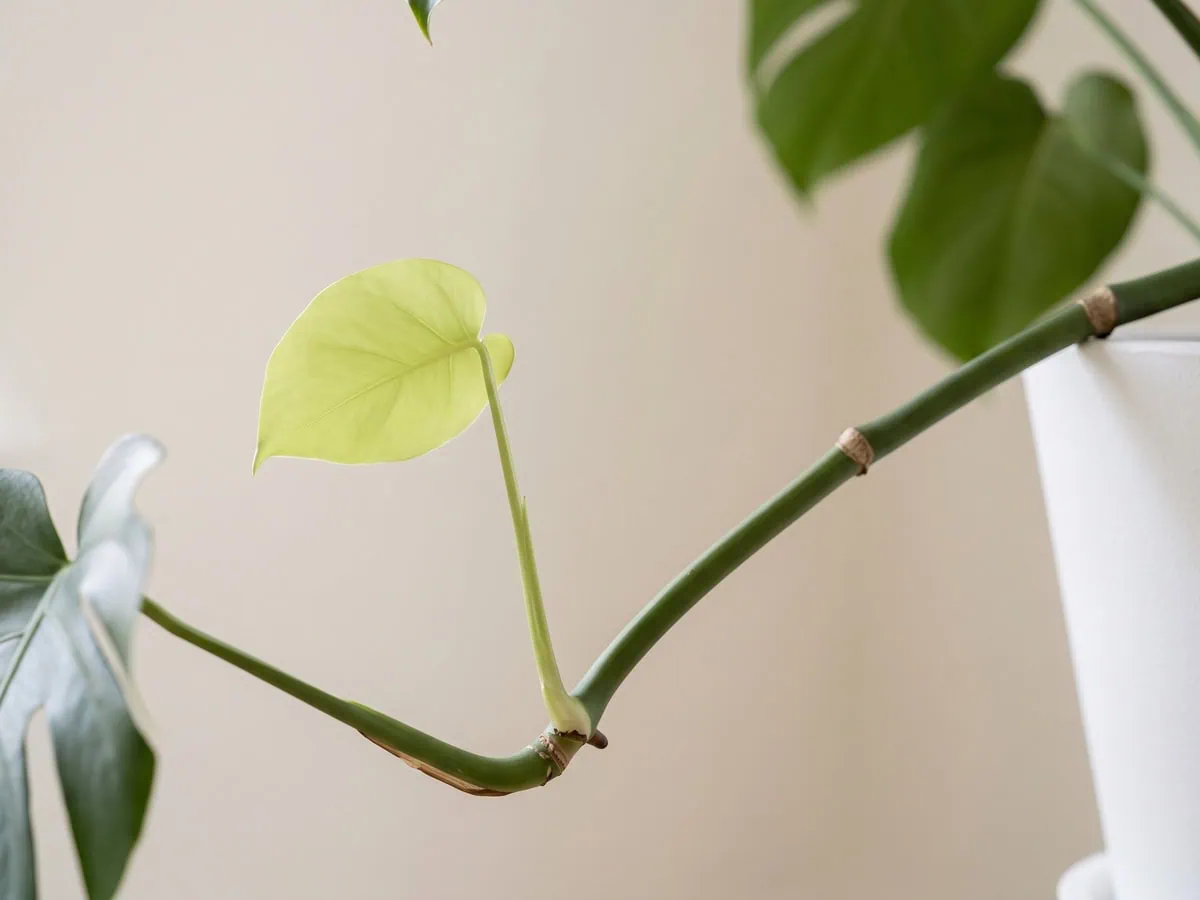
The cut fixes shape, not cause. It removes the bare run and drops the growing point lower, but a plant left in the same dim corner stretches again from the new tip.
Sharp, clean, sterile: the blade and the gloves
Wipe or dip the blade in 70 percent isopropyl alcohol before the first cut and again between cuts. It goes on straight, with no dilution and no soaking time. Bleach works too but corrodes a sharp edge.
Sharpness is the other half, and you hear the difference — a sharp bypass blade gives one dry snip, while a dull one crushes through with a wet, stringy tearing sound and leaves a ragged wound. I keep the alcohol open on the bench and wipe between cuts, which is what the extension guidance asks for anyway.
Gloves go on before anything is cut. The sap carries insoluble calcium oxalate raphides — microscopic needle-shaped crystals — that irritate skin on contact, so wear nitrile gloves and rinse under cold running water if any lands on you.
Tap the button below to get more plant fixes in your Google Search results

Step by step: making the cut
Making the cut is four decisions and about a minute of work — the order matters far more than the speed. From here it runs from picking the node through moving the removed length out of the pot.
Step 1: Pick the node you want the plant to keep
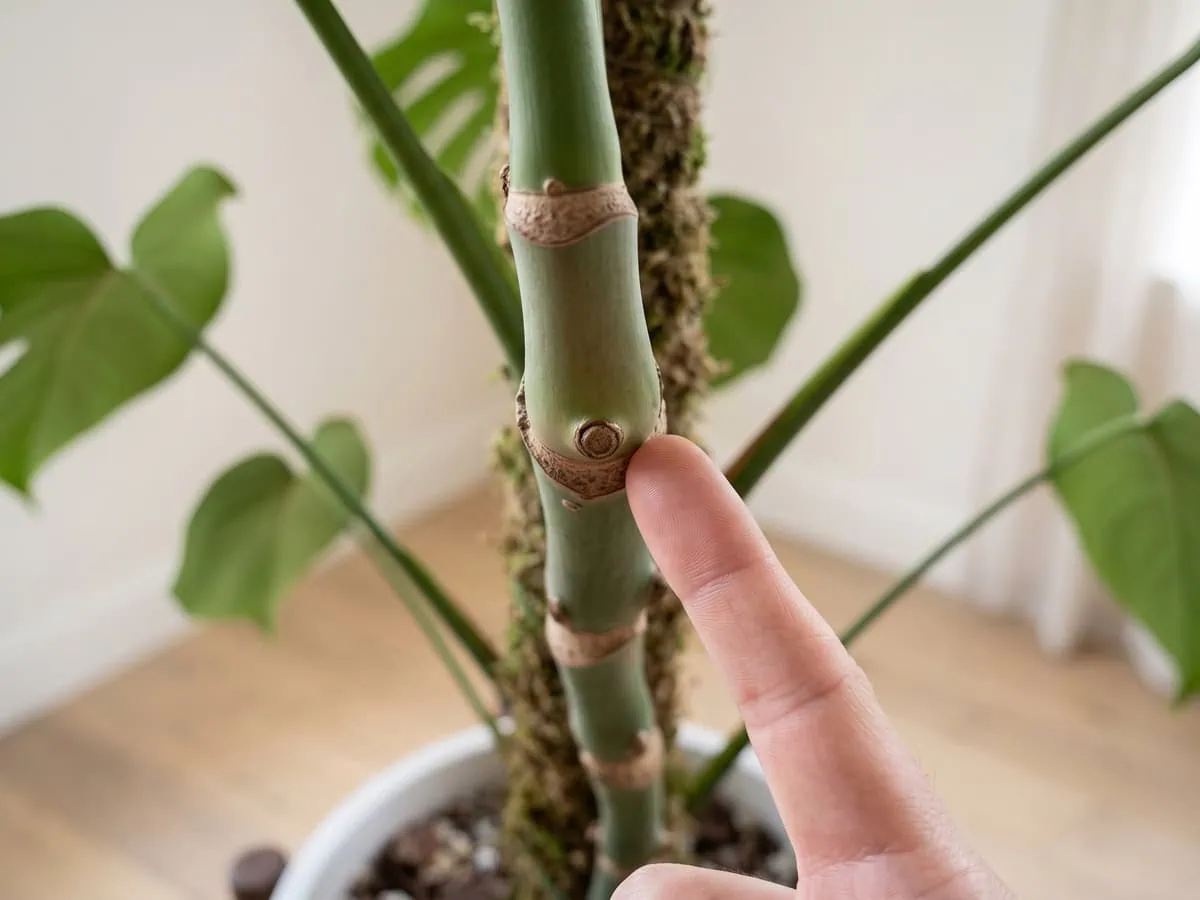
Work down the bare stem to the highest node you are willing to keep — everything above it is going. Tap along the stem with a fingernail and the difference is audible: a node answers with a dull, dense knock, while the smooth length between nodes sounds hollow by comparison. That node stays on the plant, which is the opposite of a propagation cut.
Step 2: Set the limit at one third, in one session
Remove no more than one third of the plant at a time, because more than that stresses it past comfortable recovery. The denominator is the plant itself, not the pot — one guide states its figure against plant volume instead, which is a different measurement and is not converted here. If the height you want back is more than a third away, take it in two sessions with new growth in between — I have split a cutback that way more than once, and the second session is always the easier one: the shears meet less stem, so the cut ends in one short crunch rather than a long fibrous grind.
Wear nitrile or thick gardening gloves for every cut in this section. If sap contacts skin, rinse with cold running water for at least 60 seconds. If a severe skin reaction develops (blistering or intense burning), seek medical attention immediately. For chemical exposure, you can also contact Poison Control (1-800-222-1222 in the US).
Step 3: Cut just above the node, in one pass
Place the blade a finger’s width above the node you picked and close it in one movement. Knowing where to cut when pruning a Monstera deliciosa comes down to that one relationship: above the node leaves the growing potential on the plant, while below it carries that potential away with the piece you remove. Listen for a single dry snip rather than a second bite, and leave no stub — a short dead length above the node is the one outcome this cut should never produce.
Step 4: Move the removed stem out of the pot
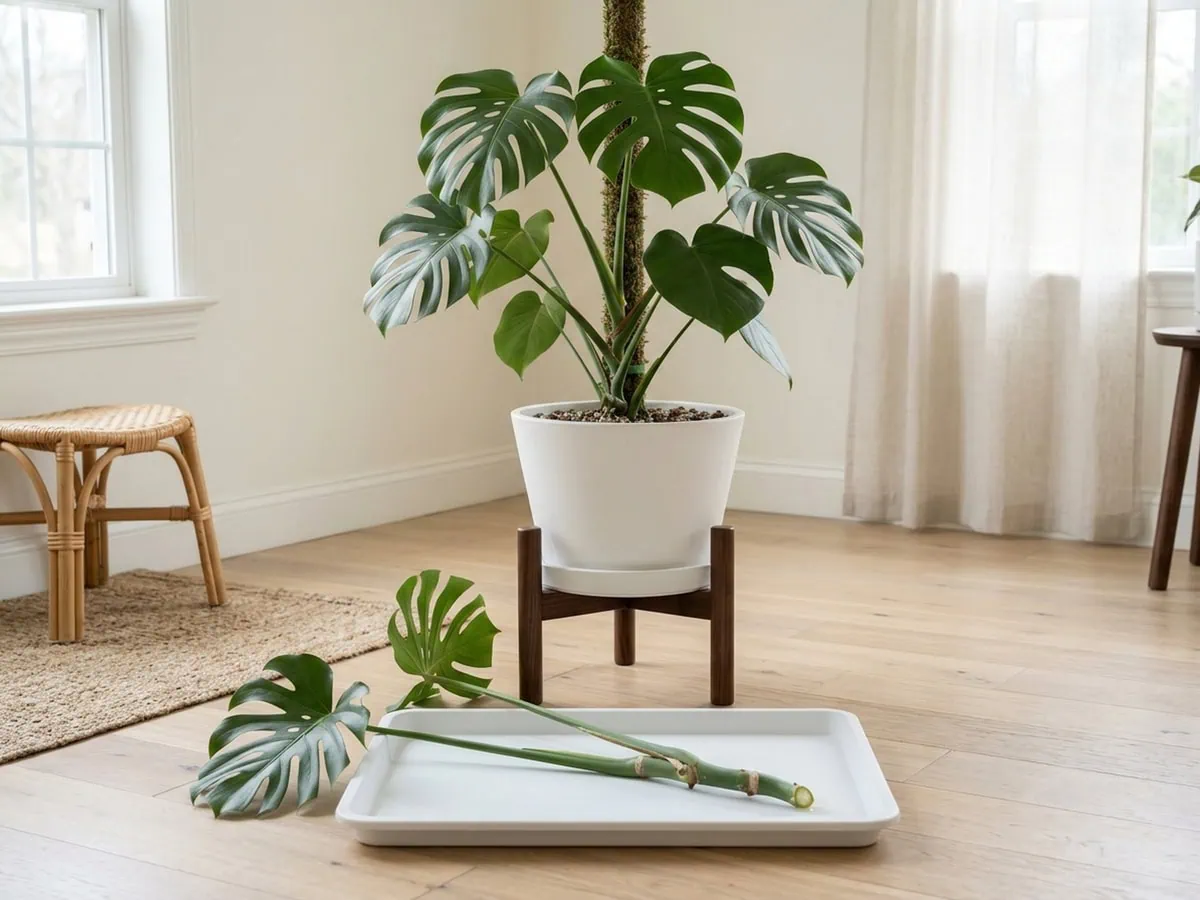
Take the cut length out of the parent container rather than pushing it back in beside the stem it came from. Deciding what to do with a Monstera deliciosa stem after pruning is straightforward: it roots as its own plant, and returning it to the same pot only builds a heavier root mass that stretches again within months. Set it on a tray, where the cut end weeps and each drop lands with a faint tick, then handle it as rooting a removed stem section into a new plant.
After the cut: what to watch, and what not to do
New growth after a cut comes from the lateral buds just below the cut, not from the bare stem below them. Watch that zone rather than the cut face — the plant is redistributing a hormone, not sealing a wound. From here the page covers where regrowth starts, the mistakes that undo it, and what a cut cannot fix.
Where new growth appears after the cut
Growth restarts at the buds nearest the cut. According to the University of Georgia Cooperative Extension, the terminal bud produces a hormone called auxin, and auxin suppresses the lateral buds below it — the relationship known as apical dominance. Remove the tip and that suppression lifts.
That is the honest answer to “how to make a Monstera deliciosa fuller and bushier”: one cut releases the buds below it, so a single stem can carry two heads instead of one. It is not a shrub. Each released bud becomes another climbing stem with its own single growing tip.
Which bud releases first is where my confidence runs out. This is an open question for me — published guidance says regrowth comes from stem ends, but nothing fixes which of the one to three buds at a node wakes first. What you hear is the dry cataphyll over a swelling bud splitting with a papery crack.
Mistakes that leave the plant leggy again
The cut is not the fix. The light is. Put the shortened plant back in the same dim corner and the new head stretches exactly as the old one did, with pale undersized leaves that never open a single perforation.
Three habits keep that stretch coming back. Pinching the tip alone does not thicken a vine that has one growing point; it only removes that point. Rooting powder belongs on the cutting you removed, not on the wound left behind, and extension guidance notes aroids often root well enough without it.
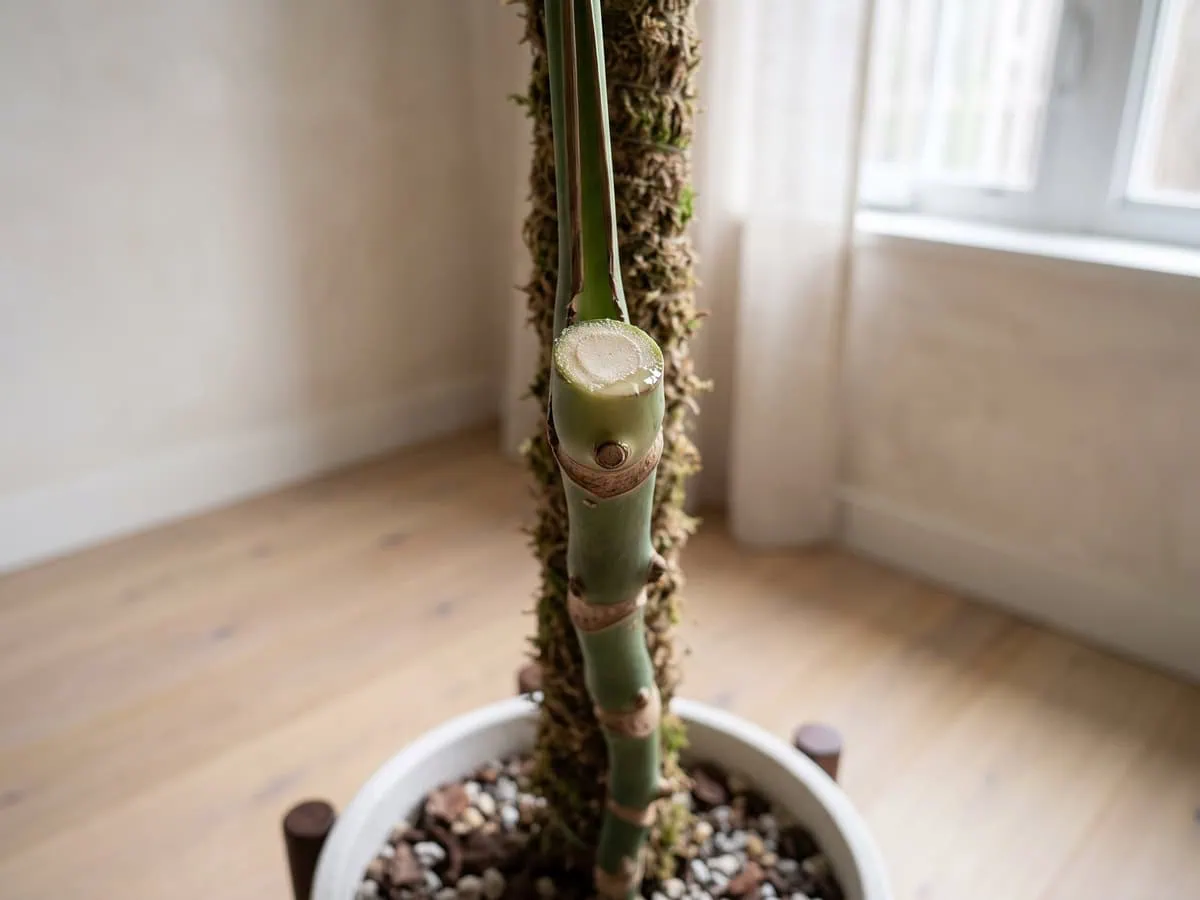
The angled cut is the third. One guide shows a slanted stem cut and nothing else supports it, so read that angle as one grower’s practice rather than a rule. A square cut just above the node is what the pruning guidance specifies.
Sideways, sparse, or just thin: what a cut cannot fix
A cut changes shape, never habit. This plant carries a single growing tip per stem and will not send fresh shoots up from the soil, so the full many-stemmed specimen sold in shops is usually several plants sharing one pot. Cutting yours will never turn it into that.
When you type “why is my Monstera deliciosa growing sideways and sparse” into a search bar, the honest split is two answers: sideways is a vine with no support, and sparse is light. Neither is a pruning problem.
Thin new growth after a cut sends you to the root zone rather than back to the shears. A root or two showing below the pot is not by itself a reason to act, though a plant left in the same medium for years may be ready for moving the plant into a larger container.
Frequently asked questions about cutting back a stretched stem
What do I do if my Monstera is leggy?
Shorten the stem with one cut just above a node, then move the plant brighter. The stretch is a record of light, not a disease: the stem lengthens between leaves when light is thin, and a cut alone does not change that.
Take no more than one third in a session, and expect regrowth from the buds below your cut rather than from the base of the pot.
How far back can I cut my Monstera?
You can take no more than one third of the plant in a single session. Removing more than that stresses the plant beyond what it can comfortably recover from, so the limit is a hard one rather than a matter of taste.
If the height you want sits further down than a third, split the work into two sessions and let new growth appear in between.
How to prune Monstera to make it bushy?
Cut above a node, and accept that fuller here means more heads rather than a shrub. Removing the growing tip lifts the hormone suppression on the buds below it, so one stem can carry two.
One plant offers no other kind of bushiness, because this species has no branching habit of its own. The dense multi-stemmed specimens sold in shops are usually several plants sharing one pot.
What does a leggy Monstera look like?
A long bare stem with widening gaps between the nodes and few leaves along its length. Measure the gap between the two newest nodes, then between two of the oldest.
Gaps that widen toward the tip say it stretched recently, while even gaps mean the plant is simply big and has been climbing for a while. New leaves that arrive small, pale and without perforations confirm the reading.
Why is my Monstera so spindly?
Thin light is the agreed cause. This species climbs toward brighter light and spends energy on stem rather than leaf when it sits too dim, so the gaps between nodes lengthen.
The matching tells are stunted new leaves that stay solid, with no perforations opening. Moving the plant brighter stops further stretch, though the stem already made stays exactly as it is.
What do I do when my Monstera gets too tall?
Cut it back to the height you want with one cut above a node. An indoor specimen tops out around seven to eight feet on a support, so measure against that ceiling rather than against the tallest stem in the room.
Keep the session under one third of the plant. The removed length roots as its own plant instead of going back into the same pot.
How to thicken up a Monstera?
Nothing thickens a stem that has already formed. What a cut changes is the number of growing points: releasing the buds below the cut gives you two stems where there was one.
Light does the rest of the work. Stems formed in brighter light run shorter between nodes and carry larger leaves, and that combination is what reads to the eye as a fuller, heavier plant.
Can I cut the top off my Monstera?
Yes. The top is exactly what this cut removes, and taking it is the standard way to shorten a stretched stem on a plant that has only one growing point.
Cut just above a node so the growing potential stays on the plant, leave no stub, and move the removed top out of the pot. It roots as its own plant.
Master the node, skip the second cutback
Look — the whole job reduces to one relationship: the node you keep is the node that grows back. Get that right (and I mean exactly that) and the rest is measurement. One third, one pass, one node.
What comes next is not another cut at all. It is the light that made the stem stretch in the first place, because a plant returned to the same dim corner will rebuild exactly the same bare run from the new head. A cut answers how to prune a leggy Monstera deliciosa; the window answers whether you ever have to do it again.
You will hear it before you see it — the faint creak of the stem settling against its support once the top weight is gone. Stem gaps are a light record, not a verdict — take one third above a node, and the crown you grow back is the one you chose. Then leave it alone.
Tap the button below to get more plant fixes in your Google Search results