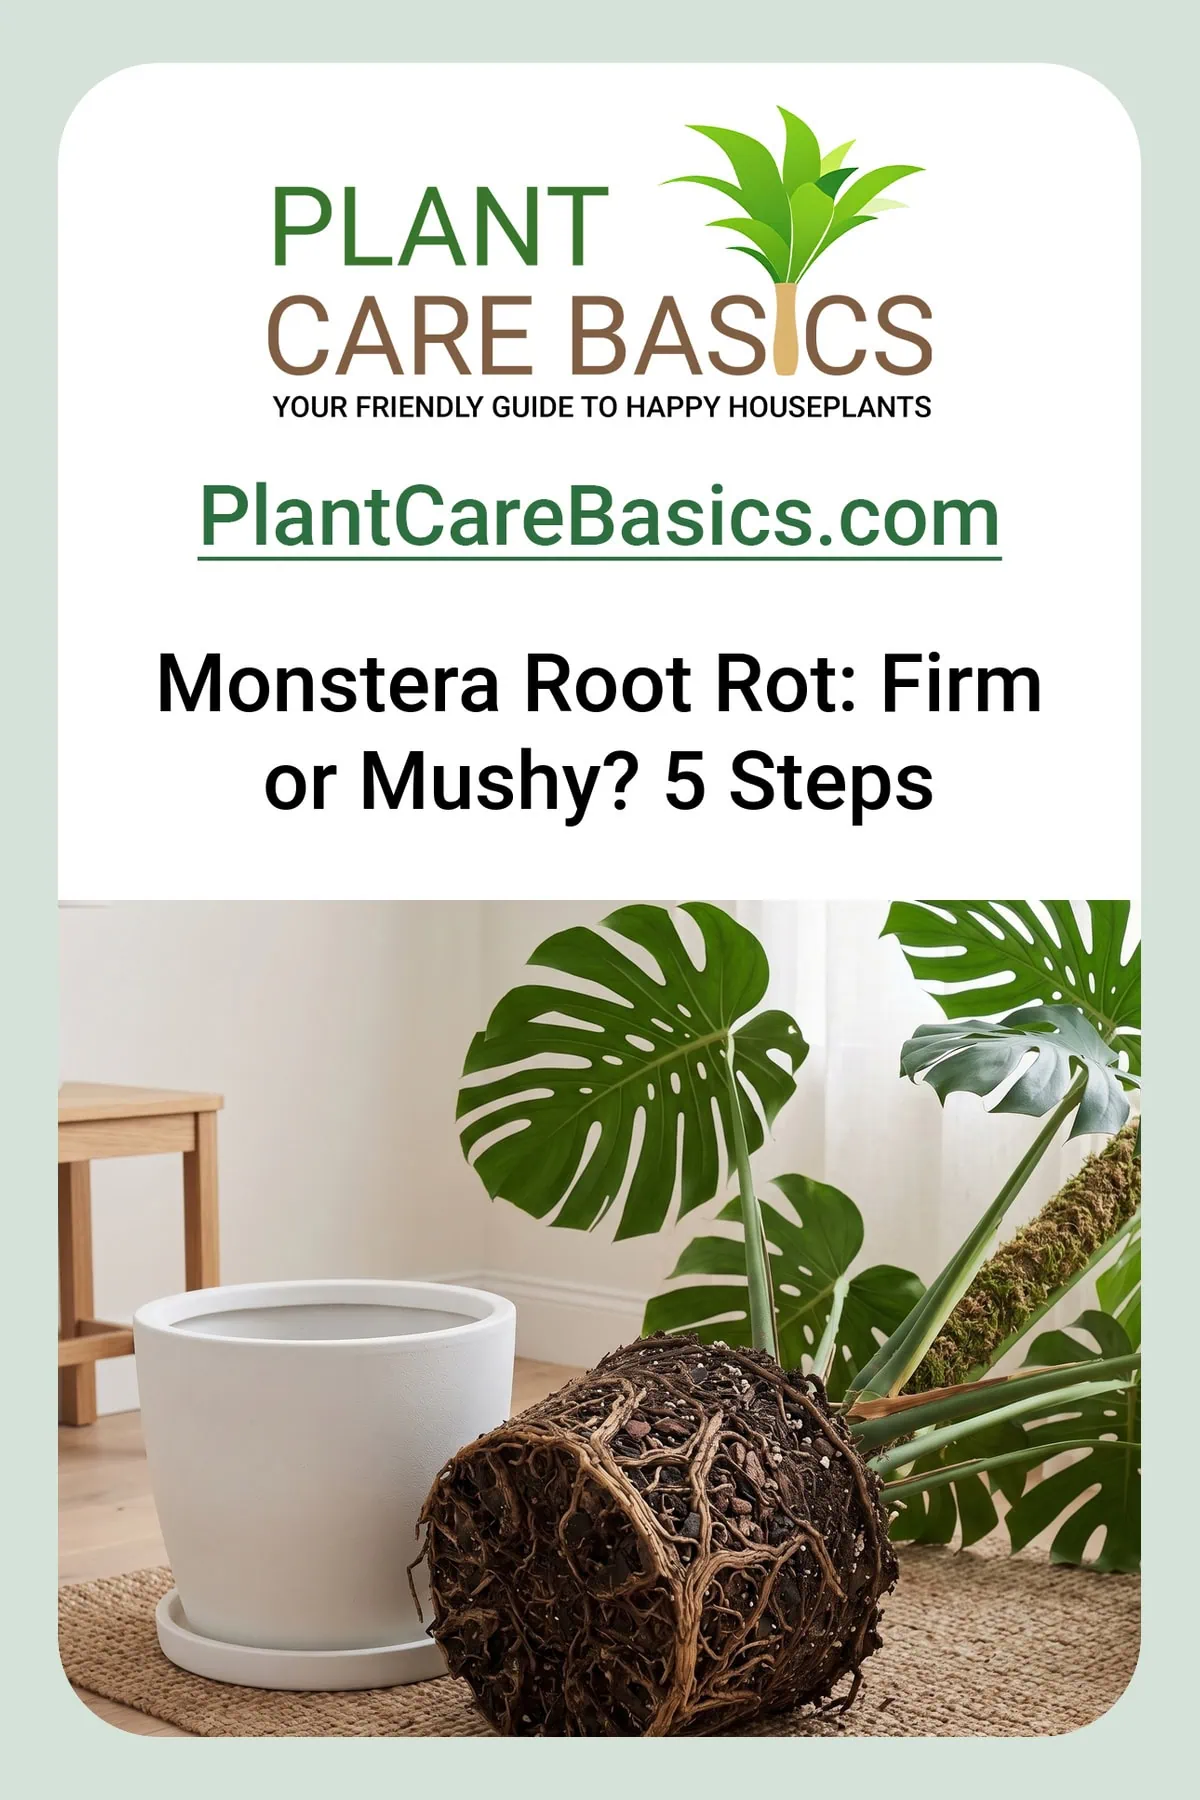
🚨 Emergency 30-Second Answer: reading the root mass before you cut
Stop watering immediately — root-zone failure kills more Monstera deliciosa, a member of the Araceae family, than any other fault: 18 of 53 owner reports. Excess is only modestly ahead of deficit, so read the roots before you decide.
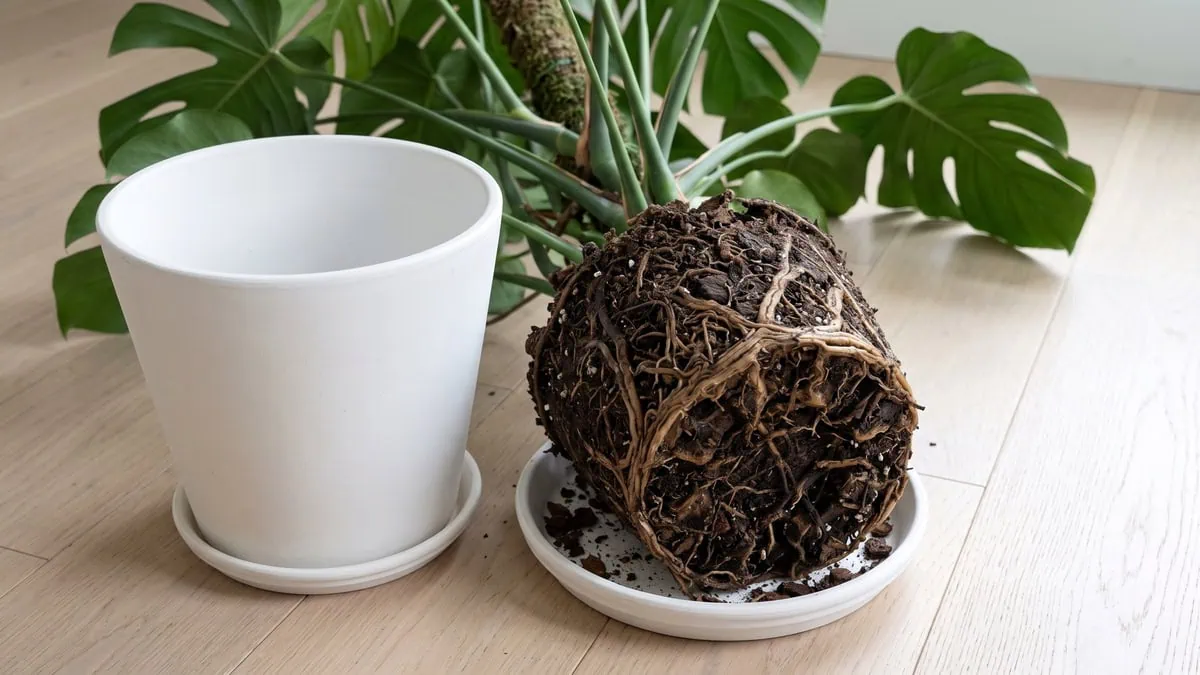
Unpot the plant and judge the tissue by hand. Sound root is firm, pale and carries fine feeder roots. Failed root is brown to black, soft, and slips apart into a stringy core.
Cut back until every exposed face is firm and pale, then repot small. Recovery runs in months, not days, and one fully unfurled new leaf is the marker.
- Stop watering now: every extra pour deepens the oxygen debt at the roots
- Unpot the same day: the canopy lags the root zone by weeks
- Read the roots by touch: sight alone misgrades this tissue far more often than fingers do
- Firm pale root left? Excise and repot: otherwise the surviving upper stem is the only salvage left
- No feed until new growth: salts sit unused in a rebuilt root system
The leaves go first — not yellow, just heavy, the whole crown tipping a few degrees further off the pole every morning while the medium stays wet two inches down.
I was treating root rot as a watering mistake, but the real fix had nothing to do with that. It was drainage, and the oxygen that drainage carries.
Monstera deliciosa stores no water anywhere — no tuber, no succulent stem — so a pot that stays saturated suffocates the root system weeks before the canopy admits anything is wrong.
Root decline runs silent. So by the time one leaf yellows, root ball inspection usually finds a large share of the system already lost.
Work the fundamentals alongside this rescue in the everyday care that keeps a root zone sound.
Most people arrive here mid-panic with the pot already out. Eight lines carry the whole rescue, and one pass tells you where your own plant sits.
How to save a Monstera deliciosa from root rot at a glance
| What to check | Reading or specification |
|---|---|
| Rot confirmed? | No if firm and pale; Yes if brown to black, soft, pulling apart easily |
| Sound root tissue | Firm, white to pale tan, carrying numerous fine feeder roots |
| Failed root tissue | Brown to black, soft, foul-smelling; outer layer slips off a stringy core |
| Cut endpoint | Firm, pale tissue across the whole face; re-cut if it is not clean |
| Blade and container sanitizer | 70 percent isopropyl wipe; or 1 part bleach to 9 parts water, 10 minutes, rinse |
| Rescue container step-up | 1-2 inches at most, sized to the roots that survived |
| Rescue medium | A chunky aroid mix of equal parts fine pine bark, sphagnum peat and perlite, top-dressed with a thin layer of coarse horticultural grit |
| Feed during recovery? | No – withhold fertilizer until active growth resumes |
Tap the button below to get more plant fixes in your Google Search results

Table of Contents
Bare the root mass and read it before you cut
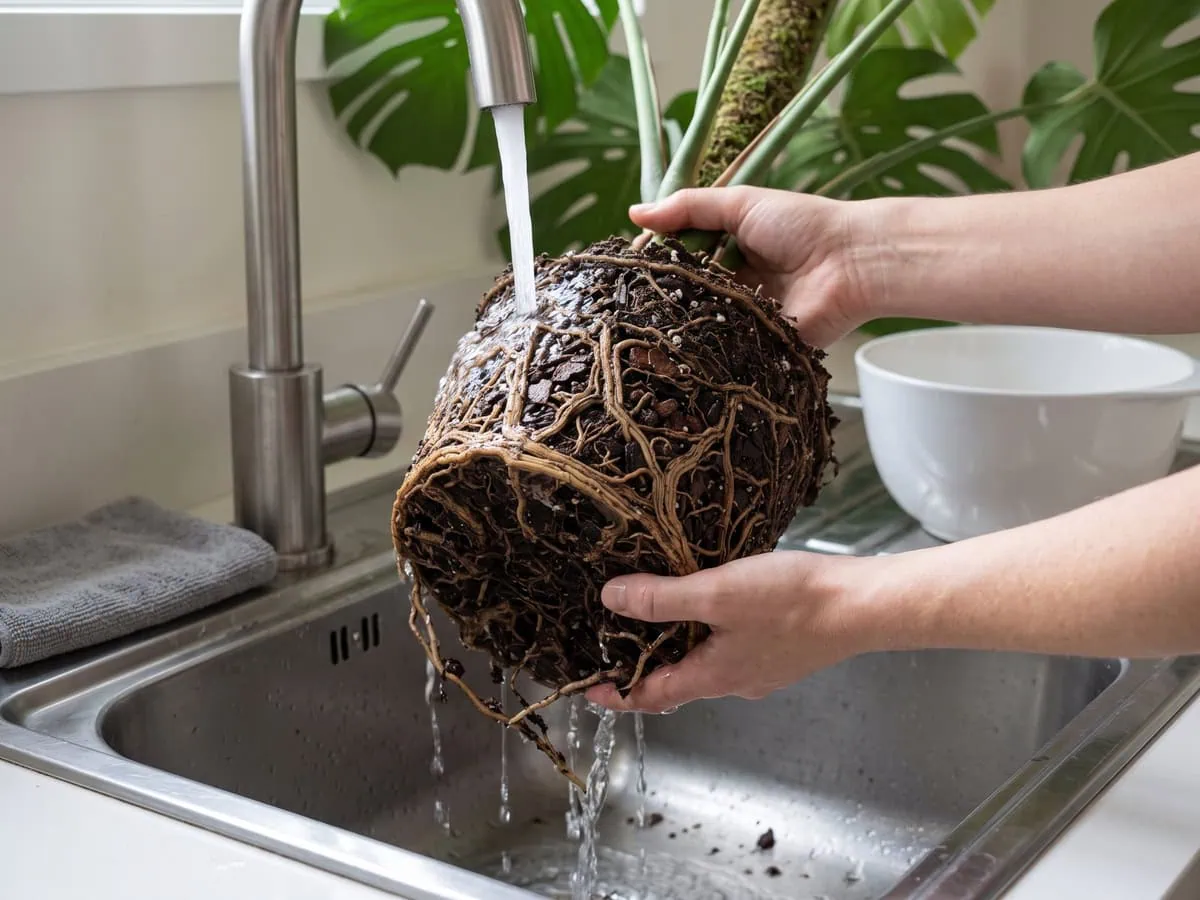
Bare the whole root mass under running water and grade it by hand before any blade touches it, because the tissue that decides this rescue stays invisible while the plant sits in its pot. Shake the old medium off rather than washing it, and keep household detergent away from living root tissue entirely. Do it at the sink.
The following sections cover what your fingers should find, what mimics rot, and where the decision forks.
Sound root, failed root: what your fingers find
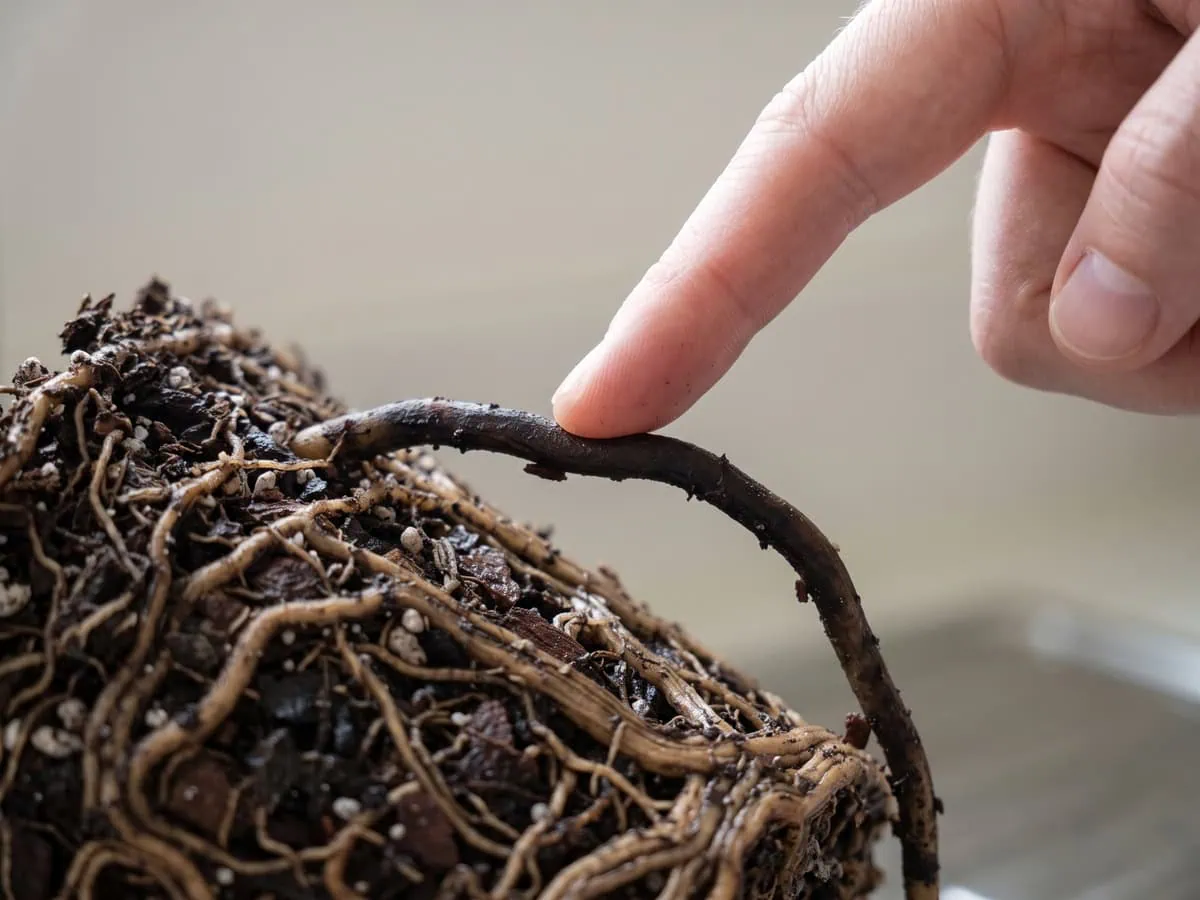
Type “what does Monstera deliciosa root rot look like” into a search bar and you get color. Color alone is the weakest of the three tests. Instead, work the root cord between finger and thumb, because texture separates living tissue from dead far more reliably than shade does.
- Firmness. Sound root is firm, white to pale tan, and carries numerous fine feeder roots.
- Slough. Failed root pulls apart easily and separates into an outer sleeve over a stringy inner core.
- Odor. Soft brown root often carries a sour, waterlogged smell that sound root simply does not.
And one caution overturns the usual advice. Blackened, shriveled tissue is already rotting even while it still feels firm, so waiting for mush is waiting too long. I have graded enough failed root balls to trust the fingers over the eyes.
Look-alikes that are not rot
According to the University of Wisconsin-Madison Division of Extension, root rots on houseplants announce themselves as wilting over a wet medium. However, three states get misread as rot every day, and each one calls for the opposite hand. Moisture deficit alone accounts for 8 of 53 reported losses.
| What you are looking at | What it actually is |
|---|---|
| Firm roots, bone-dry medium, crisping leaf edges | Moisture deficit, the second-largest reported cause |
| Naturally dark but firm root cords | Normal pigment, not decay; the slough test settles it |
| Yellow lower leaf, roots firm and white | Routine leaf aging rather than a root-zone fault |
Verdict: Choose the fingertip test over the color read on any plant wilting in wet medium, because texture reports dead tissue days before shade does.
Not the leaves. If the yellowing came before the sogginess, work through reading a yellow blade beside the other symptoms instead.
The fork: firm pale root, or a soft stem base
Everything now turns on one observation. Search “Monstera deliciosa overwatered mushy stem base” and you will find the case this fork exists for, because a soft stem base changes the whole plan. Watch how the crown sits: once the base has gone, the plant leans further off the pole each morning instead of holding its angle.
- Some firm pale root survives. Excise the failed tissue and repot into a smaller container.
- No firm root, and the stem base is soft. The surviving upper stem is the only salvageable material.
So press the stem just above the medium line before you commit. Firm tissue there buys you the excise-and-repot route; tissue that gives under a fingertip means the root system is no longer the thing worth saving, and the top goes on to become rooting a stem cutting when the parent root system is gone.
Tap the button below to get more plant fixes in your Google Search results

Cut back to firm pale tissue, then repot small
Cut every failed root back until the exposed face is firm and pale, then repot into a container sized to the roots that survived.
Three steps follow: where the cut stops, how the pot is cleaned, and how small to go.
Wear nitrile or thick gardening gloves for every cut, because this plant’s sap carries needle-shaped crystals that irritate skin and eyes on contact. If sap reaches your skin, rinse it under cold running water for at least 60 seconds. Work over the sink or a lined tray so nothing wet leaves the work area with you. If a severe skin reaction develops (blistering or intense burning), seek medical attention immediately. For chemical exposure, you can also contact Poison Control (1-800-222-1222 in the US).
Where the cut falls, and what wipes the blade
Type “how to trim rotten roots on a Monstera deliciosa” into a search bar and every result says to remove the black tissue. None says where to stop.
The endpoint is the tissue, not a distance. Keep cutting until the newly exposed face is firm and pale across its whole width, and cut again if that face is not clean. My second cut finds sound tissue more often than my first.
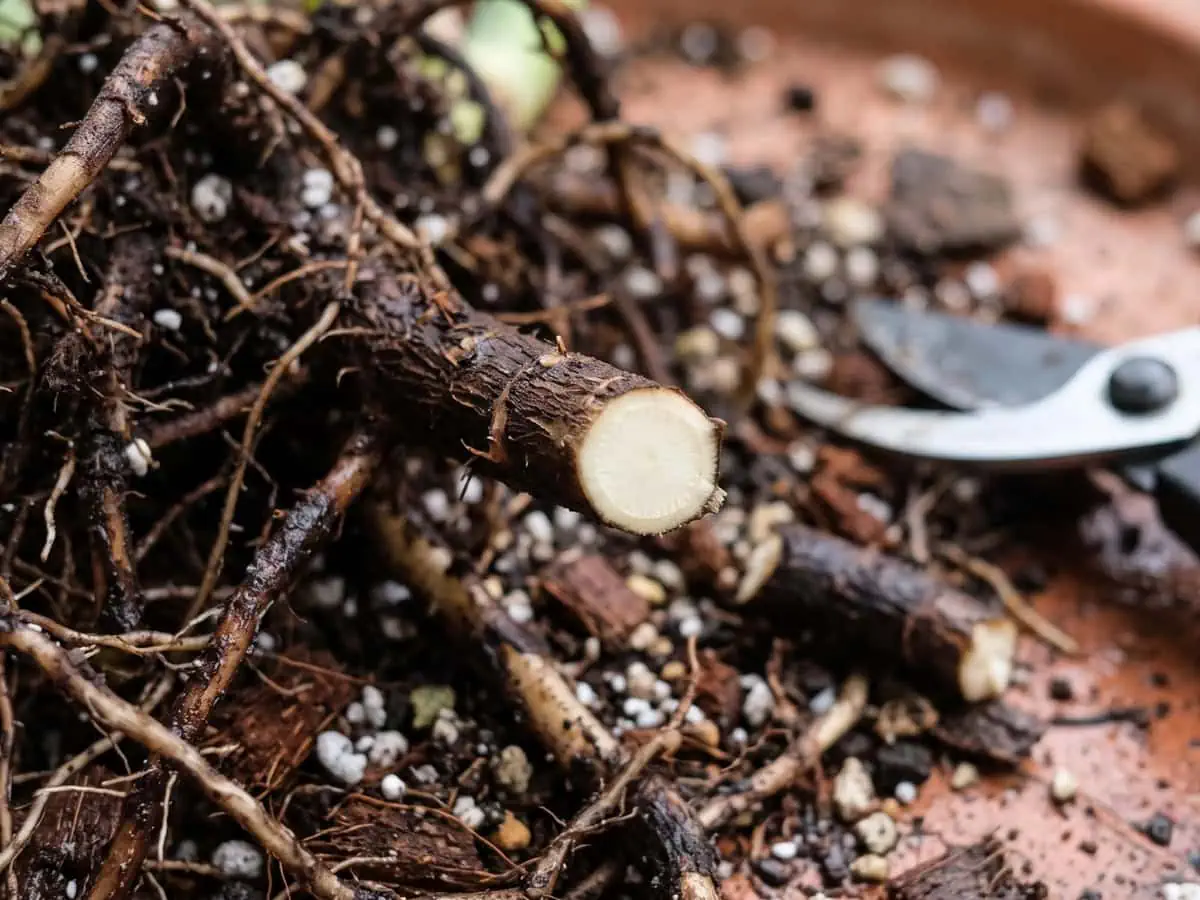
Sanitize the blade before the first cut and between cuts as well (note to self: between cuts, not once at the start). Remove dirt and sap first.
- 70 percent isopropyl alcohol: wipe or dip the blade straight from the bottle; no soak needed.
- 1 part bleach to 9 parts water: soak at least 10 minutes, then rinse, because bleach corrodes an edge.
Sterilize the container before it holds roots again
Clean the pot before the plant returns to it. An unsterilized container hands the organism back at the moment the root system has least capacity to resist it.
- Brush off the loose soil particles.
- Wash the pot in soapy water and rinse it clean.
- Soak it in 1 part bleach to 9 parts water for a 10-minute minimum, then rinse.
Downsize the pot and settle the fresh mix
Type “repotting a Monstera deliciosa after root rot” into a search bar and the results all assume a step up. Smaller, not bigger. Go up 1-2 inches at most, sized against the roots that survived, because surplus medium holds water no root is drawing on.
The pot needs a drainage hole, and nothing underneath the medium: rocks or gravel at the bottom inhibit drainage rather than improve it.
Shake the spent mix off the roots rather than washing it away. Refill with fresh pasteurized medium, never garden soil.
That refill is the medium the rest of its care assumes: building a chunky aroid mix that drains before it suffocates, a chunky aroid mix of equal parts fine pine bark, sphagnum peat and perlite, top-dressed with a thin layer of coarse horticultural grit.
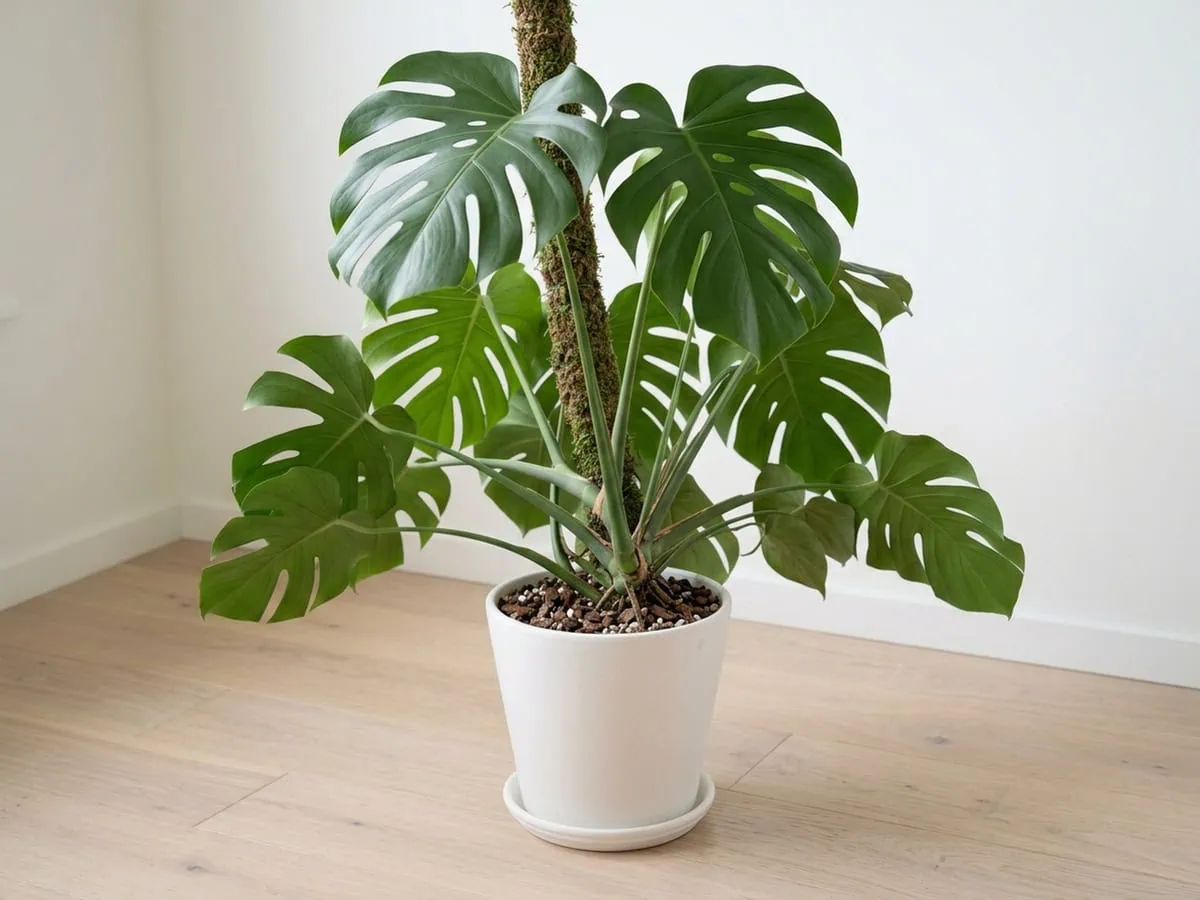
Firm it in, then nudge the stem base. A plant that still rocks a quarter inch under a light push is sitting in more loose mix than its remaining roots can hold.
The recovery window, and what not to do in it
Water the rescued plant once to settle the mix, then leave it until the medium is genuinely dry at depth, and feed it nothing at all.
Below come the first watering, the signals to read, and the steps that finish a plant off.
The first watering, then the long dry-down
Settle the fresh medium with one thorough watering, let it drain, and tip out whatever stands in the saucer after twenty minutes. Then wait for the top 1-2 inches to read dry.
- Finger test: pushed in to the second knuckle, about two inches, and withdrawn with nothing clinging.
- Wooden skewer: pushed to the same depth and withdrawn clean.
- Pot weight: a root ball that has run dry comes up off the bench with almost no resistance.
On a root system that has just lost most of its capacity, reaching that reading takes far longer than it used to. Do not help it along.
A minority position withholds water for about a week instead, reasoning that fresh cut surfaces in wet medium rot faster than they callus. Both routes end at the same long dry-down.
Ordinary cadence comes back later, and it belongs to how often this plant actually wants water once it is out of intensive care.
Reading recovery against decline, week by week
Type “will my Monstera deliciosa recover from root rot” into a search bar and you will be handed a week count. Months, not weeks. The marker is one fully unfurled new leaf, and nothing before it counts as proof.
Watch the newest spear. A spear that opens a finger’s width further each week is a root system rebuilding underneath, while a spear that stalls, browns and stays shut as the older leaves carry on is decline.
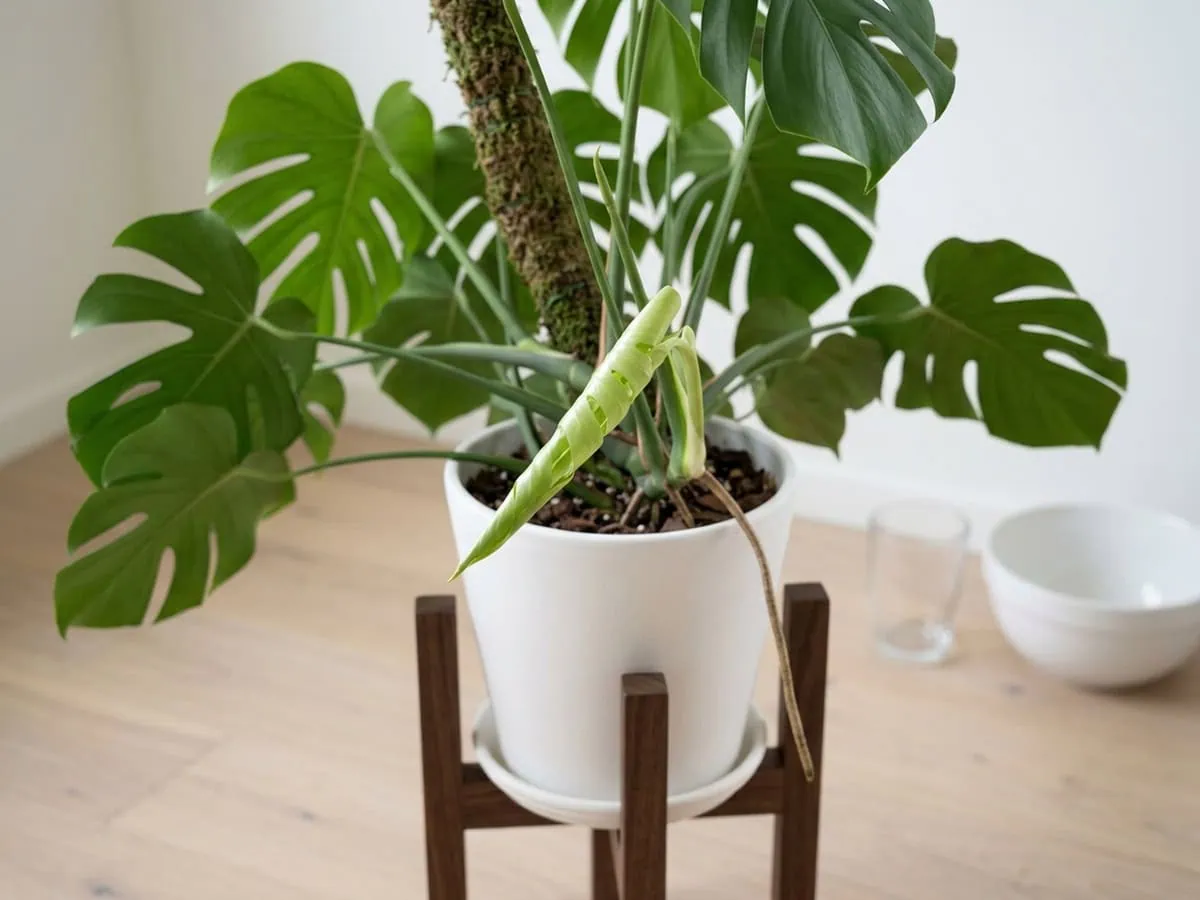
And an old leaf yellowing by itself during that window is ordinary turnover rather than a second failure. Hold the fertilizer until new growth is running, because salts a stalled plant cannot take up simply sit in the mix.
Six rescue steps that make the rot worse
Six moves circulate as rescue advice for this plant. Every one of them is either useless here or actively harmful:
- Washing the roots in dish detergent. Detergents destroy root membranes and leaf waxes; plain water is the only rinse.
- Pouring hydrogen peroxide on cut roots as a feed. It is not a nutrient, and the oxidizer belongs on pots and tools.
- Switching to a reservoir planter so it never happens again. Continuously available moisture is the condition that caused this.
- Adding a layer of rocks under the medium. It inhibits drainage rather than improving it.
- Blaming a root-bound pot. Roots showing at the drainage hole are not by themselves a fault.
- Waiting for tissue to turn mushy before cutting. Blackened, shriveled tissue is already rotting while it still feels firm.
A baking-soda spray on the leaves belongs on the same list. A surface spray never reaches a root-zone fault.
Frequently asked questions about root rot rescue
Can a Monstera recover from root rot?
Yes, provided some firm pale root tissue survives the excision. The surviving roots are what the plant rebuilds from, so the rescue is judged on what is left rather than on how much was cut away.
The clock runs in months rather than days, and the marker is one fully unfurled new leaf. Where no firm root remains and the stem base is soft, the surviving upper stem becomes the salvage instead.
Can a plant recover from root rot by itself?
No. The condition is driven by a root zone that stays saturated, so it continues until the medium dries and oxygen reaches the roots again.
Left in the same pot and the same watering pattern, the failed tissue keeps spreading into sound tissue. Reducing soil moisture is the minimum intervention; excising the failed roots and repotting into fresh open medium is the full one.
How to bring a dying Monstera back to life?
Unpot it the same day, bare the root mass, and grade the roots by touch before deciding anything. Firm pale tissue with fine feeder roots is sound; brown to black tissue that slips apart is not.
Cut back to a firm pale face, sterilize the container, and repot small into fresh pasteurized medium. Then water once to settle it, withhold fertilizer, and let the top of the mix dry properly before the next watering.
What does a Monstera with root rot look like?
Above the soil line it wilts while the medium is still wet, and lower leaves yellow first. Yellowing that climbs into new growth is the more severe pattern.
At the root ball the tissue is brown to black, soft, and often foul-smelling, and the outer layer slips off a stringy inner core when the root is tugged. Sound tissue by contrast stays firm, white to pale tan, and carries numerous fine feeder roots.
How to fix root rot fast?
The physical work takes one session and five steps: unpot, grade the roots, cut to firm pale tissue, sterilize the pot, and repot into fresh medium one to two inches larger at most.
The biology afterwards is slow and cannot be accelerated. Feeding a rebuilding root system adds salts it cannot take up, and watering on a schedule returns the plant to the condition that caused the failure.
Win your next root-zone battle
The whole rescue reduces to one standard: keep firm pale tissue, cut away everything that fails it, and give what remains a pot small enough to dry out. Nothing else weighs as much.
Watch the petioles rather than the calendar. And when they stop dropping their angle week on week, the roots underneath are working again, and the plant has stopped spending reserves it no longer has. Give it weeks.
Once it is out of intensive care the same judgment runs the ordinary cycle, so read the ordinary repotting cycle and the signals that trigger it before the next pot-up. Knowing how to save a Monstera deliciosa from root rot is really knowing when to stop cutting and start waiting.
Firm, pale root tissue is the only thing worth keeping, and a chunky aroid mix that dries all the way down is what lets your Monstera keep it.
Tap the button below to get more plant fixes in your Google Search results