🛠️ Quick Prep Summary: Repotting a snake plant
Learning how to repot a snake plant without killing it comes down to two habits: a barely-bigger pot and a bone-dry first week. Confirm the plant is truly pot-bound, gather your kit, and work quickly once it is out. The rest is patience.
- Sterilized blade or scissors: one clean cut keeps rot from spreading root to root
- Gritty cactus mix and a terracotta pot: just one size larger, with a drainage hole
- Timing: only when the plant is truly root-bound and actively growing
The first time I slid a snake plant out of its pot, the whole root ball came free in one soggy plug that smelled faintly sour. I had over-loved it (yeah, learned this the hard way) — moving it into a roomy pot and soaking it to help it settle.
Years of repotting failure forced me to learn what the plant had been telling me all along: a snake plant banks its own water in a thick underground rhizome, so a big pot of wet fresh mix doesn’t pamper it — it drowns it. And several plants went mushy before that clicked.
The fix is a snug-pot, dry-settle routine, and it slots straight into the fundamentals of keeping a snake plant healthy long term.
Take a breath — this repot is quick and hard to botch once the specs are right. The following table lays out everything to gather first.
How to repot a snake plant without killing it: quick specs
| Snake plant specs | Recommended setup |
|---|---|
| Difficulty | Low, beginner-friendly |
| Time needed | 20-40 minutes |
| Pot size step-up | 1-2 inches wider than the root ball |
| Soil mix | Gritty cactus blend, 1 part organic to 2 parts mineral |
| Pot and drainage | Unglazed terracotta preferred; drainage hole required: yes |
| Likes being root-bound? | Yes |
| Sterile tools needed? | Yes |
| Water right after repotting? | No, keep it dry about a week |
| Repot frequency | When root-bound signs show, not by the calendar |
Tap the button below to get more plant fixes in your Google Search results

Table of Contents
Before you start: timing, the right pot, and a gritty mix
Good repotting is decided before you ever touch the plant. The snake plant (Dracaena trifasciata, still widely sold as Sansevieria trifasciata) is a tough Asparagaceae succulent that banks water in an underground rhizome, so its whole repot hinges on drainage and restraint. Two levers, nothing more.
Get four things right first — timing, pot size, mix, and clean tools — and the swap itself takes minutes. The technique that ties them together, gently teasing apart a matted root ball, is well documented by Penn State Extension.
When the plant is truly pot-bound
Repot only when the plant is genuinely pot-bound — never on a fixed schedule. Growers often ask, “When should I repot my snake plant?” and the roots answer long before the calendar does.
Watch for four physical tells: roots creeping through the drainage holes, a rigid root ball that keeps the pot’s shape when slid out, thick rhizomes bulging or splitting a plastic pot, and water that races straight through the mix.
Spring through early fall (its active-growth window) gives the fastest rebound, but the signs, not the season, call the shot. Do not rush it. If the clump has split into several offset fans with their own roots, repotting is also your moment for turning the divided offsets into new plants.
Pick a pot one size up — and skip the cachepot trap
Move up just one pot size — 1 to 2 inches wider than the current root ball. The recurring question, “What size pot does a snake plant need?”, has a one-line answer: barely bigger than the roots it already has. A cavernous pot is no kindness (the unused soil around the roots stays soggy for days and rots the rhizome).
Unglazed terracotta is my default — the porous wall wicks moisture out and its weight steadies a top-heavy plant — though plastic works fine. One rule outranks the rest: the pot must have a drainage hole. No hole, no deal.
The sneakiest indoor mistake is dropping that nursery pot into a pretty cachepot with no hole, where runoff pools unseen at the base. Empty it after each watering, or skip it.
Mix a gritty, fast-draining substrate
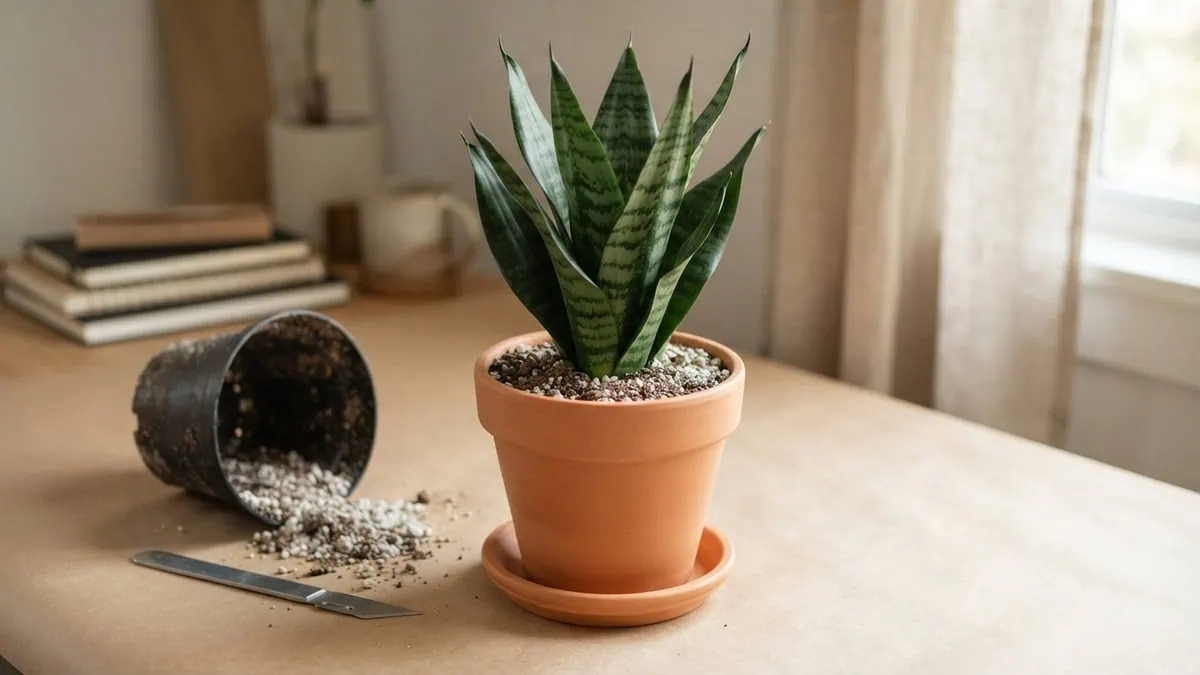
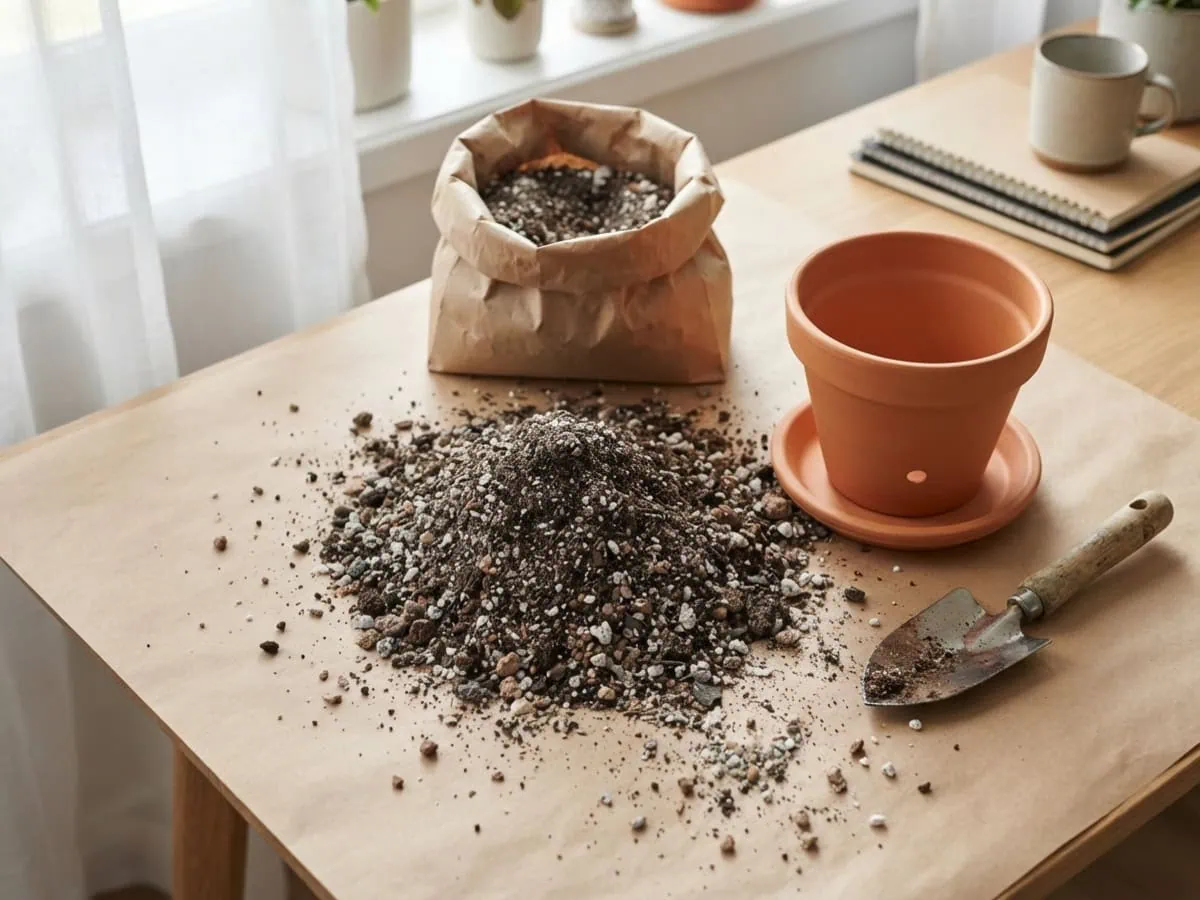
Repot into a fast-draining, gritty substrate — roughly one part standard mix to two parts coarse grit like pumice or perlite — so water drains fast and never lingers around the rhizome. A bagged cactus and succulent mix works straight off the shelf.
Plain potting soil alone holds far too much water for a rot-prone succulent. For the full rundown on ratios, ingredients, and store-bought picks, see the best soil for a snake plant.
Sanitize tools and pre-soak a day ahead
Wipe your blade or scissors with isopropyl alcohol before you cut anything — a clean edge keeps you from carrying rot from one root to the next. A clean edge matters.
Then water the plant lightly a day or two before repotting: a hydrated plant handles the disturbance better, and a slightly moist root ball slides out cleaner than a bone-dry one. Lay out your pot, mix, and blade so everything sits within reach before the plant ever leaves its old home.
Tap the button below to get more plant fixes in your Google Search results

Repot it step by step without tearing the roots
The whole repot is four unhurried moves, and the goal at every one is the same: disturb the roots as little as possible. Snake plants resent having their roots torn (it is the fastest way to stall a plant for weeks), so slow hands beat strong ones here.
Keep your pot, mix, and sterilized blade within reach — the following steps go quickly once the plant is out.
Step 1: Ease the root ball out by the base
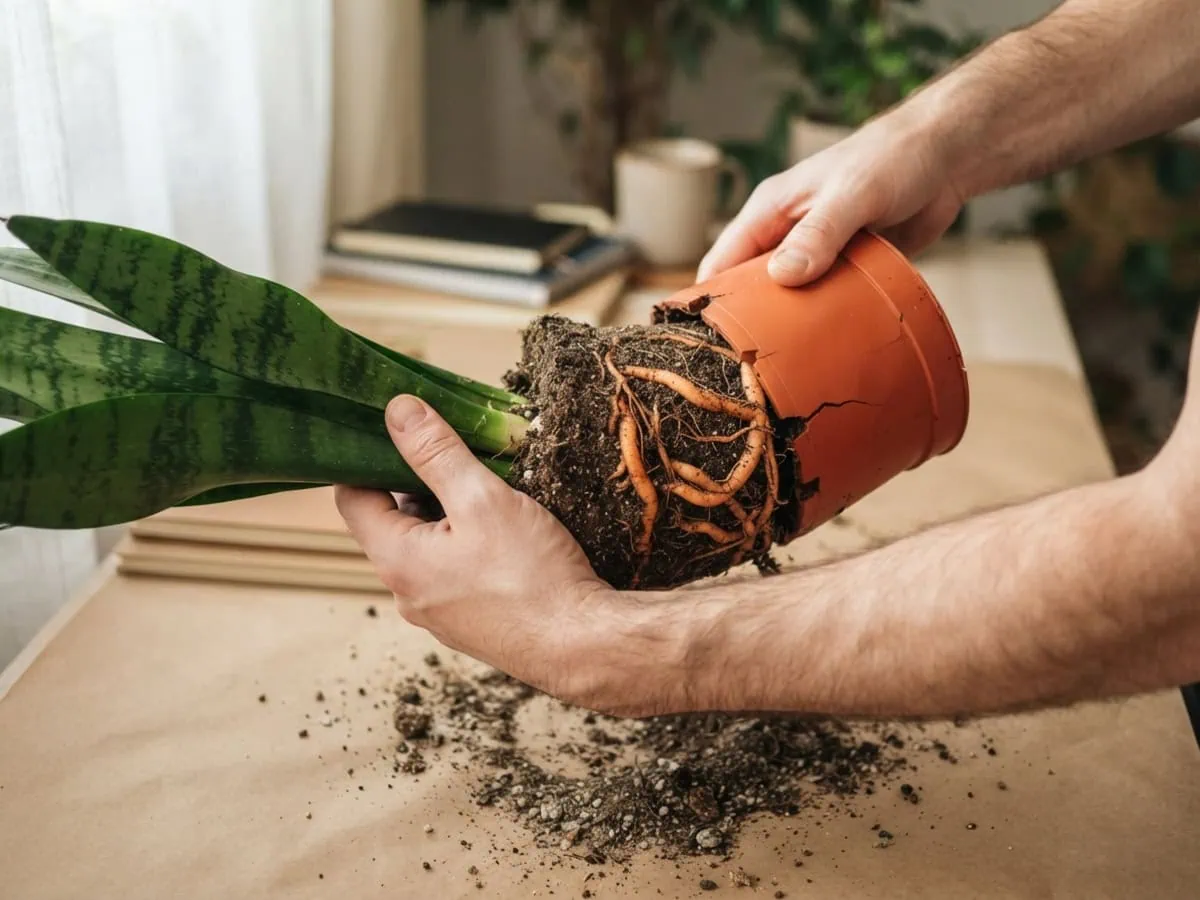
Grip the plant low, right where the leaves meet the soil — never by the leaf blades (they snap clean off under a pull). Tip the pot sideways and squeeze or tap the rim to break the root ball free. If it clings, run a flat, dull knife around the inside wall.
On a badly pot-bound plant the mass slides out in one dense plug, pale-orange rhizomes pressed flat against the old wall and gritty soil crumbling from the surface. Work over newspaper. This part is messy.
Step 2: Inspect the roots and trim only the damaged ones
Read the roots by feel and color before you cut anything. Firm, pale cream-to-white roots are sound; dark, soft strands that smear between your fingers are rot, and they have to go.
With a sterilized blade, cut only the dead tissue back to firm root and peel away any collapsed leaves at the base. Trim conservatively. If most of the root mass is soft and foul-smelling, you are past a simple repot and into rescuing roots that have already started to rot.
Wear gloves for the trimming — the cut rhizome weeps a mild, soap-like sap that can irritate skin, and snake plants are toxic to cats and dogs, so keep the trimmings off the floor and wash your hands after.
This information is for educational purposes only and is not a substitute for professional veterinary advice. If your pet ingests any part of this plant, seek immediate veterinary intervention or contact the 24-hour ASPCA Animal Poison Control Center (888-426-4435) or Pet Poison Helpline (855-764-7661) immediately.
This content is for informational purposes only. If you experience a severe reaction, seek medical attention. For suspected ingestion by a child, contact Poison Control (1-800-222-1222 in the US) immediately.
Step 3: Set the crown at its old soil depth
Seat the plant so the crown sits exactly where it sat before — the point where the leaves flare from the rhizome (that flare is the crown) should rest right at the new soil line, never below it. Depth matters here.
Bury that junction and you trap moisture against the stem base, which is precisely how crown rot starts. Add a shallow layer of gritty mix to the empty pot first, set the root ball on top, and check the height with a finger before you fill.
Step 4: Backfill the grit and firm out air pockets
Fill in around the root ball with the same gritty mix, working it down with your fingers so no hollow air pockets remain beneath the surface. No gaps. Loose pockets dry unevenly and leave roots dangling in nothing, which stalls the whole recovery.
Firm the surface gently — anchored, not packed into a brick. Stop about an inch below the rim, so water has somewhere to sit before it drains. Brush the grit off the leaves.
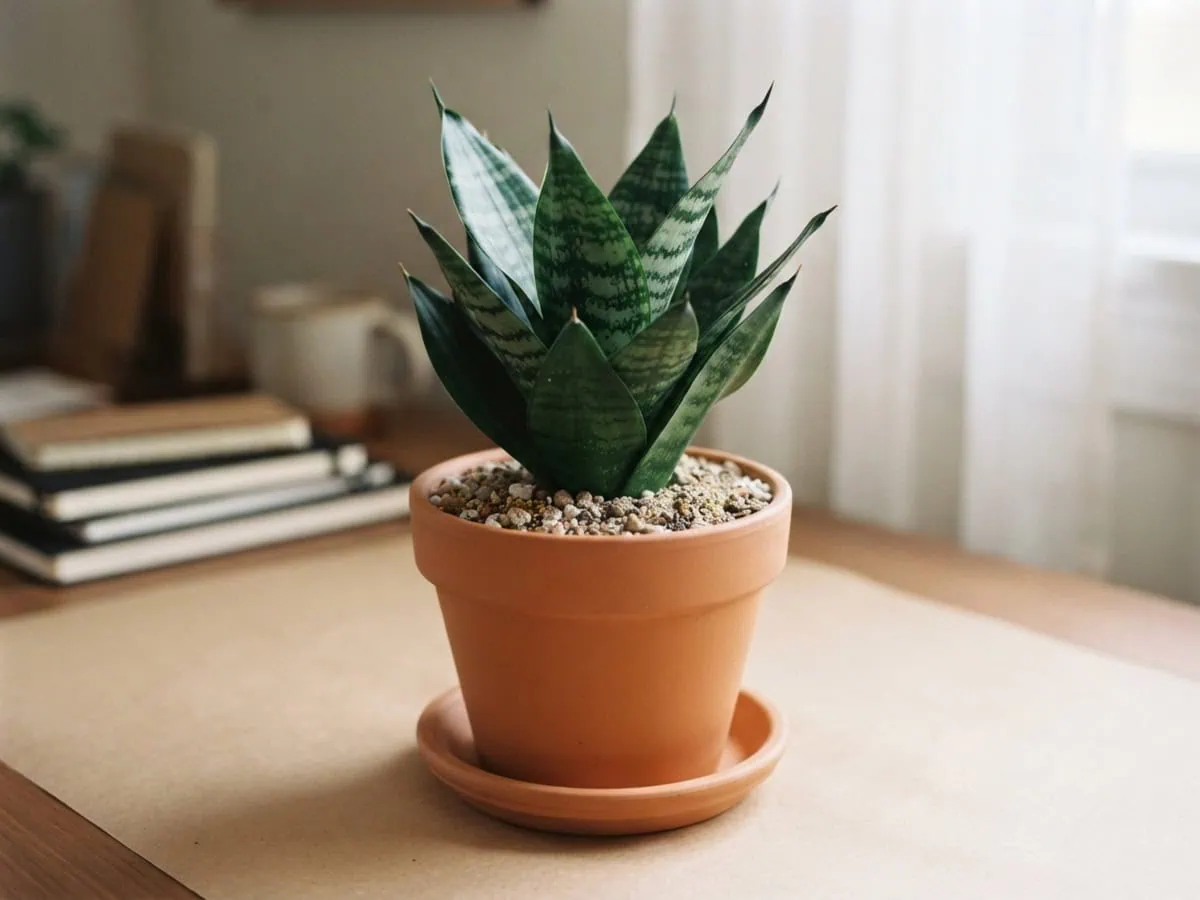
That’s it — a snug, dry, freshly potted plant that looks almost exactly as it did before, just standing in clean, fast-draining mix.
After repotting: the dry-rest window and first feed
The week after a repot is where most snake plants are won or lost. Fresh mix plus disturbed roots is a rot setup, so the after-care is mostly restraint — the following sections cover watering, feeding, and the mistakes that undo a good repot.
Set the pot somewhere warm and bright but out of harsh direct sun (a spot a few feet back from a bright window is ideal), then mostly leave it alone.
Keep it dry for the first week, then water on dryness
Do not water immediately after repotting — keep the mix dry for about five to seven days first. Keep it dry.
Those trimmed and jostled roots carry tiny open wounds, and sitting them in wet mix invites the exact rot you just cleaned out; a few dry days let the wounds callus over before they meet moisture.
After the rest, water only when the mix is dry several inches down, then drain it fully. From there, you are back to settling into a safe day-to-day watering rhythm.
Wait to fertilize — fresh mix already feeds it
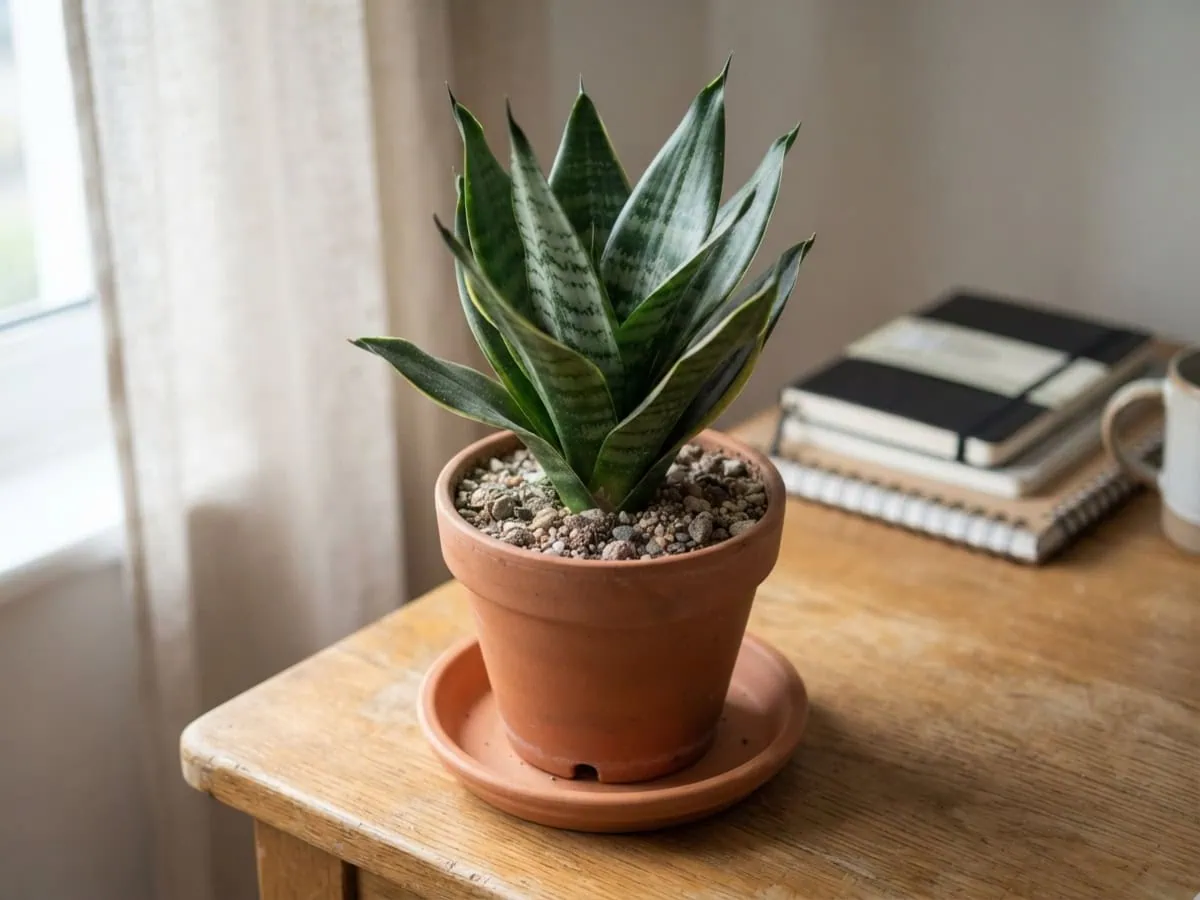
Hold off on fertilizer entirely for the first month or two after repotting. Fresh potting mix already carries enough nutrients, and a repotted plant is resting, not growing, so it cannot use a feed anyway.
Can you over fertilize a snake plant? Easily — this is a light feeder, and stacking fertilizer onto an already-enriched mix scorches the roots and crusts white salt on the soil (yeah, the brown leaf tips people blame on tap water are often salt burn).
When growth does return, feed at half strength, once a month at most, and only in the warm season. If salt builds up on the surface, flush the pot with plain water to wash it out.
Repotting mistakes that quietly cause rot
Most repot failures trace back to three habits that feel caring but aren’t. One question settles the first — do snake plants like to be root bound? They do, which is exactly why a jump to a roomy pot backfires: wet, unused soil sits against the rhizome and rots it.
The second is the victory drink — watering right away, when a dry rest is what those cut roots need. The third is feeding at repot time, piling salt onto roots that cannot use it.
Notice the thread. Every one adds water, room, or food the plant never asked for. Do less, and it thanks you.
Snake plant repotting questions, answered
Can you repot a snake plant in October?
Yes, if the plant is genuinely pot-bound — but repot by the roots, not the calendar. Any time during the plant’s active growth period (roughly the warmer, brighter months of the year) gives the fastest recovery. In the low-light cool season, growth slows and freshly cut roots knit back more slowly, so wait if you can. The trigger is always root-bound signs, never a specific month.
Do snake plants like small or big pots?
Small. Snake plants grow best slightly pot-bound, so a snug container beats a roomy one every time. A big pot holds a large volume of soil that stays wet long after watering, and that lingering moisture rots the water-storing rhizome. When you do size up, go only 1 to 2 inches wider than the current root ball. Small and shallow keeps this plant safe.
What are the biggest mistakes when repotting?
Over-potting, watering right away, and feeding too soon. A pot several inches too big leaves wet, unused soil that rots the roots. Soaking the plant immediately drowns freshly cut roots that need a dry rest. Adding fertilizer to fresh mix burns roots that cannot use it yet. A no-drainage decorative pot rounds out the list, since runoff pools unseen at the base.
Should you water a snake plant immediately after repotting?
No. Keep the mix dry for about five to seven days first. The roots you trimmed and disturbed carry small open wounds, and wet soil against those wounds is exactly what starts rot. A few dry days let them callus over, and because this succulent stores its own water, the dry spell does it no harm. After that, water only when the mix has dried several inches down, then let the pot drain completely.
How often should a snake plant be repotted?
Only when it shows root-bound signs — often just once every few years. Watch for roots pushing out the drainage holes, a root ball that keeps the pot’s shape, a bulging or cracked pot, or water racing straight through. A slow-growing snake plant is happy staying pot-bound, so there is no fixed schedule to keep. Repot on the plant’s signals, not a set interval.
Read, act, and repot right
Repotting a snake plant rewards restraint, not effort. Match the pot to the roots, use a gritty mix, set the crown at its old depth, then hold back on water and food while the plant knits itself back in. Then wait.
Between you and me — the technique is the easy part. But the real work is resisting the urge to fuss over it afterward (note to self: a snug, slightly dry snake plant is a thriving one).
Once you’ve potted it, watch how it settles. A little post-repot lean is normal, and reading post-repot droop and leaf changes tells you whether to wait or step in.
Get those few beats right and you have mastered how to repot a snake plant without killing it. May your snake plant settle into a snug pot, ride out its dry first week, and knit new roots without a hint of rot.
Tap the button below to get more plant fixes in your Google Search results