🚨 Emergency 30-Second Answer: peace lily root rot
Stop watering now — a peace lily (Spathiphyllum, a member of the Araceae family) with root rot can survive losing up to one third of its roots. Everything in how to save a peace lily with root rot rests on one test.
Lift the plant out of its pot and look at the roots today, not next week. Healthy roots are firm, white and numerous; failed roots are mushy, brown to black, and they smell. Take every soft dark root back to firm tissue, then replant into a smaller clean pot.
Sterilize the blade in 70 percent alcohol for at least 30 seconds first. A new leaf from the crown is the sign the rescue worked.
- Stop watering. No more water until the roots have been judged.
- Unpot today. Firm white roots stay; mushy dark ones come off.
- Sterilize first. Wipe the blade with 70 percent alcohol, 30 seconds minimum.
- Go smaller. Replant into a clean pot sized to the surviving roots.
- Then wait. Indirect light, no feeding, and nothing standing in the saucer.
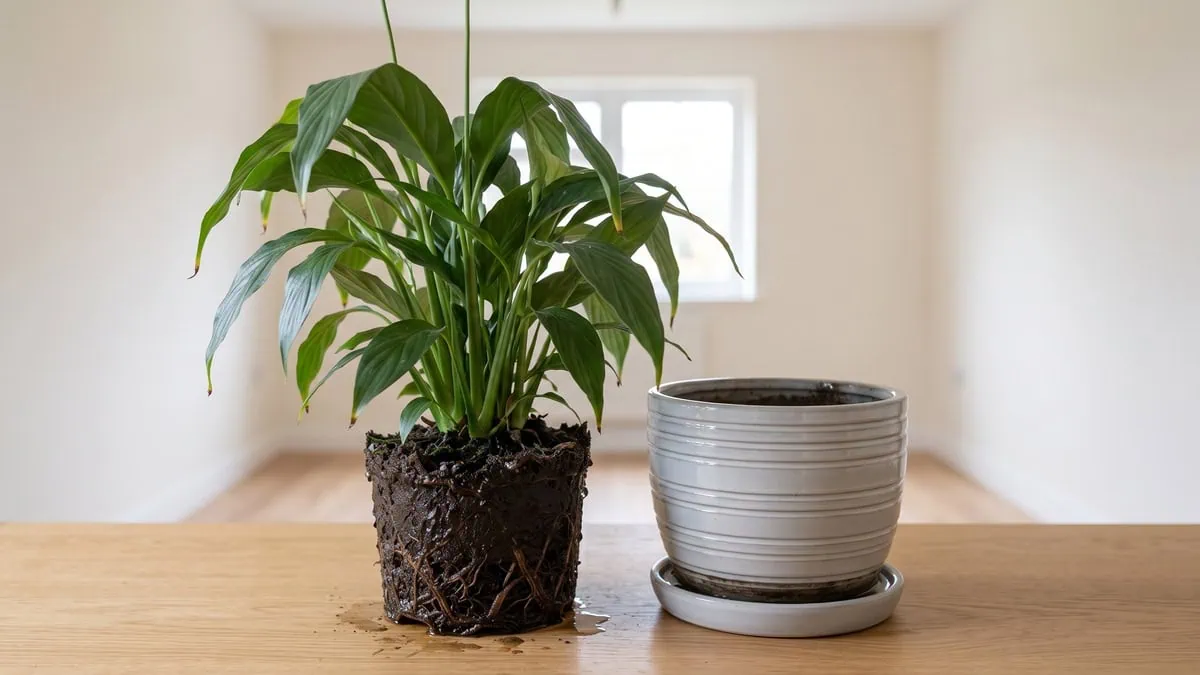
The pot came up heavy in one hand, waterlogged-brick heavy, and the smell reached me before the root ball was fully clear. Sour, like a drain.
For weeks I had watered that peace lily on a schedule. The roots underneath were already brown and soft. I was treating root rot as a watering mistake, but the real fix had nothing to do with that.
It was oxygen — excess water pushes it out of the mix, and the fine roots that do the absorbing die first, which is why a plant carrying no water-storage organ folds so fast.
And both Pythium splendens and Cylindrocladium spathiphylli have been recovered from this plant’s own roots, so the rot is not hypothetical. The smell settles it.
If the roots come up firm and white instead, the problem is ordinary care, and how an established specimen is kept going day to day is the better place to start.
Hold off before you dig any further. The following table holds the whole judgment in seven lines, so you can check the roots against it with wet hands.
How to save a peace lily with root rot: the seven-line rescue card
| What to check | What it means for the rescue |
|---|---|
| Is the plant still worth working on? | Yes, if any firm white feeder roots remain. |
| Healthy root | Firm, white, numerous feeder roots. |
| Failed root | Mushy, brown to black, bad odor. |
| Hydrogen peroxide on the cut roots? | No – containers and tools only. |
| Container after the cut | Down a size, clean or new, drainage hole. |
| Growing medium | A peat-and-pine-bark foliage mix, 2 parts peat moss to 1 part pine bark, top-dressed with a thin layer of the same coarse pine bark |
| First sign it worked | A new leaf emerging from the crown. |
Tap the button below to get more plant fixes in your Google Search results

Table of Contents
Stop watering and read the roots first
The roots decide this, not the leaves, so stop watering and lift the plant out of its pot today. Leaf droop alone cannot name the cause. This species banks no water reserve, so it folds as fast when the mix is bone-dry as when it is drowned.
So the order matters. Knowing how to tell if a peace lily has root rot starts with three readings. The following sections take them in order: soak test, root, then crown.
The two-hour test after a thorough soak
Soak the pot until water runs from the drainage hole, then watch the clock. A thirsty plant lifts within a few hours. If it is still flat over damp mix, the roots are the problem, and another drink deepens it.
Weight settles it. Dry mix leaves the pot light enough to swing up with two fingers, while a pot that stays dead-weight a few hours after a soak is still holding water the roots never drank.
Then check the top two inches with a finger. The same reading sorts out a peace lily that droops between waterings, which is the ambiguity most rescues come unstuck on.
What a failed root looks and smells like
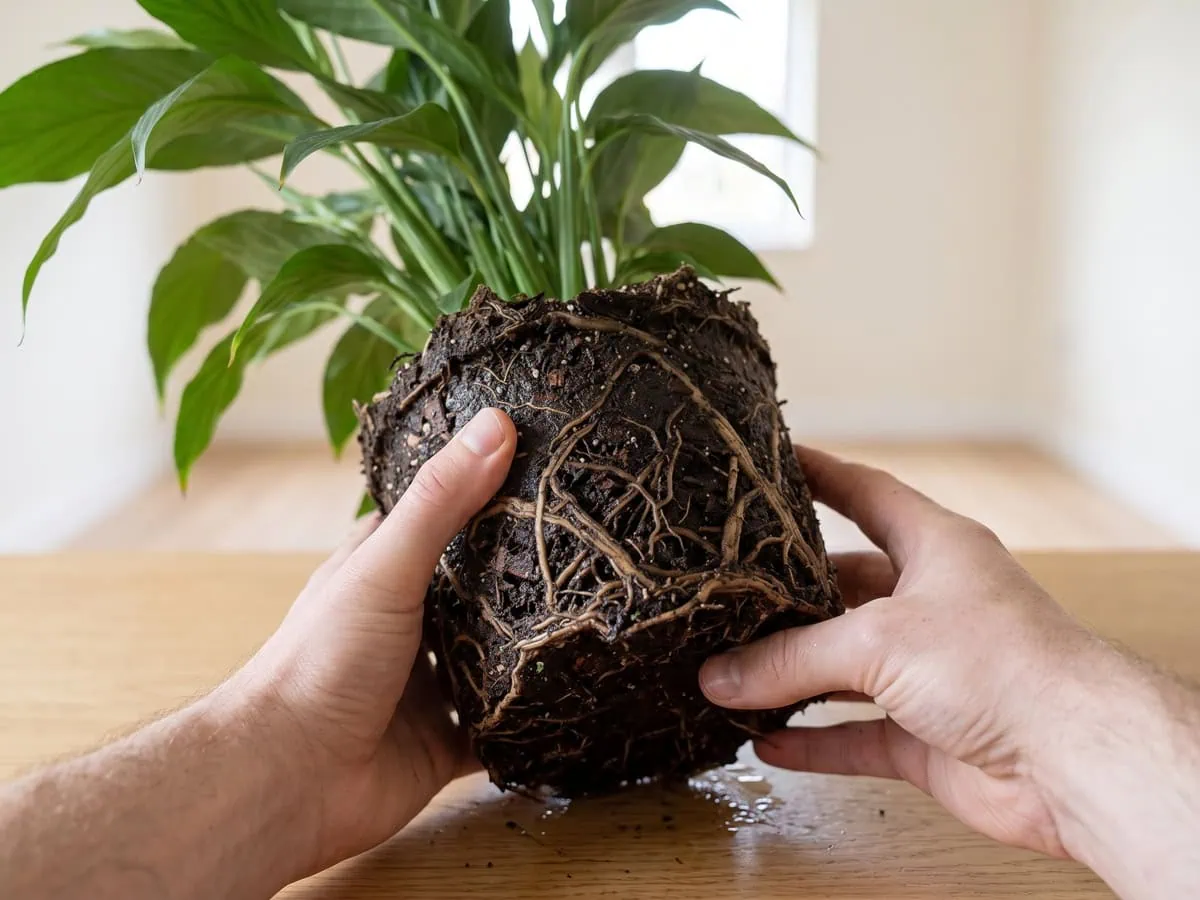
Color is the first read. Healthy tissue is firm, white to pale tan, and crowded with fine feeder roots. Failed tissue reads the opposite way: dark brown to nearly black, soft, and flattening under fingertip pressure instead of springing back.
The pairing readers search for, peace lily mushy black roots and rotten smell, is what comes up out of a drowned pot.
Smell the mix you just tipped out, not the plant. Wet potting mix smells earthy and flat. Rot smells sour, closer to a drain than to soil.
In my testing that sour note carries off the discarded medium before the roots are even clear of the pot. A fuzzy white bloom on the old surface, and small flies over it, say the same thing.
Check the crown and the stem base separately
Roots gone with a firm crown is one situation. A crown gone soft at the soil line is another. It is the worse of the two.
Peace lily crown and stem rot at the soil line shows as blackening at the base, tissue that gives under a thumb, and the same sour smell.
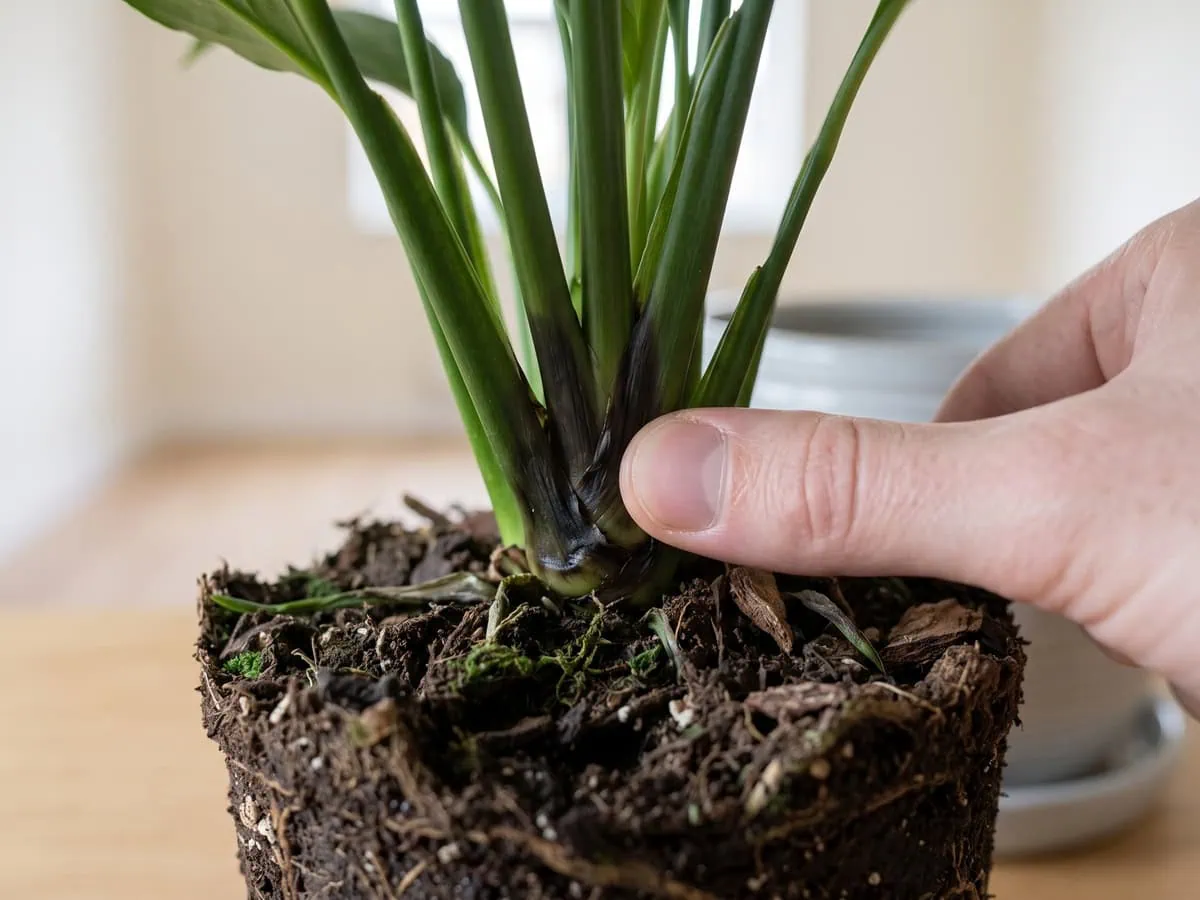
Rot travels in order. Outer roots first, then the rhizome, then the base. A firm base under a ruined root system says the rescue is still worth doing.
Tap the button below to get more plant fixes in your Google Search results

Cut back to firm tissue, then replant into less pot
Cut every soft dark root back to firm white tissue, then replant into a pot one size smaller. Tissue condition sets the cut. As context only, a plant can survive losing up to about a third of its roots, but the tissue test, not the percentage, decides where the blade stops.
Work in order. The following sections cover the cut, the clean-up, and what lives in the wet mix.
Trimming rotted roots and repotting a peace lily
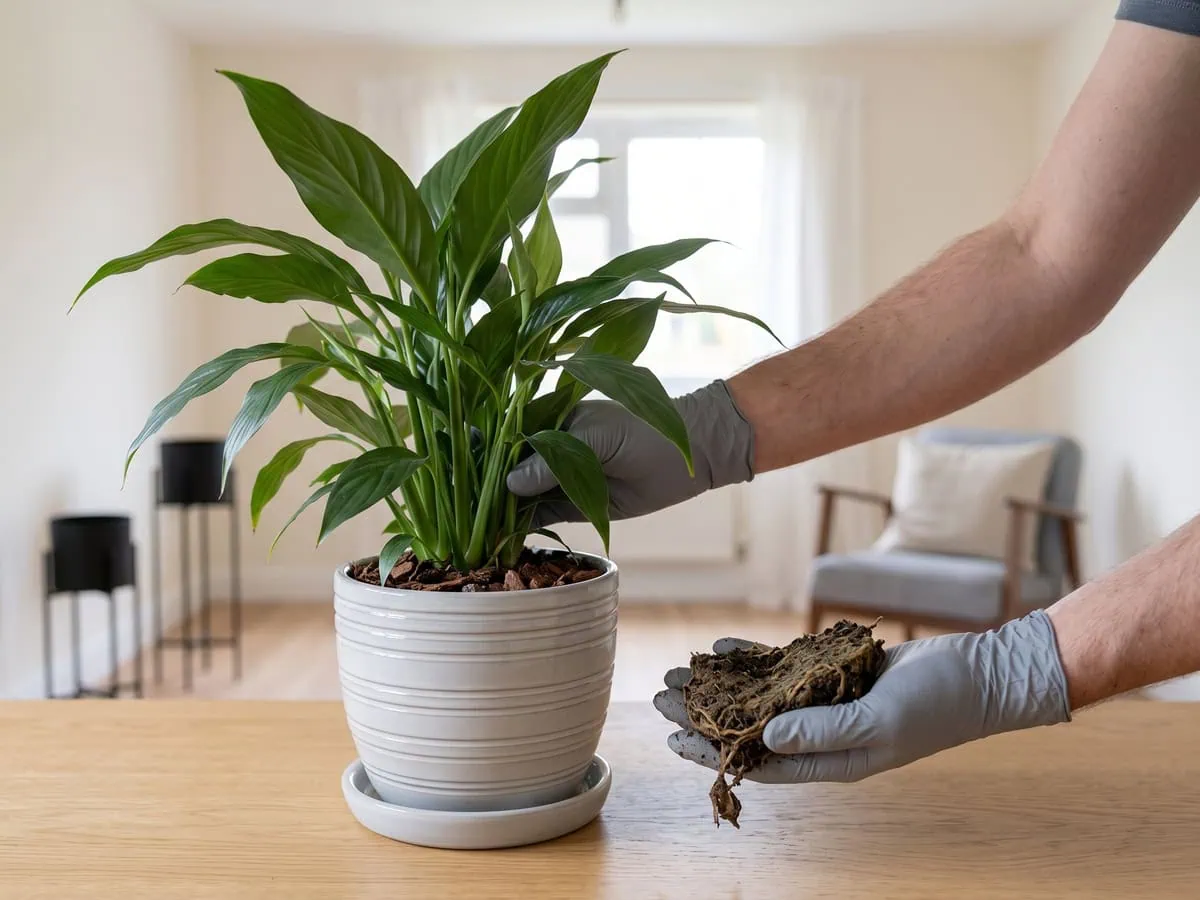
Wear gloves. The sap carries needle-shaped crystals that irritate skin, so wash with soap and warm running water afterwards. That is half of how to trim rotten roots off a peace lily and repot it.
Cut only what fails the firmness test (and I say this confidently): the creeping surface rhizome and the roots at the petiole bases stay. This plant grows no aerial roots. Pale firm tissue at the base is structure, not damage.
Replant into a clean or new container, never the unwashed one it failed in. Fill it with a peat-and-pine-bark foliage mix, 2 parts peat moss to 1 part pine bark, top-dressed with a thin layer of the same coarse pine bark.
The old mix comes out as a sagging lump that weighs like wet sand in the palm, while a fresh handful barely presses back. That is the change you are making. If you want the reasoning behind the ratio, the mix built to keep air reaching the roots takes it further.
Sanitize the blade and the container first
I clean the blade before the first cut, not after the last one. Wipe it with 70 percent alcohol and give it at least 30 seconds of contact.
Bleach corrodes metal. Keep the 10 percent bleach solution for the pot and the work surface, and keep the alcohol for the blade.
Hydrogen peroxide belongs on the empty pot and on the tools, never on living roots. Clay pots wash clean. A used plastic pot is hard to disinfect properly, so replace it rather than trust it.
Which organisms are actually in the wet mix
Two organisms have been recovered from this plant’s own roots: Pythium splendens and Cylindrocladium spathiphylli. Their relatives Pythium and Phytophthora travel as zoospores, produced in sporangia and motile in water.
According to University of California Integrated Pest Management, Pythium root rot in ornamental production spreads in water, which is what makes a saturated mix the vehicle rather than the site. The physical steps carry the outcome. Failed tissue out, old mix out, drainage back.
A bottle does not undo a saturated pot. Composted pine bark at about 20 percent of a mix is reported to give some control, which is why bark sits in the recipe above.
Aftercare, and how you will know the rescue worked
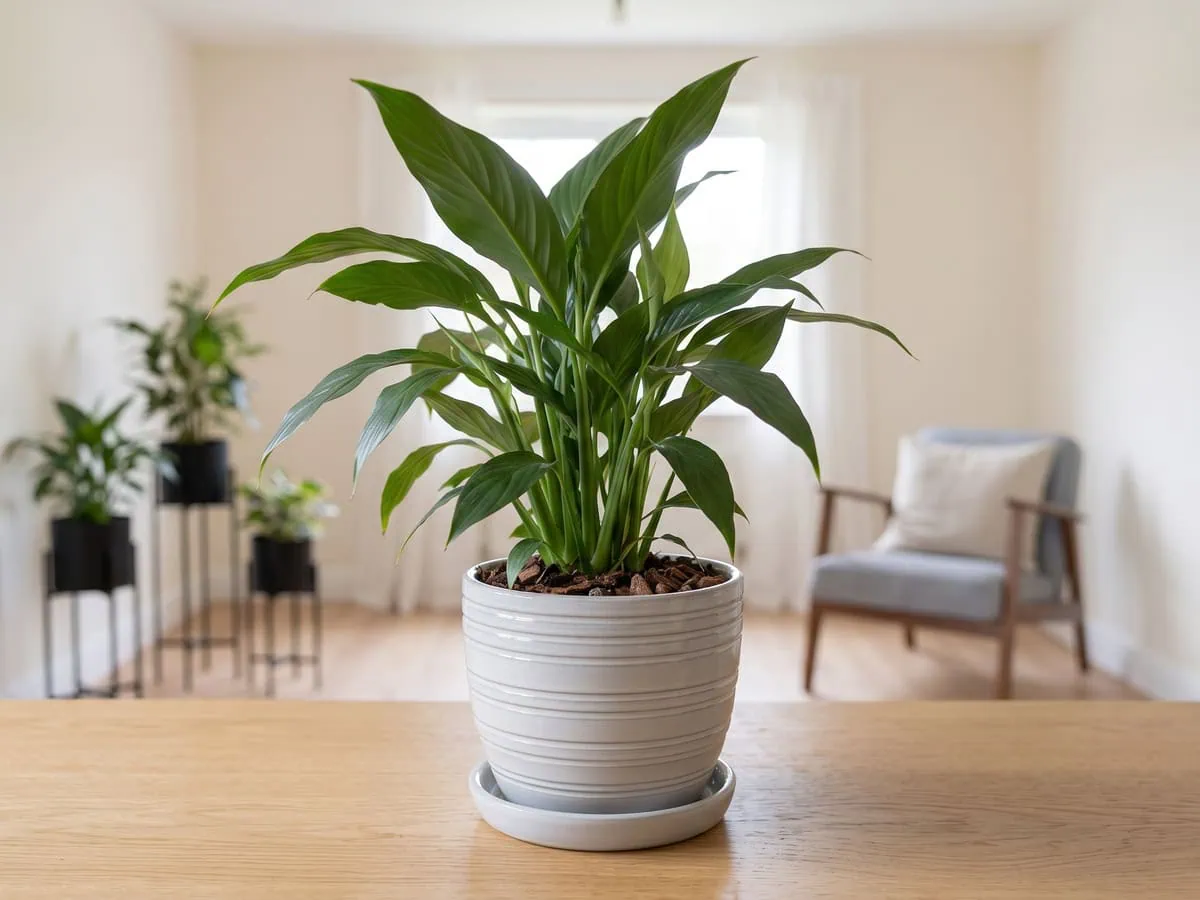
Aftercare is subtraction, not addition: less water, no feed, and steady indirect light while the roots rebuild. The plant cannot drink what it has not regrown. Every extra kindness in the first fortnight lands on tissue that is not there yet, and that is how a rescued plant fails twice.
Hold that line for two weeks. The following sections cover what to withhold, what recovery looks like, and the four moves that undo it.
What to withhold while the roots rebuild
Withhold fertilizer entirely. A plant that is not pushing new leaves cannot use it, and feeding a stalled pot only builds fertilizer salts in the mix. Those salts brown the leaf edges you are trying to save.
You will see them if they build: a white crust on the mix surface and around the pot lip. Withhold water too, until the top two inches are dry. Then water thoroughly, and let the saucer drain.
I keep the galvanized can half full through those weeks, because a full one is heavy enough to pour faster than the mix can take. Lift it, not the schedule. The same read then decides deciding when the next drink is due once the plant is stable.
Does a peace lily recover from root rot alone?
Not on its own. The question people type, “can a peace lily recover from severe root rot”, assumes time fixes it, and time in a saturated pot is what caused it. Roots that have collapsed do not come back.
What comes back is new root, and that takes weeks. On a normal repotting, leaf recovery runs about 7 to 10 days in indirect light, while roots re-establish over 2 to 4 weeks. Read those as a floor, not a promise, because your plant also lost tissue.
Judge at three weeks, not at one. A firm crown and no new blackening is the holding pattern you want, and the weeks that follow a fresh potting run the same way. The first real signal is a new leaf pushing out of the crown.
Four rescue moves that make the rot worse
Four moves undo the rescue. First, moving the plant into six hours of sun to dry it out: this is a shade plant, and direct sun scorches the leaves while the roots stay wet.
Second, it goes back into a decorative sleeve with no drainage hole. The saucer you cannot see is the one that stays full. Third, feeding to help it recover, which loads salt onto roots that are not drinking.
Fourth, a peroxide solution goes over the roots after the repot. Keep it on the empty pot and the tools instead. So aftercare is mostly a list of things you do not do.
Frequently asked questions about peace lily root rot
How to bring a dying peace lily back to life?
Name the failure before acting. Water it through until the drainage hole runs, then watch for a few hours. A plant that lifts was thirsty; a plant that stays flat over wet mix has a root problem, and more water deepens it.
Lift it out, cut every soft dark root back to firm tissue, and replant into a smaller clean pot with fresh mix. Then hold it in indirect light, withhold fertilizer, and let the top two inches dry before the next drink.
Can a plant recover from root rot by itself?
No, a collapsed root system does not rebuild itself. Roots that have gone soft and dark are spent tissue, and time in a saturated pot is what produced them.
Recovery starts when the failed roots are removed and the plant goes into fresh medium in a clean container one size smaller. Where the crown has gone soft through and no firm white root remains, the plant is past rescue and is discarded rather than nursed.
What does a peace lily with root rot look like?
Failed roots read dark brown to nearly black, feel mushy, and flatten under fingertip pressure instead of springing back. Healthy tissue in the same pot stays firm, white to pale tan, and crowded with fine feeder roots.
The discarded mix carries a sour drain-like smell that healthy potting mix never has. Above the soil line the giveaways are a blackened, soft stem base, a white fuzzy bloom on the old surface, and small flies over it.
What does a sick peace lily look like?
Read where the damage sits, because four different faults all look like sickness. Lower and inner leaves yellowing under a heavy pot point at a waterlogged root zone. A group of yellow leaves arriving days after a wilt episode points at a past dry-out instead.
Brown tips and margins track water quality and salt buildup. Blackening that starts at leaf tips and edges and moves inward follows a chilling episode in the 32 to 59F range, which a cold windowpane or an unheated van can produce indoors.
What can I give my peace lily to perk it up?
Water is the only thing a rescued plant can use, and only once the top two inches have dried. Fertilizer loads salts into a mix that stalled roots cannot use, and those salts brown the leaf edges you are trying to save.
Hold feeding until new leaves appear, which takes roughly 2 to 4 weeks while roots re-establish. Peroxide belongs on the empty pot and the tools, never on living roots, and rainwater or distilled water sidesteps the salt load entirely.
Will my peace lily perk back up?
Yes, if firm white feeder roots remain after the cut. A plant that was merely dry stands back up within a few hours of a thorough soak, which is the fastest read available.
After a rescue the timetable runs longer: leaf recovery lands around 7 to 10 days in indirect light, and roots re-establish over 2 to 4 weeks. Read those figures as a floor rather than a promise, and the first real signal is a new leaf pushing from the crown.
Field-tested rescue: ready to judge your roots by firmness?
Firmness settles this, not leaf drama. Cut what fails the test. Then replant into less pot and subtract water and feeding until new root growth can pay for them.
Three weeks on, the pale gray saucer lifts away bone-dry and light as an empty plate, and that emptiness — not a green flush — is the reading that tells you the root zone is breathing again.
The next question keeps this from happening twice: what a settled watering rhythm looks like once the plant is stable, judged by the weight of the pot rather than by the day of the week. Read the roots, not the calendar.
Master how to save a peace lily with root rot and you gain the one reading that protects every pot you own. Firm white roots are the only ones worth keeping, and your peace lily will show you the answer in its next new leaf.
Tap the button below to get more plant fixes in your Google Search results