🎯 Quick Answer: the mix a peace lily actually needs
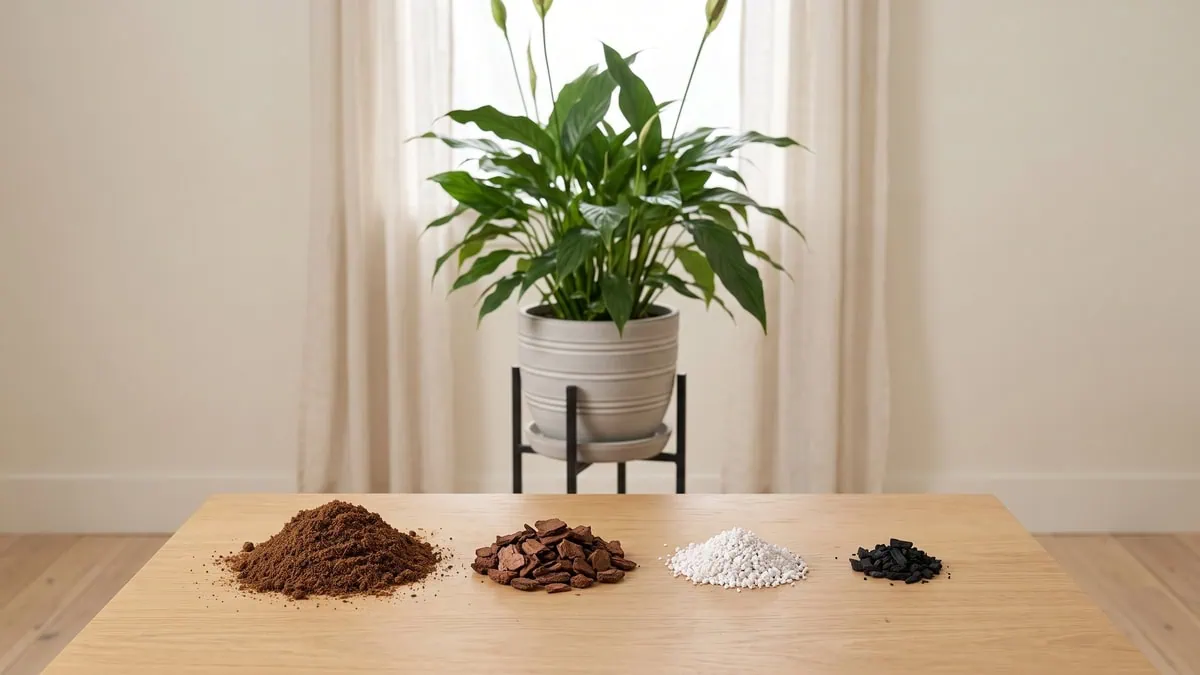
Ask what is the best soil for a peace lily: compaction triggers rot in Spathiphyllum, family Araceae: 2 parts peat moss to 1 part pine bark. Bark keeps air in the root zone. Let the top two inches dry before you water again.
- Cut a bagged mix: add bark and perlite until a third looks chunky
- Squeeze test: a damp ball holds, then crumbles at a touch
- Keep out: coffee grounds and baking soda never go in the pot
- Flush every few months: pour three pot volumes through, then drain
- Repot small: go about two inches wider than the pot
Let me level with you: I have lost several peace lilies, most of them drooping over the pot rim while the soil read damp. The tell was sound, not sight – a dull, packed thud when I tapped the pot instead of the hollow knock a mix with real aeration gives back (the table below has the fix).
Let me rewind for a second… I kept adjusting the watering schedule when the schedule was never the problem. The medium was: Spathiphyllum carries no water-storage organ, so the peat moss, bark and perlite around its roots are the only reservoir it has.
So the question is not how often you water. It is whether the medium holds moisture and still lets air reach the roots, which is a job of aeration and drainage rather than of schedule. Get the ratio right and the rest of the indoor care baseline this mix has to support gets easier.
No need to guess at ratios. The six numbers below are the whole mix, measured out so you can check your own pot before you buy a single bag.
What is the best soil for a peace lily at a glance
| Peace lily specs | What to aim for |
|---|---|
| Growing medium | A peat-and-pine-bark foliage mix, 2 parts peat moss to 1 part pine bark, top-dressed with a thin layer of the same coarse pine bark |
| Aeration component | Pine or orchid bark as the structural backbone, medium-grade horticultural charcoal secondary |
| Target medium pH | 5.0-6.5, slightly acidic |
| Surface dry-down before rewatering | Top 2 inches dry |
| Drainage holes required? | Yes – a container that cannot drain holds water at its base whatever the mix |
| Bottom gravel layer under the mix? | No – a coarse layer under a fine one raises the water table |
Tap the button below to get more plant fixes in your Google Search results

Table of Contents
The peat-and-bark mix ratio that keeps roots breathing
A peace lily mix works at two parts peat moss to one part pine bark, because Spathiphyllum stores no water of its own, so everything the roots draw on has to come from the mix around them. The following sections cover the fraction, the base, and the hand check.
The “what soil mix do peace lilies like” question comes down to two jobs at once: hold water, and still leave pores clear for air. Peat or coir does the first. Bark does the second.
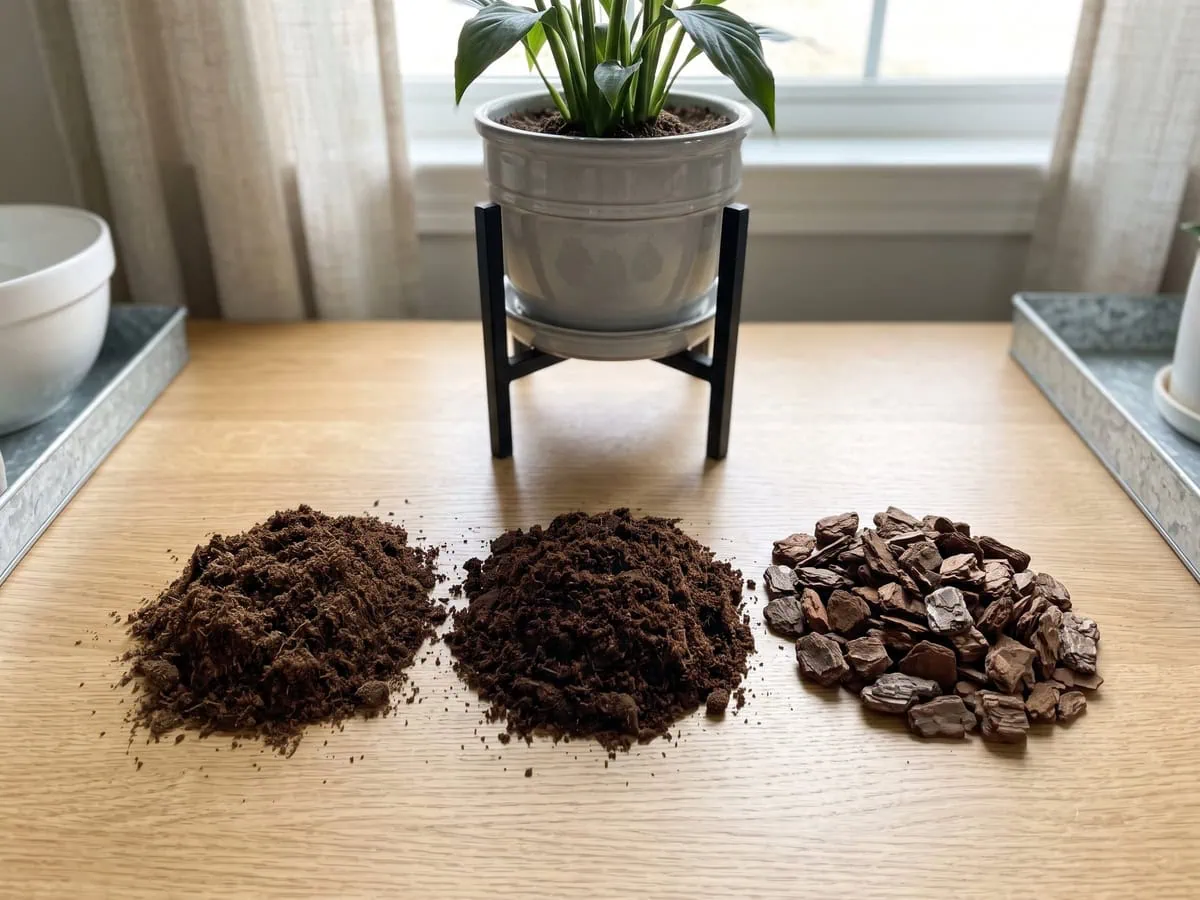
Waterlogging does its damage by displacement. When every pore fills with water, the oxygen those pores held has nowhere left to sit, and the fine root hairs give out first because they cannot function without it. The plant then wilts while the soil reads damp, because a drowned root cannot draw water even when it is surrounded by it.
Take this with a grain of salt: the published aeration fractions differ because they are fractions of different bases, and a quarter perlite in fine peat behaves nothing like a quarter in chunky bark.
According to the University of Connecticut Home and Garden Education Center, a medium has to supply support, drainage, air and water storage at once, which makes aeration in a potting medium a design target rather than an afterthought.
How much perlite or bark to add to the mix
The “how much perlite to add to peace lily soil” answer starts at a quarter of the finished volume.
- Two parts peat moss or coir – the water-holding base
- One part composted pine bark – the backbone that holds pores open
- A quarter of the total as perlite or coarse sand – added when the base is fine
- A handful of medium-grade charcoal – secondary, keeps a moist mix from souring
Peat or coir as the water-holding base
Both hold water equally well; they part company only after the base dries out.
- Peat moss – sheds water once it goes bone-dry, and is slow to take it back
- Coir – rewets readily, but arrives compressed and must be soaked and broken apart
- Either one – wet it before it goes in the pot, as sphagnum moss and vermiculite also need
The squeeze test that tells you the mix is right
No bag prints the number that decides this, which is how much air the blended medium holds. So the check is physical.
Dampen a handful of the finished mix and close your fist on it. A correct mix forms a ball that breaks apart when you poke it with one finger. If it stays a ball add bark; if it will not hold at all, add base.
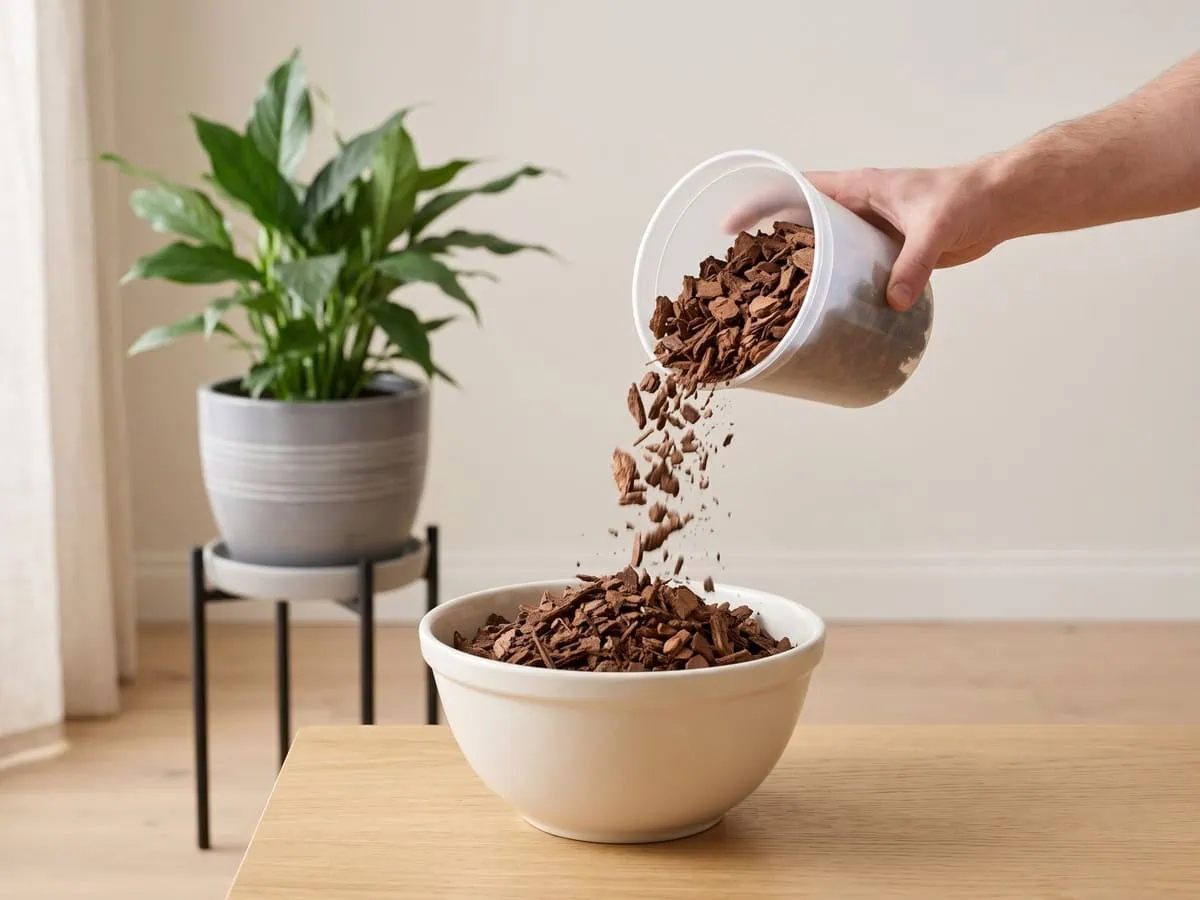
In my testing across a dozen repots the failures sounded wrong before they felt wrong. Dry pine bark hitting a mixing bowl rattles like aquarium gravel; peat from a compressed block lands with no sound at all.
Surface behavior follows the same coarseness. A mix with real bark in it dries on top within a day or two, and that dry surface denies soil-dwelling insects the damp layer they breed in, unlike a mix that stayed wet until the roots gave way.
Tap the button below to get more plant fixes in your Google Search results

Bagged potting soil, aroid mix, or orchid mix
A bagged indoor potting soil suits a peace lily only once you cut it with bark or perlite, while an aroid mix works as sold. The three bags below differ mainly in how much correction each one needs.
And correction is the whole story with a bag. Straight out of it, an indoor mix is finer than it looks and packs a little tighter with every watering, until water sits on the surface instead of moving through (watch it happen once and you will never buy it straight again).
| Bagged option | Straight out of the bag | What it needs first |
|---|---|---|
| Indoor potting soil | Too fine; packs down as you water | A quarter bark or perlite, mixed through |
| Aroid mix | Chunky and open already | Nothing |
| Orchid bark mix | All structure, almost no water held | Blending into a peat or coir base |
Verdict: Choose an aroid mix when you want to pot the same day, because it already carries the bark fraction this plant needs.
What fails in a straight bagged potting soil
The “can you use regular potting soil for a peace lily” answer is yes, with one condition. Fine material holds water in every pore and leaves none of them for air.
- Look at it dry – no distinct chunks means it is too fine to use unamended
- Water it once – a surface that seals and puddles is already packing down
- Correct it – a quarter of the volume in bark, mixed through rather than layered
Aroid mix, orchid mix, or a succulent mix
The “is aroid or orchid mix good for a peace lily” answer splits three ways: aroid as sold, orchid bark only as a component, and a succulent mix not at all, since it is built to dry fast and this plant is built to stay evenly moist.
Growing in water instead of a mix
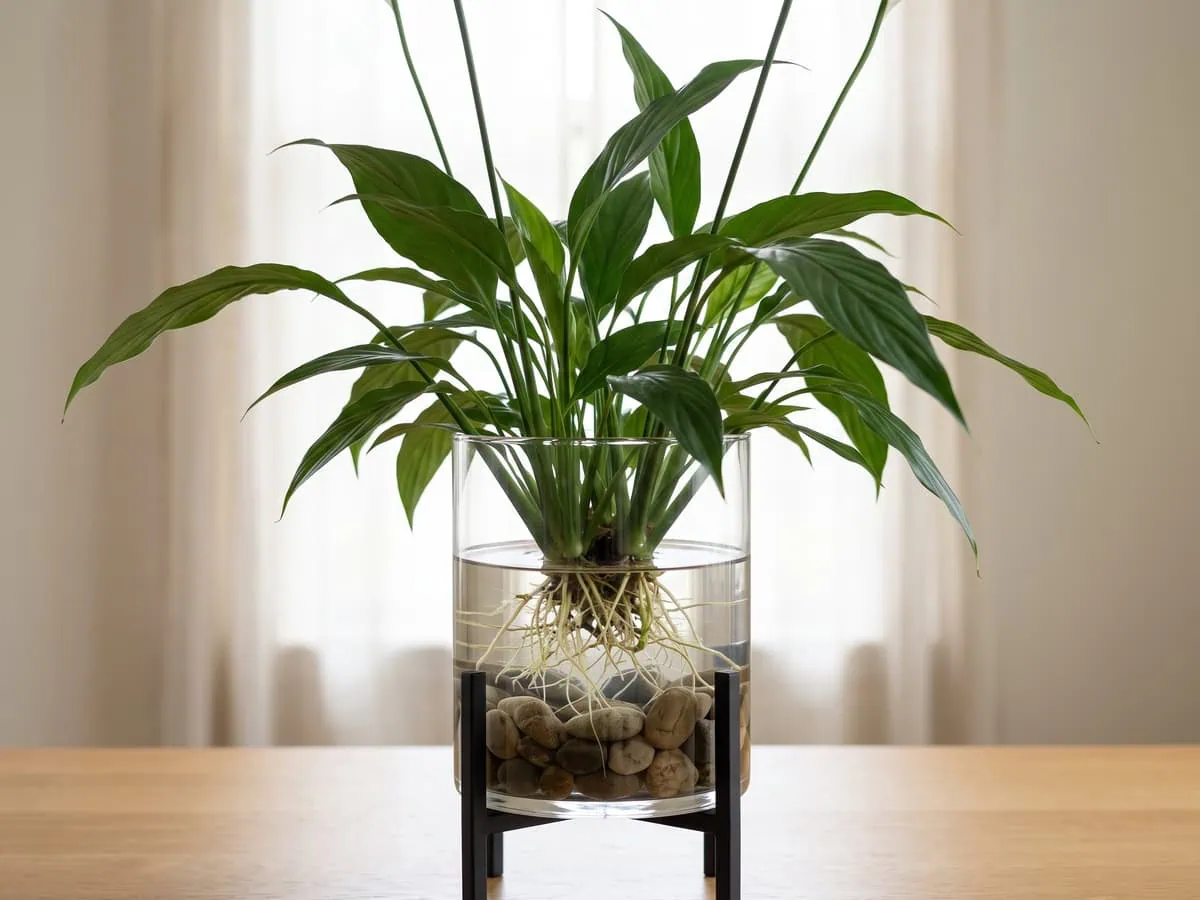
Peace lilies can grow in water alone, which is why florists sell them in vases with no substrate at all. Just one published guide covers the practice, so the substrate route is the better documented of the two.
- In water – the base of the plant held above the water line by an insert or river stones
- In a mix – the crown at the surface, bark holding air pockets around the roots
Water culture is a different regime, not a shortcut past a mix. In my testing, plants moved out of water into a substrate sulked for weeks, because roots grown in water are not the roots that work in bark. That is the part nobody warns you about.
Listen to the pour. A finished aroid mix hisses off the rim of a mixing bowl like dry rice, while a wet bagged soil lands in one silent slab, which is also what sets the watering interval once a mix drains this freely.
Drainage holes, gravel layers, and additives to keep out of the pot
Open drainage holes are the one container feature this plant cannot do without, and nothing layered underneath them substitutes for one. The following sections cover the gravel myth, two additives, and spent medium.
Wall material sets drying speed, not drainage. An unglazed clay wall breathes, so the same mix dries sooner in it than in glazed ceramic or plastic.
Type “does a peace lily need a pot with drainage holes” into a search bar and the field answers yes without explaining itself. Water pools at the base of a container that cannot let it out, the roots there suffocate, and the surface above stays damp enough to draw the soil-dwelling insects a wet surface attracts.
Why a gravel layer makes drainage worse
A coarse layer under a fine one raises the wet zone instead of lowering it. Every time. Fine mix above the stones holds water until it saturates, and only then does anything move through.
Stones at the base of the pot are promoted as extra drainage. They deliver the opposite, lifting the saturated band higher against the roots, and nothing about that layer moves water out any faster.
Baking soda and coffee grounds in the pot
Neither baking soda nor coffee grounds belongs in this pot. It shifts the medium alkaline while this plant wants 5.0-6.5, on the acid side of neutral.
- Baking soda – alkaline, and the medium is meant to sit acid
- Coffee grounds – fine enough to cap the surface as they settle
- Both – work against the porous substrate the whole recipe exists to build
But feeding is a different question from what the mix is made of, and it sits with the wider care routine rather than with the recipe.
When the medium itself is the problem
Old mix stops working before it looks used up. Peat and bark break down into dust that blocks the air channels, and tap water leaves a little more salt behind at every watering.
- Powdery texture – the mix crumbles to dust between your fingers
- White crust – salt at the surface and around the pot rim
Scrape that crust off first, then flush with three pot volumes; in the first few seconds the runoff drums on a galvanized tray like fingertips on a cookie tin, then thins to a drip.
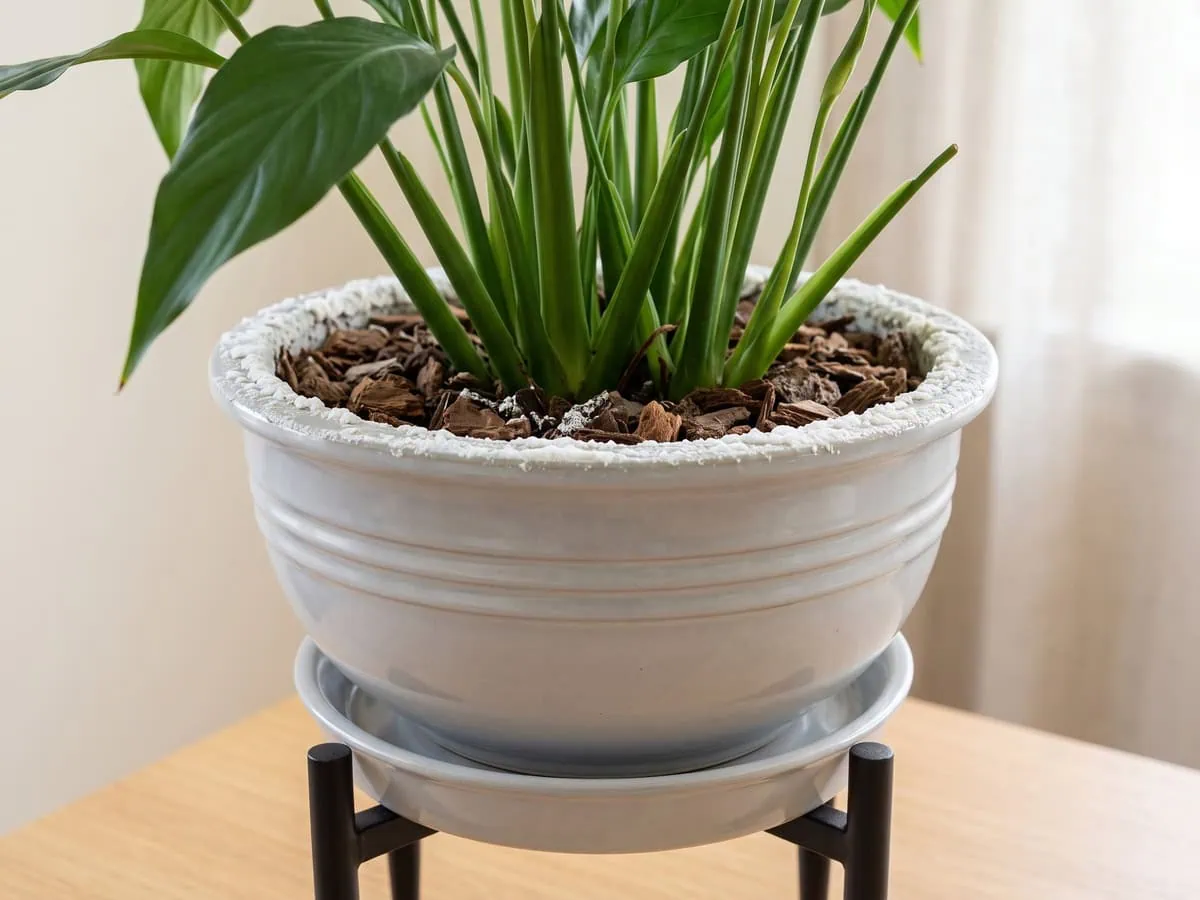
Do this every four to six months. Once flushing stops helping, the medium is spent and the answer is fresh mix rather than another rinse.
Frequently asked questions about peace lily soil
What is the best potting soil to use for a peace lily?
The best potting soil for a peace lily is an aroid mix, which arrives chunky enough to use as sold. Anything else needs correcting first.
Cut a bagged indoor mix with bark or perlite until roughly a quarter of the volume looks chunky. Skip anything sold for succulents or cacti; those bags shed water far too quickly for a plant that wants its root zone damp at all times.
Do peace lilies prefer water or soil?
A peace lily grows in water alone, which is why florists sell them in vases with no substrate at all. Published guidance barely covers water culture, so a mix remains the better-documented route.
In water, the base of the plant is held above the water line by a vase insert or a layer of river stones. Roots grown in water are not the roots that work in bark, so moving a plant between the two sets it back by weeks.
What is the best soil mix for peace lilies?
Two parts peat moss to one part pine bark is the mix, with a thin layer of the same bark on top. Add about a quarter of the finished volume as perlite or coarse sand when the base is fine, and a handful of medium-grade charcoal keeps a moist mix from souring.
Coir substitutes for peat and rewets more readily, though it arrives compressed and has to be soaked and broken apart first.
Will baking soda help my peace lily?
No. Baking soda pushes the medium toward alkaline, and this plant wants it slightly acidic, at 5.0-6.5.
Above roughly pH 7 iron becomes hard for the roots to take up, and the leaves pale between the veins. Nothing in the pot needs alkalizing: a peat-and-bark mix starts correctly acidic, and the job is keeping tap-water minerals from drifting it upward over the years.
Do peace lilies like coffee grounds in their soil?
No. Spent coffee grounds are fine and dense, and they cap the surface into a mat that sheds water instead of taking it in.
That surface is exactly what the bark fraction exists to keep open, so the grounds work against the recipe rather than with it. Feeding is a separate question from what the medium is made of, and it belongs with the wider care routine.
Prove it yourself: the squeeze test
You are not choosing between a hundred bags. Peat moss and pine bark at two to one, a quarter of the volume in perlite when the base is fine, and coarse bark on top. That is all.
Truth is – whatever this plant can draw on lives in the mix and nowhere else, because it stores no water of its own.
Squeeze a damp handful. It crackles faintly as it gives, like dry leaf litter underfoot, and then parts cleanly under one finger. Renew it when flushing stops working, as getting a freshly potted clump back on its feet covers.
The answer to “what is the best soil for a peace lily” is two parts peat moss to one part pine bark, and it is provable in your own hand in a minute. May your peace lily sit in a mix that breaks open in the hand and lets its roots breathe between every soak.
Tap the button below to get more plant fixes in your Google Search results